Creating wall collections that you can use during your sales sessions are one of the many ways that you can utilize the Fundy Suite to optimize your business and increase your sales. Many of our customers are reporting wall art sales over $2500 since implementing in-person sales tools like wall collections into their business.
If you are familiar with designing albums in Album Builder in the Fundy Suite, you already know the basics of how to use Gallery Designer to create wall collections. In this post we will go over the basics of creating wall collections and how to use the software to improve your workflow and increase sales.
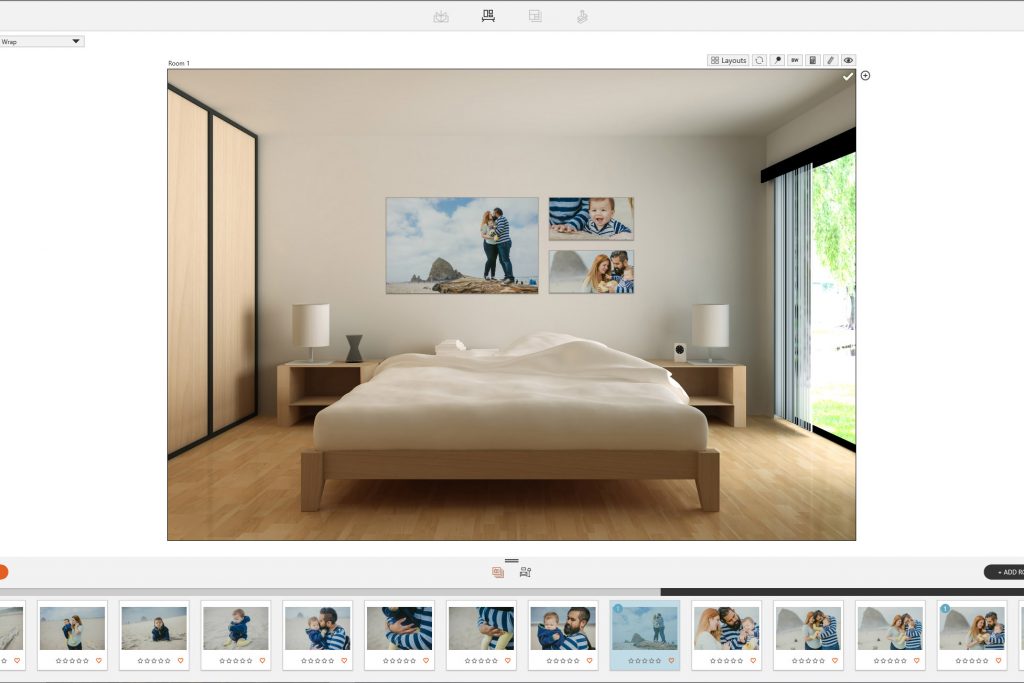
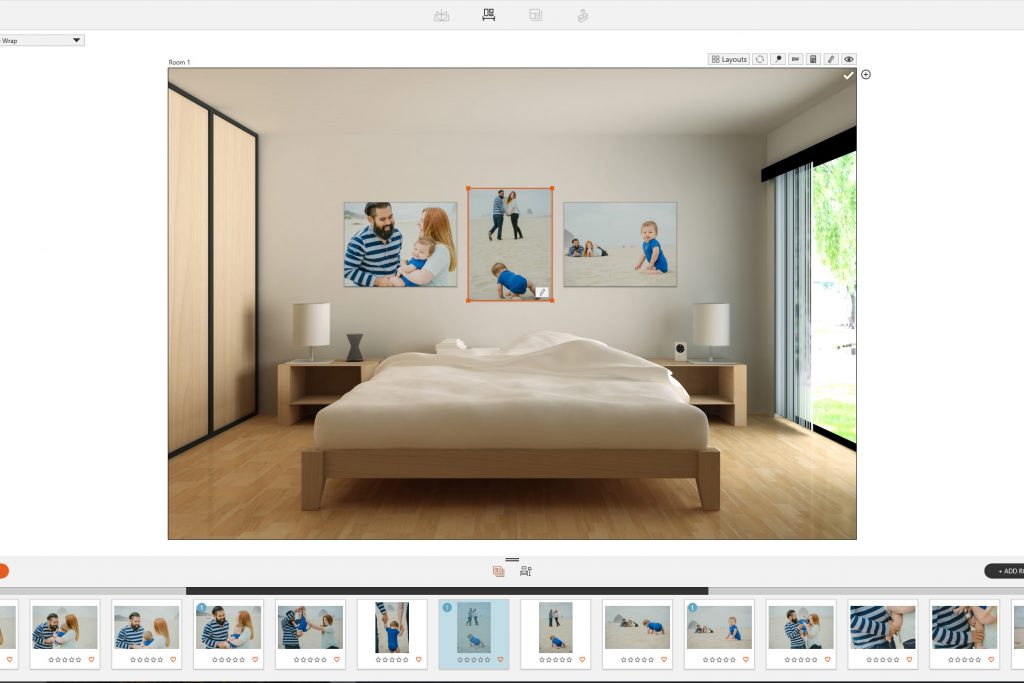
Assuming your images are already loaded into Fundy, select the image or images that you want to be a part of this wall collection from the image well and drag them into the room -as an aside, this is where you would want to use images of your client’s home if you can get them as this makes the selling process that much easier. (For a tutorial on uploading client rooms, click here). Now if you click on the Layouts button, you can select a layout for the wall art that looks best to you – or is close to what you envision in your head. You can always modify this after selecting something close to what you have in mind.
If you need to resize an image, you can do this one of two ways. You can just click on the corner of that canvas and drag it to the left or right to modify its size, or you can click on the pencil icon to input a custom size for that piece. Click View > Toggle Visible Image Sizes in the Menu if you prefer to see the image’s dimensions displayed.
Once you have the images sized how you want, the guides make it super simple to line up all the wall art and keep your arrangement looking good! Guides take the guess work out of keeping canvases lined up and equally spaced on the wall.
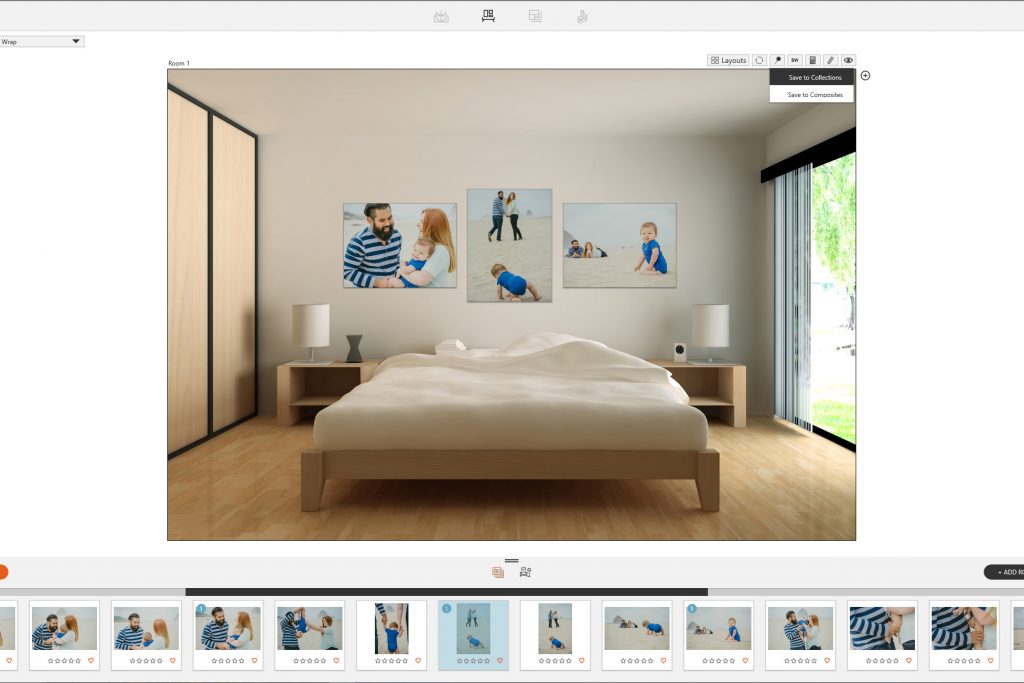
Next, you will want to pin this to a collection so that you can easily bring it up during your sales session. This can be done by simply clicking the ‘pin’ button in the upper right corner of room mock up. Press ‘Save to Collections’, and then fill out the information about the layout such as price, group, and the order in which you want it to display when you load up the collection.
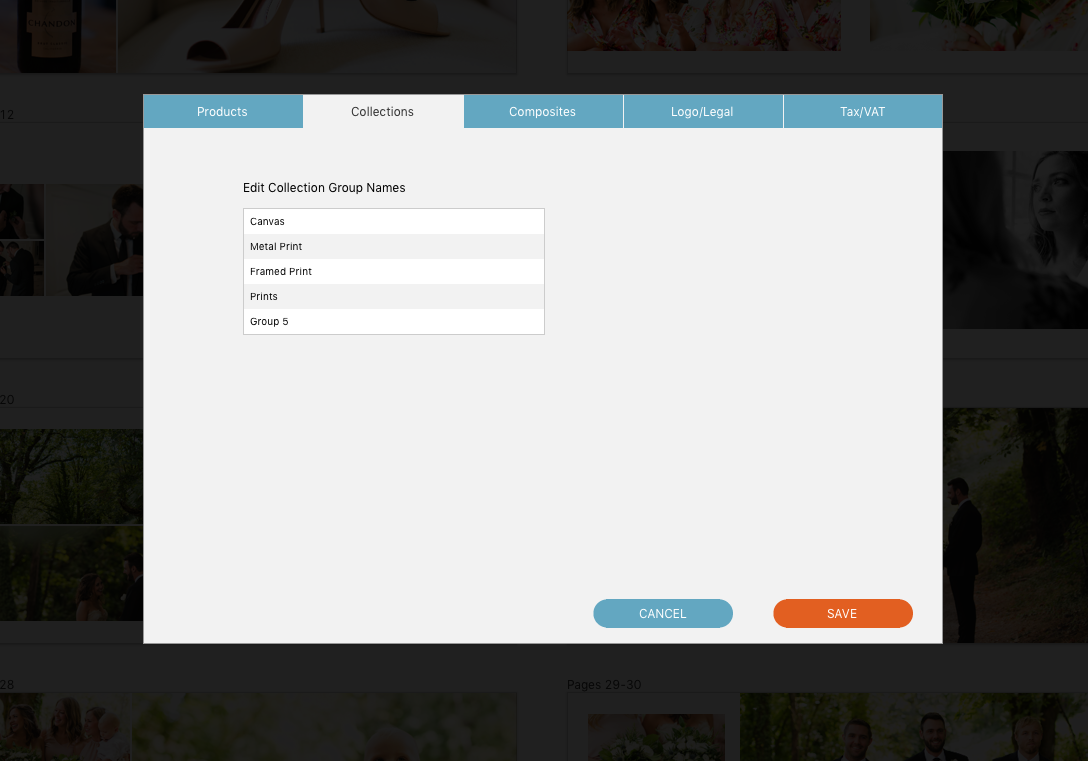
“But, what are these ‘Groups’?” you might be asking yourself. Well, put simply, groups are useful if you price different substrate or print types. Many photographers charge different prices for canvases, metal prints, framed prints, and so on. Groups allow you to price and display these differently to make the sale easier and your clients less confused at the process.
To setup your groups, go to Orders > Product Pricing in the Menu. From here you are able to define up to 5 different groups, and you can name them however you like. It works best to name them something descriptive so, using the same example as above, we could name them ‘Canvas’, ‘Metals’, ‘Prints’, and so on.
It is also important at this stage to consider setting the price all of the products that you offer. If you do not set your pricing ahead of time, you can run into issues during a sales session with clients who may become confused or overwhelmed. Taking the guesswork out of your pricing can help alleviate this problem. We recommend taking a moment to pre-price your products. Select the labs you regularly work with, or choose “Generic Standard” to create your own product sizes.
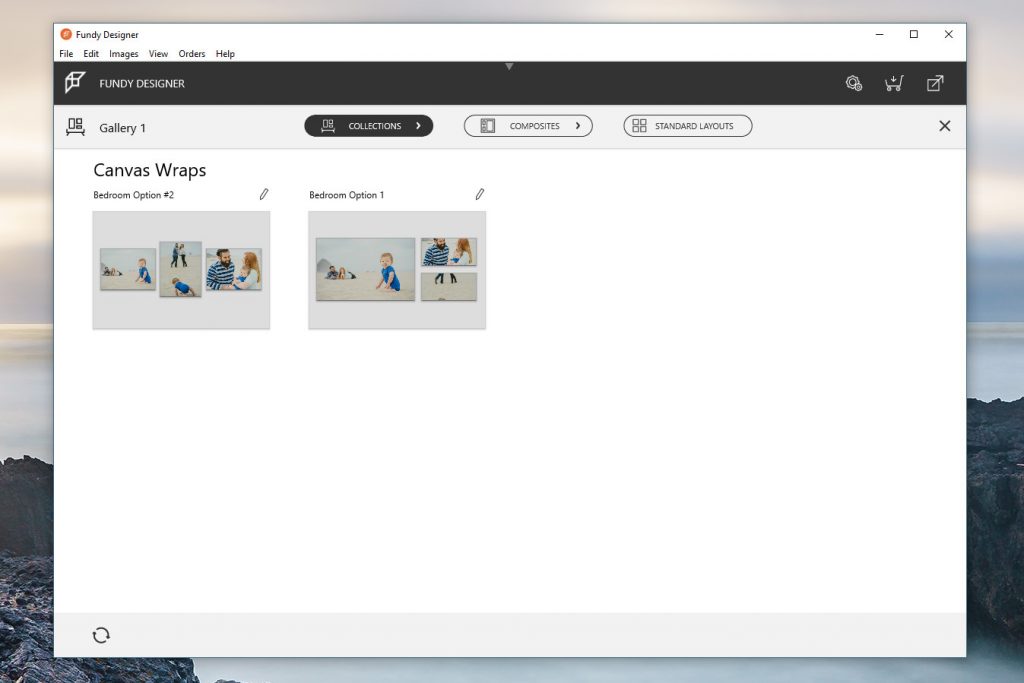
Once this is done you are all set and ready to rock your sales session! Things like this are always more daunting in our heads than they are in reality, so hopefully, this quick overview has helped show you how simple it really is to pre-plan your wall collections, making your sales sessions that much easier.
Watch the video:
Interested to learn more about Gallery Designer? Visit our new tutorials page and dive into some of the latest videos.


