
Professional watermarking with Image Brander
Image Brander is available in any project, and you can have as many branding sessions as you like in a project. This might enable you to brand some images for your blog and some images for your vendor partners with a slightly different look. You can also create and save as many custom looks as you would like so you can use different branding and even different logos for different parts of your business.
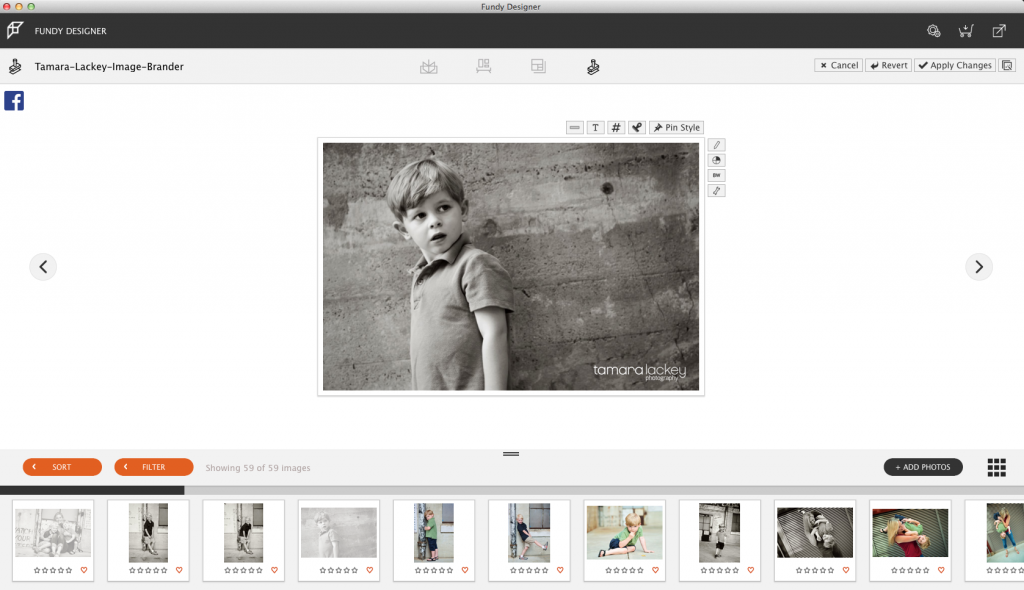
To start branding images, drag any number of images into the drop area. You can also do a select all and drag them all in. Then select any image you want and double click on it to bring up the design view and have access to the Image Brander looks.
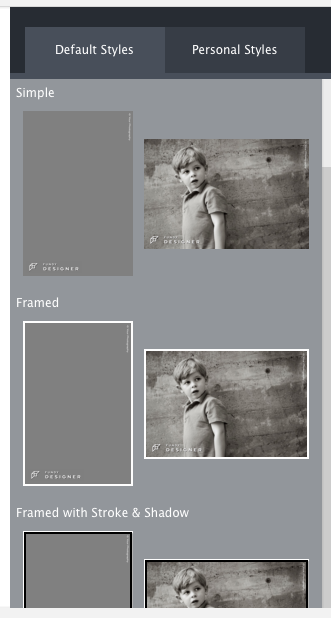
We have a number of built-in looks. Let’s start with one of those and we’ll show you how to customize it and save it so you can use it as your very own.
After choosing a look, go ahead and add your logo. You’ll want to use a PNG logo with a transparent background that is sized about 2000px on the long side. You can resize and move your logo wherever you want.

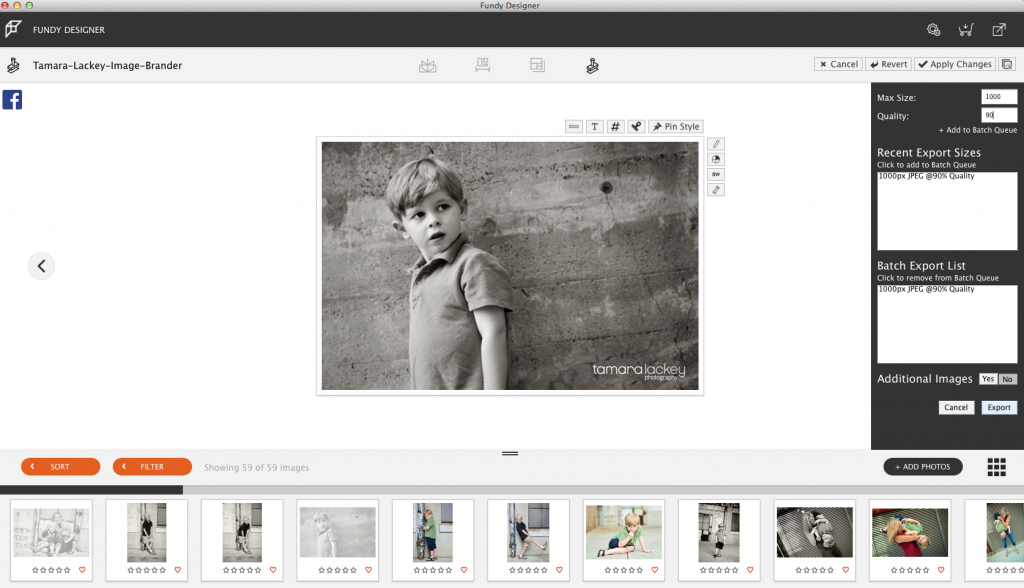
Up top you have control over the background, strokes, background extensions, and colors. Feel free to adjust the look how you like it. On the right you can add text, file name, and a color bar.
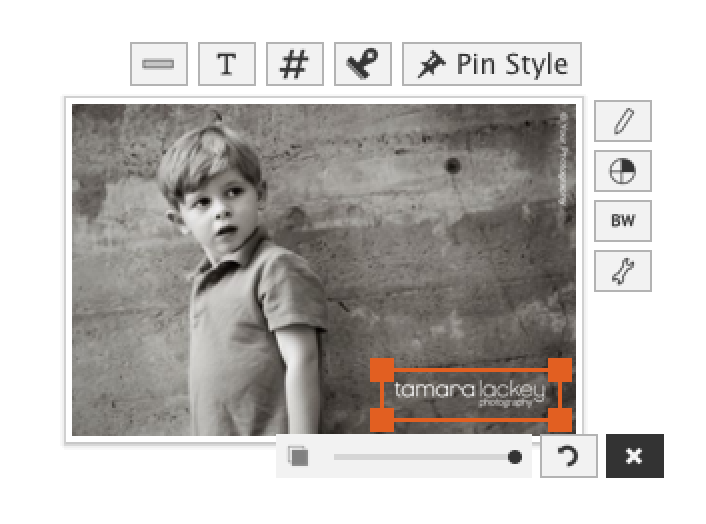
After finalizing the look, you can click the Pin Style icon to save that look to be reused later. Now remember, you do not need to do this every time you use Image Brander. We’ve seen some users end up with too many saved styles.

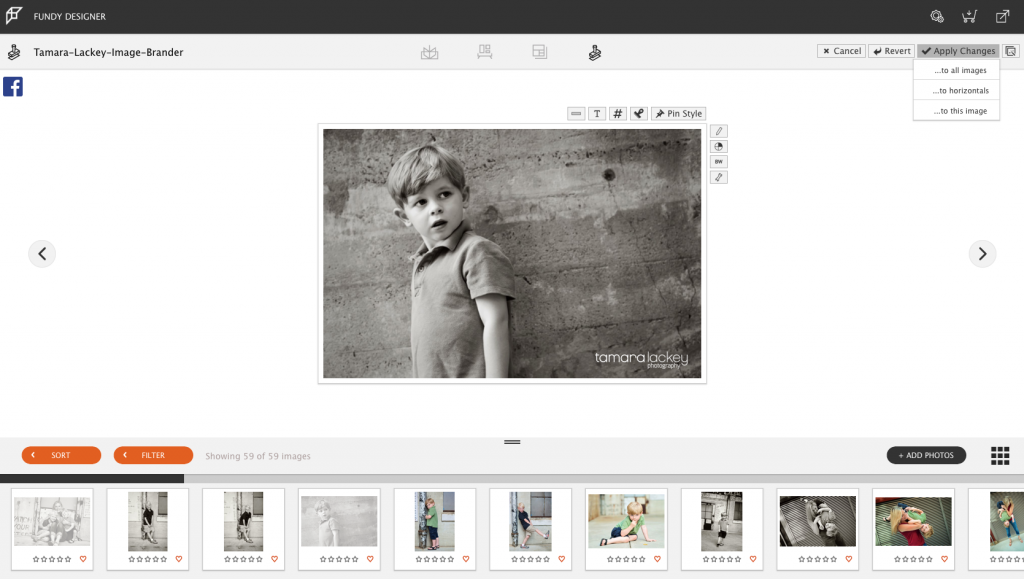
Now to apply this look to all of the images, use the Apply Changes button and choose all images. If you have a few images where you need to adjust the location of the logo or another item, you can apply changes to just one photo at a time.
Now it’s time to export. Enter the maximum width of the image and the quality. We recommend staying between 85 and 90 for the quality. You can also add more than one size and Image Brander will save out multiple sizes of the same image.
Before you click export, you have the option to choose a folder of images to include on export. This is especially useful if you want to use just the selects in Album Designer but then brand the entire wedding. And don’t worry, we’ll won’t duplicate any images that might exist in designer and the folder. We’ve got you covered.

We hope you enjoy Image Brander and we hope it both protects your images and brings you a lot of new clients.


