Skin retouching on every album and piece of wall art that goes out of your studio is an easy way to set yourself apart as a true professional. What if you could could spend just an extra 10 seconds per close up photo and walk away with professional skin retouching? Not only will we show you how, we’ll give you the free action to make it happen.
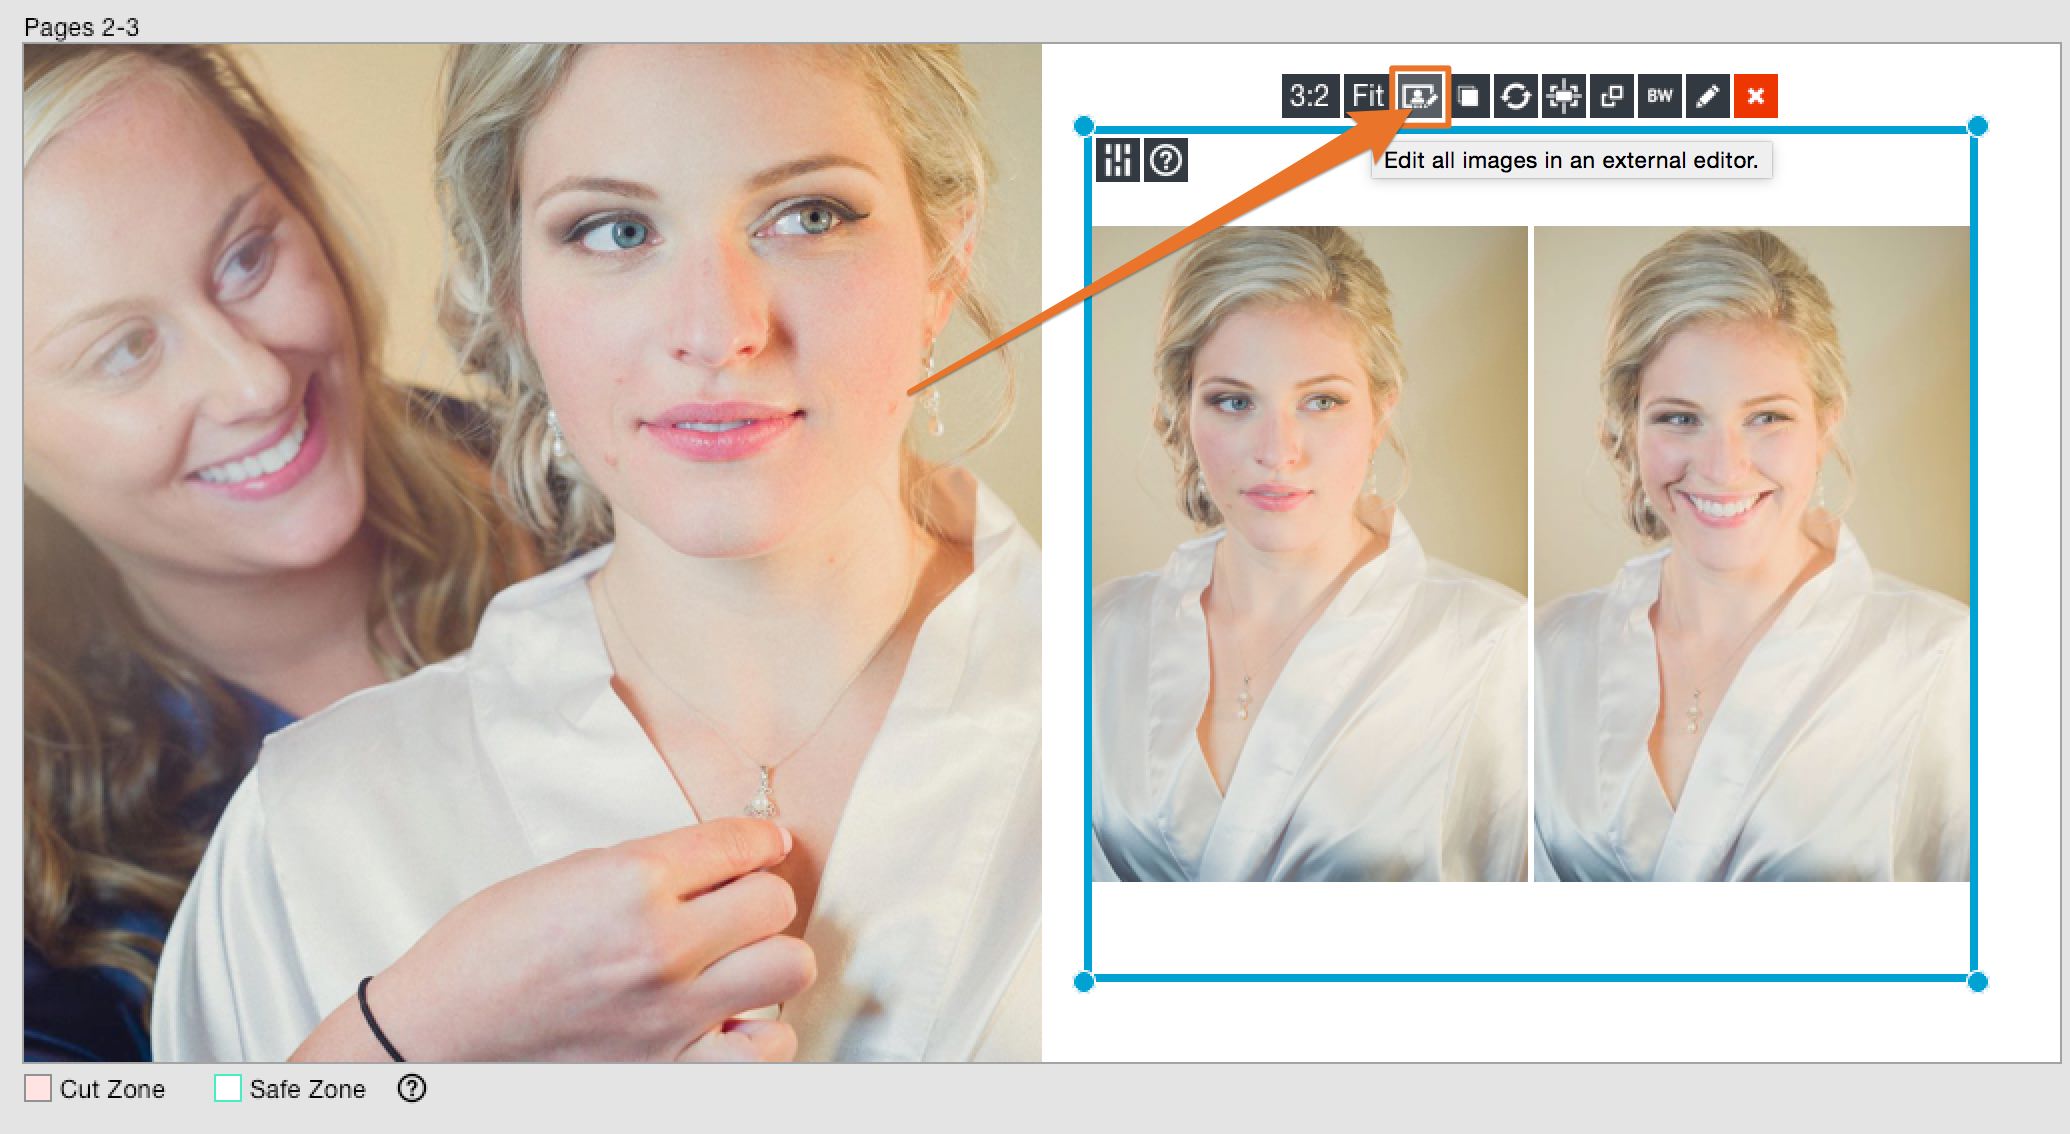
Step 1 – Click “Edit in External Editor” On Your Image(s)
With Fundy Designer open and your album loaded, click on the “Edit In External Editor” icon to launch a single image or group of images into Photoshop.
Step 2 – Quick and Dirty Retouching
I’ll use the spot healing brush (keyboard shortcut J) to remove any large blemishes. And use the Liquify Tool (I remapped my shortcut to shift+command J using the Edit>Keyboard Preferences in Photoshop) to do any image massaging. These are two quick tools you should be comfortable with in Photoshop already.
Skin retouching on every album and piece of wall art that goes out of your studio is an easy way to set yourself apart as a true professional.
Use the Free Action
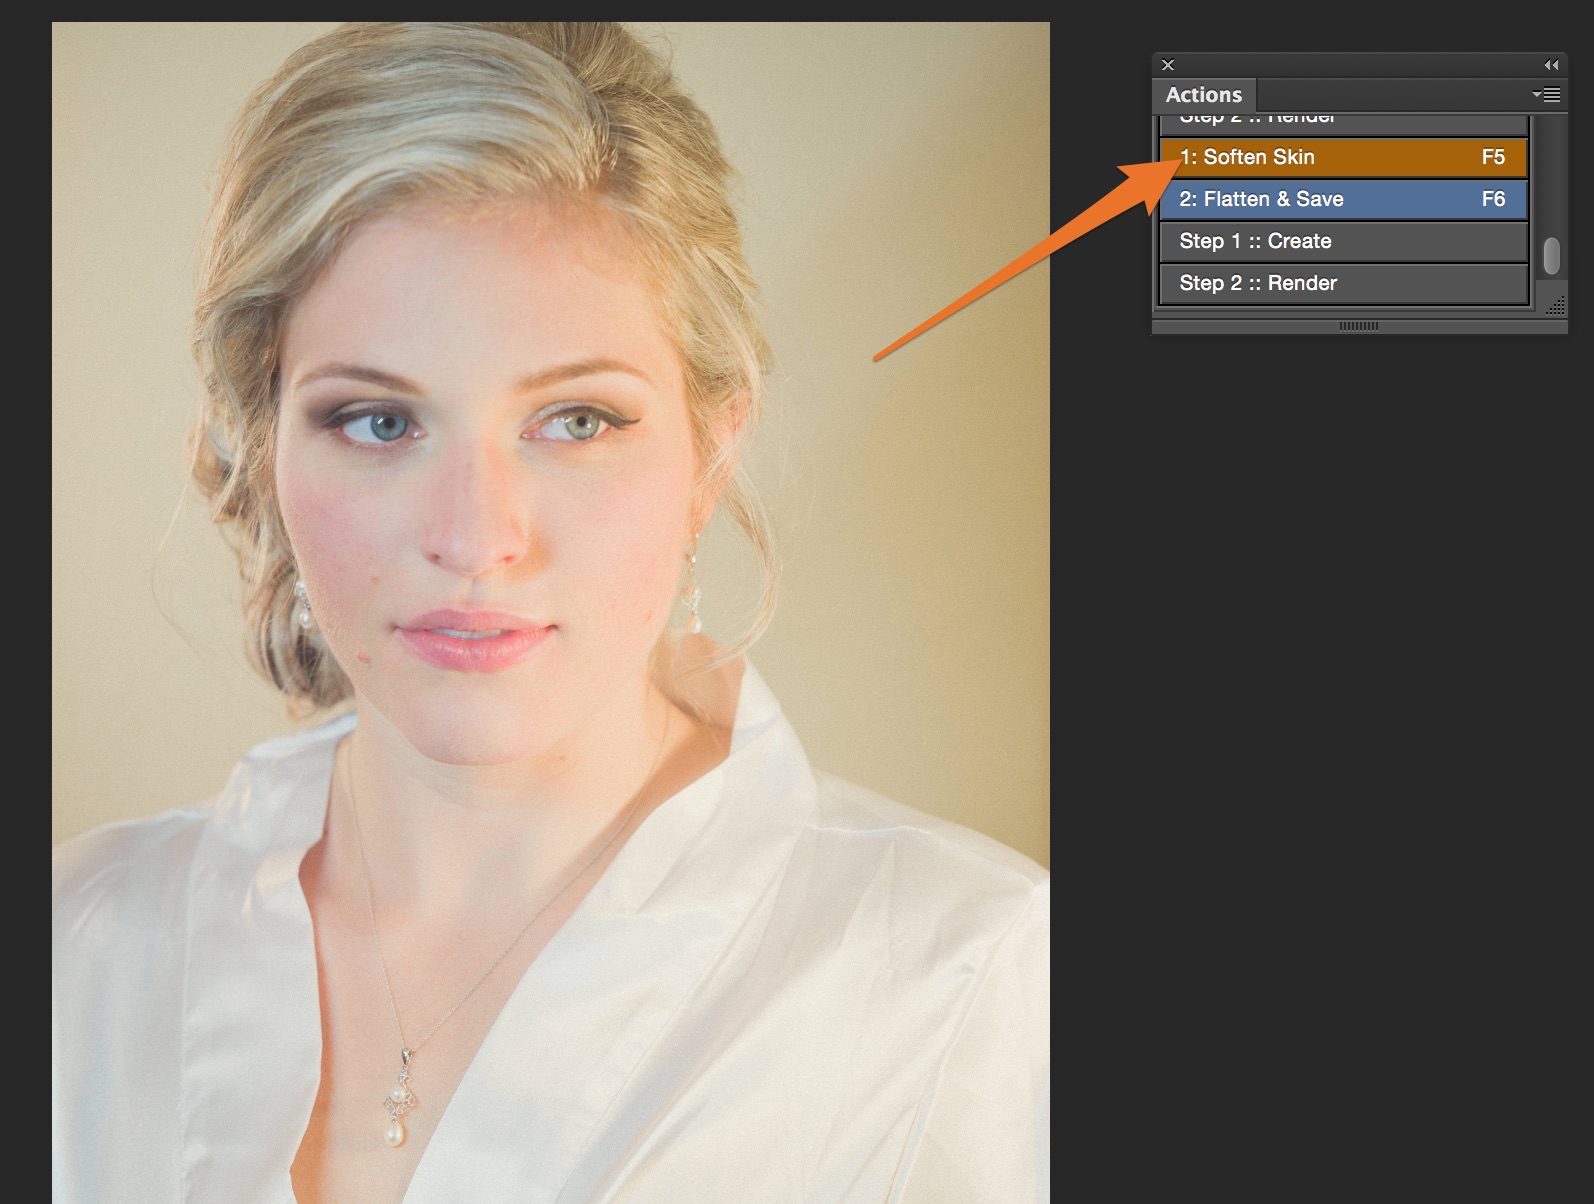
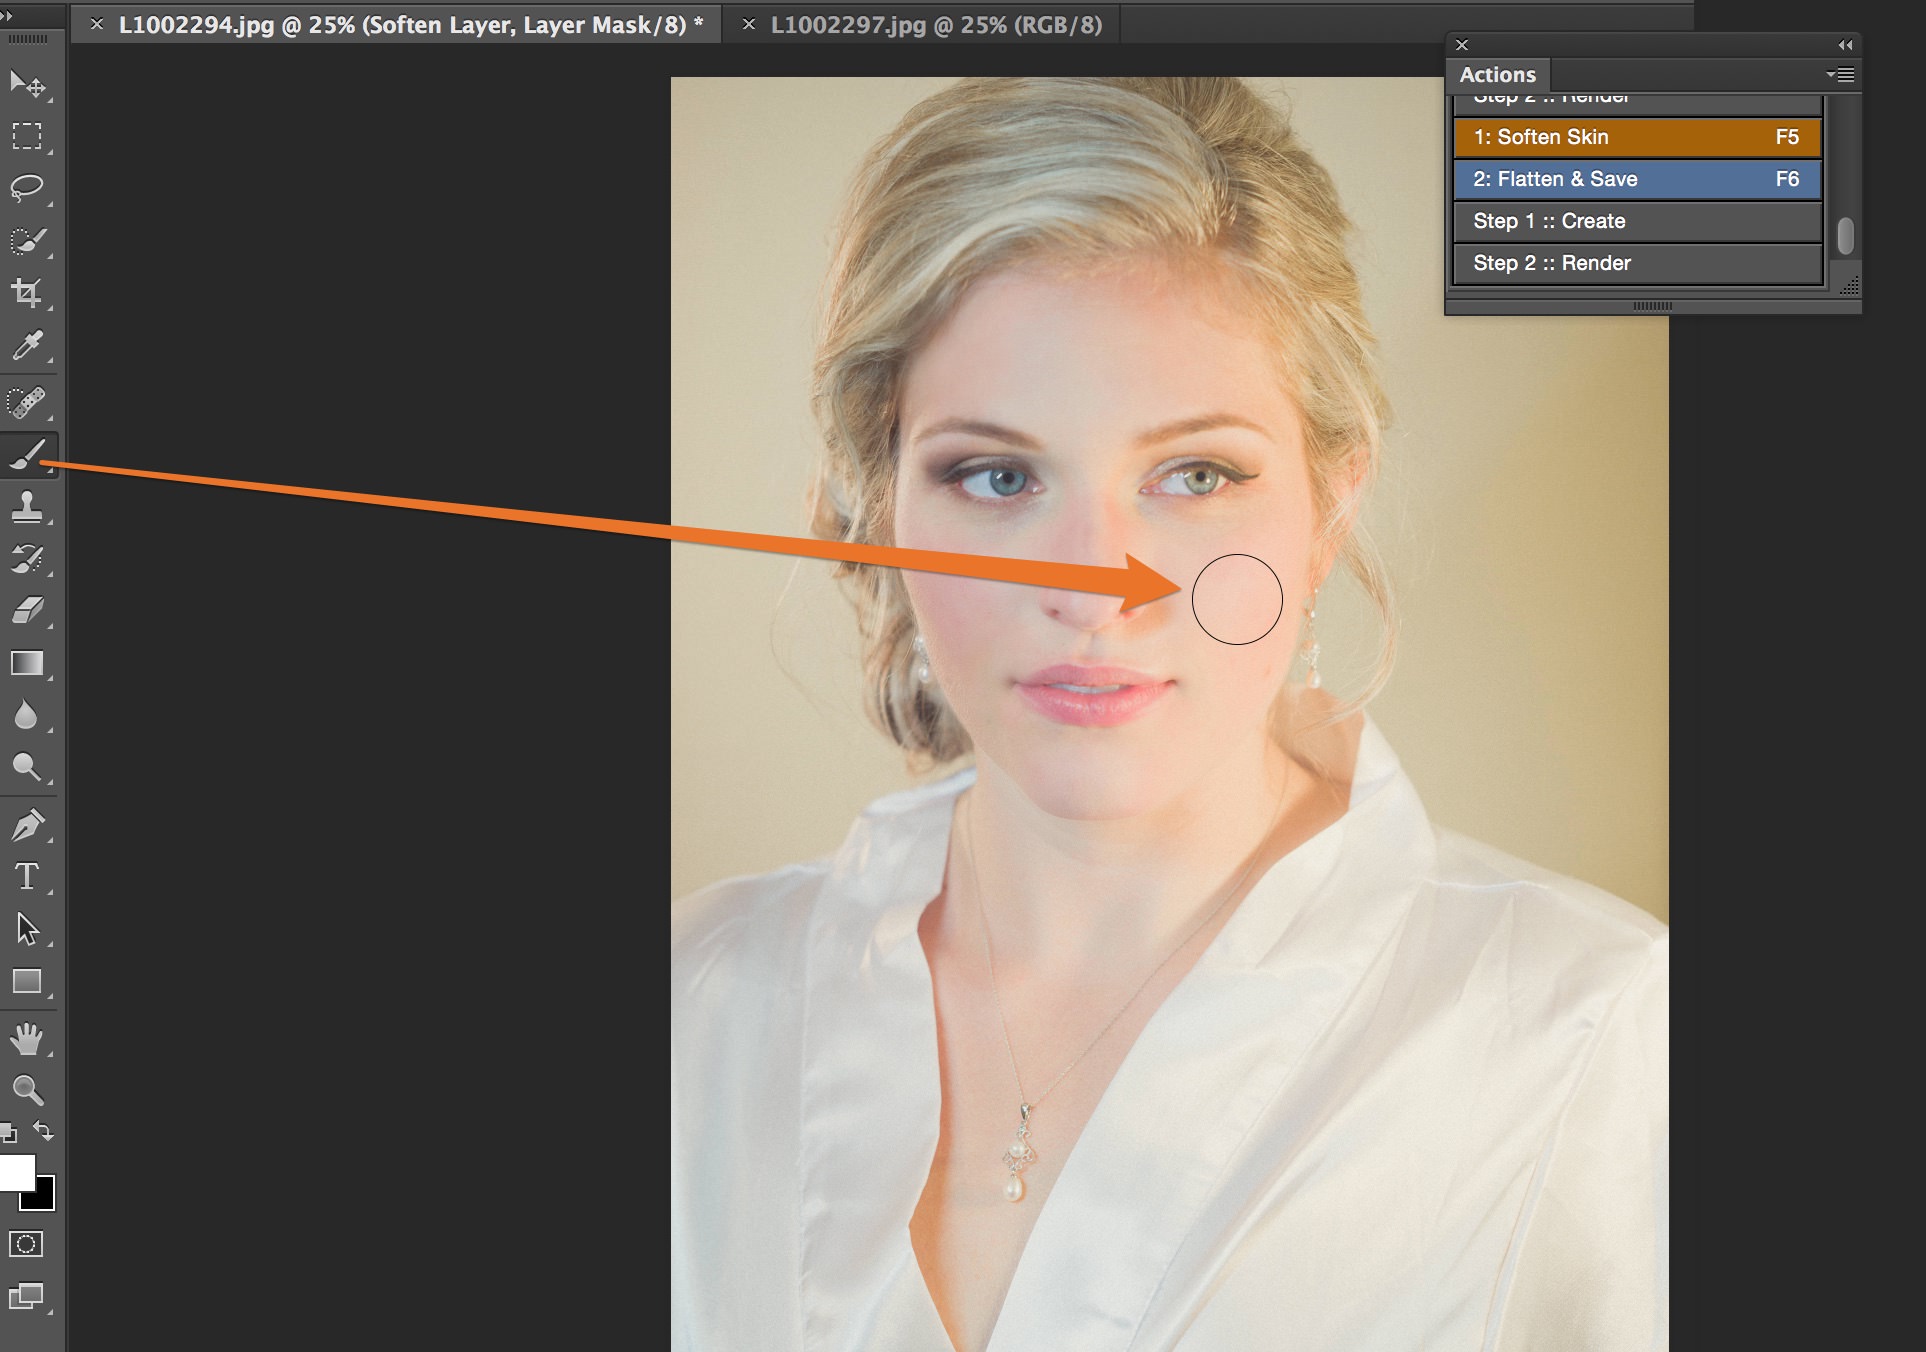
Next I’ll hit my F5 key to activate my skin softening action. If you don’t like using the Function keys, you can also just click on the Skin Soften Action in your Action Palette.
Dial In Your Softening
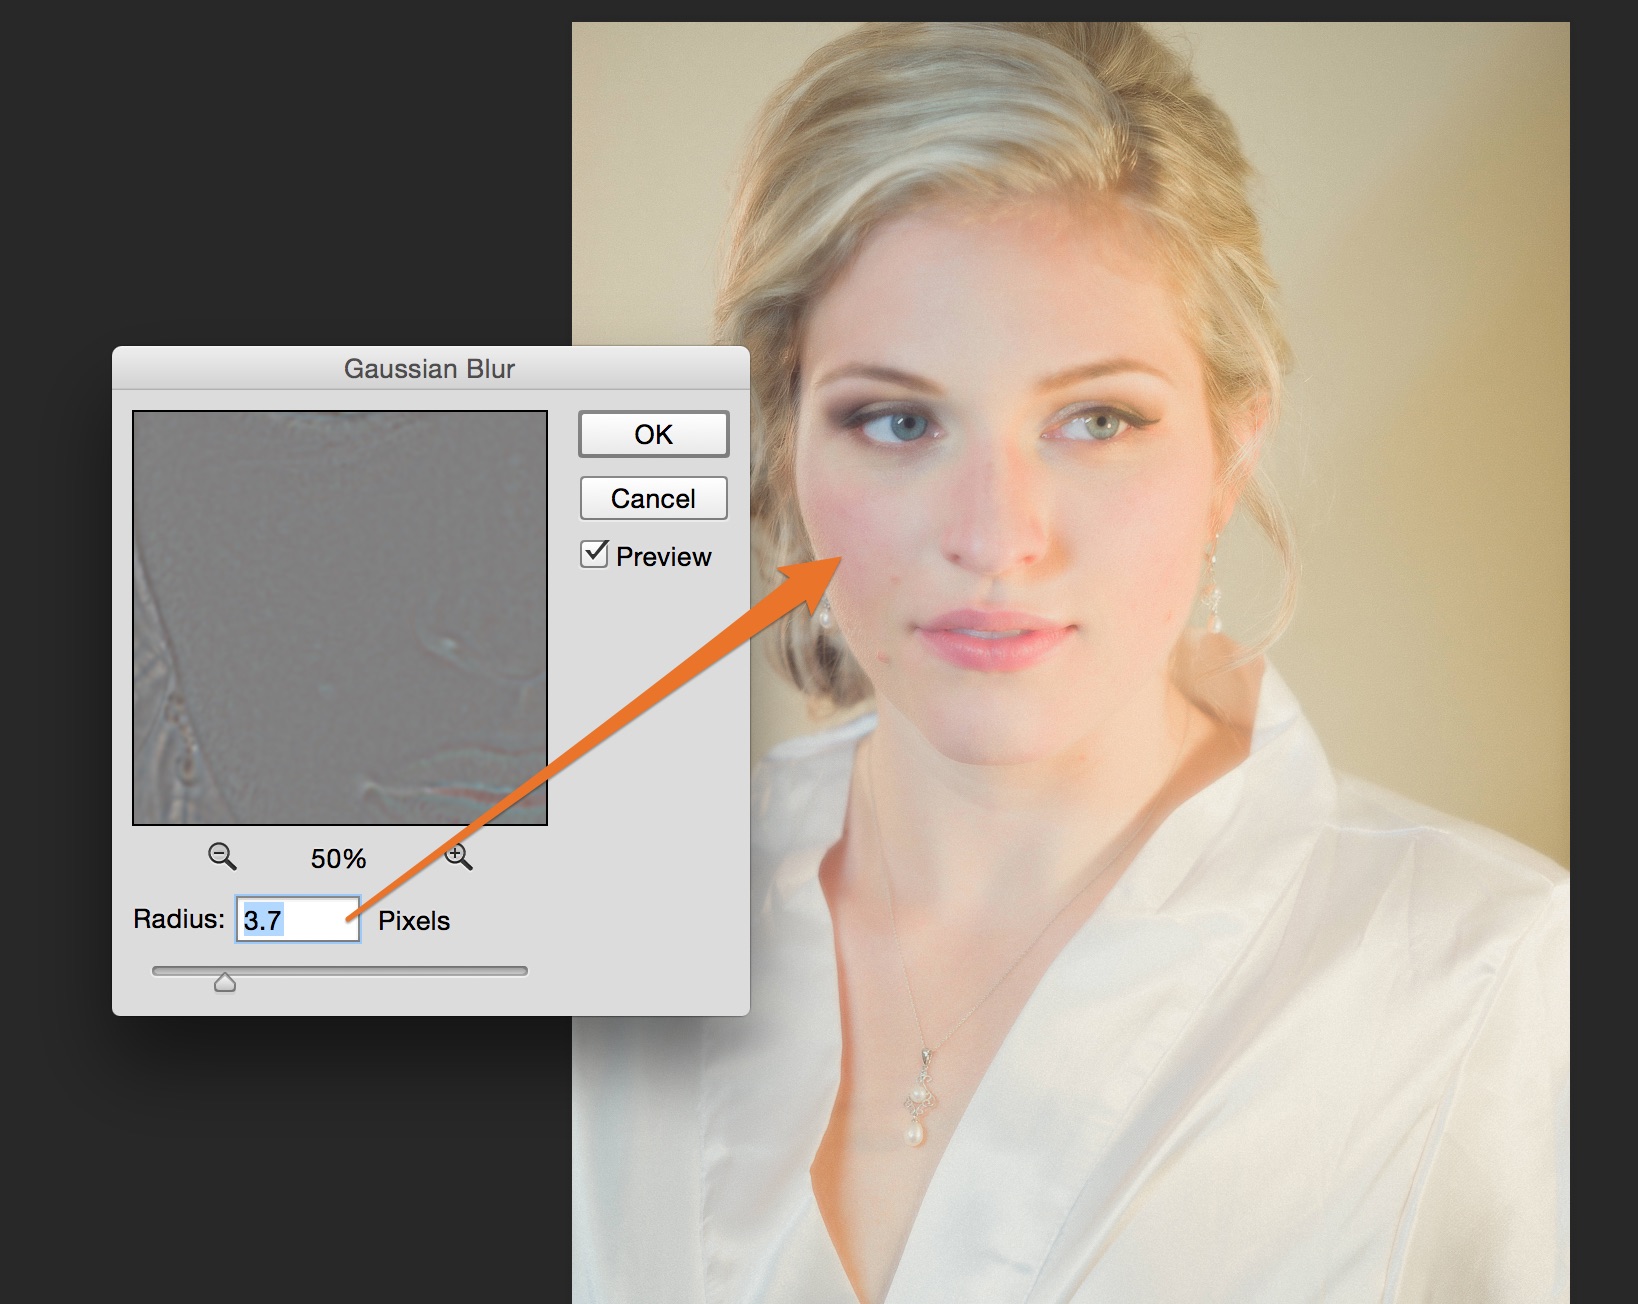
This action does a few professional steps involving the high pass filter, but to apply the professional softening it does a gaussian blur. Dial in your preferences between 2.5-4. The LOWER the number the softer. The HIGHER the number the sharper. It’s backwards of what you might think.
Paint Softening Where You Want It
We could be lazy and apply this action to the entire image. But you would end up with soft eyes, teeth, details, etc. The action creates a layer mask for you (don’t worry you don’t have to know what that is). The action automatically even selects the paint brush for you, just paint where you want. And pro tip – the [ and ] keys make your brush bigger or smaller.
Step 3 – Save and Close Action
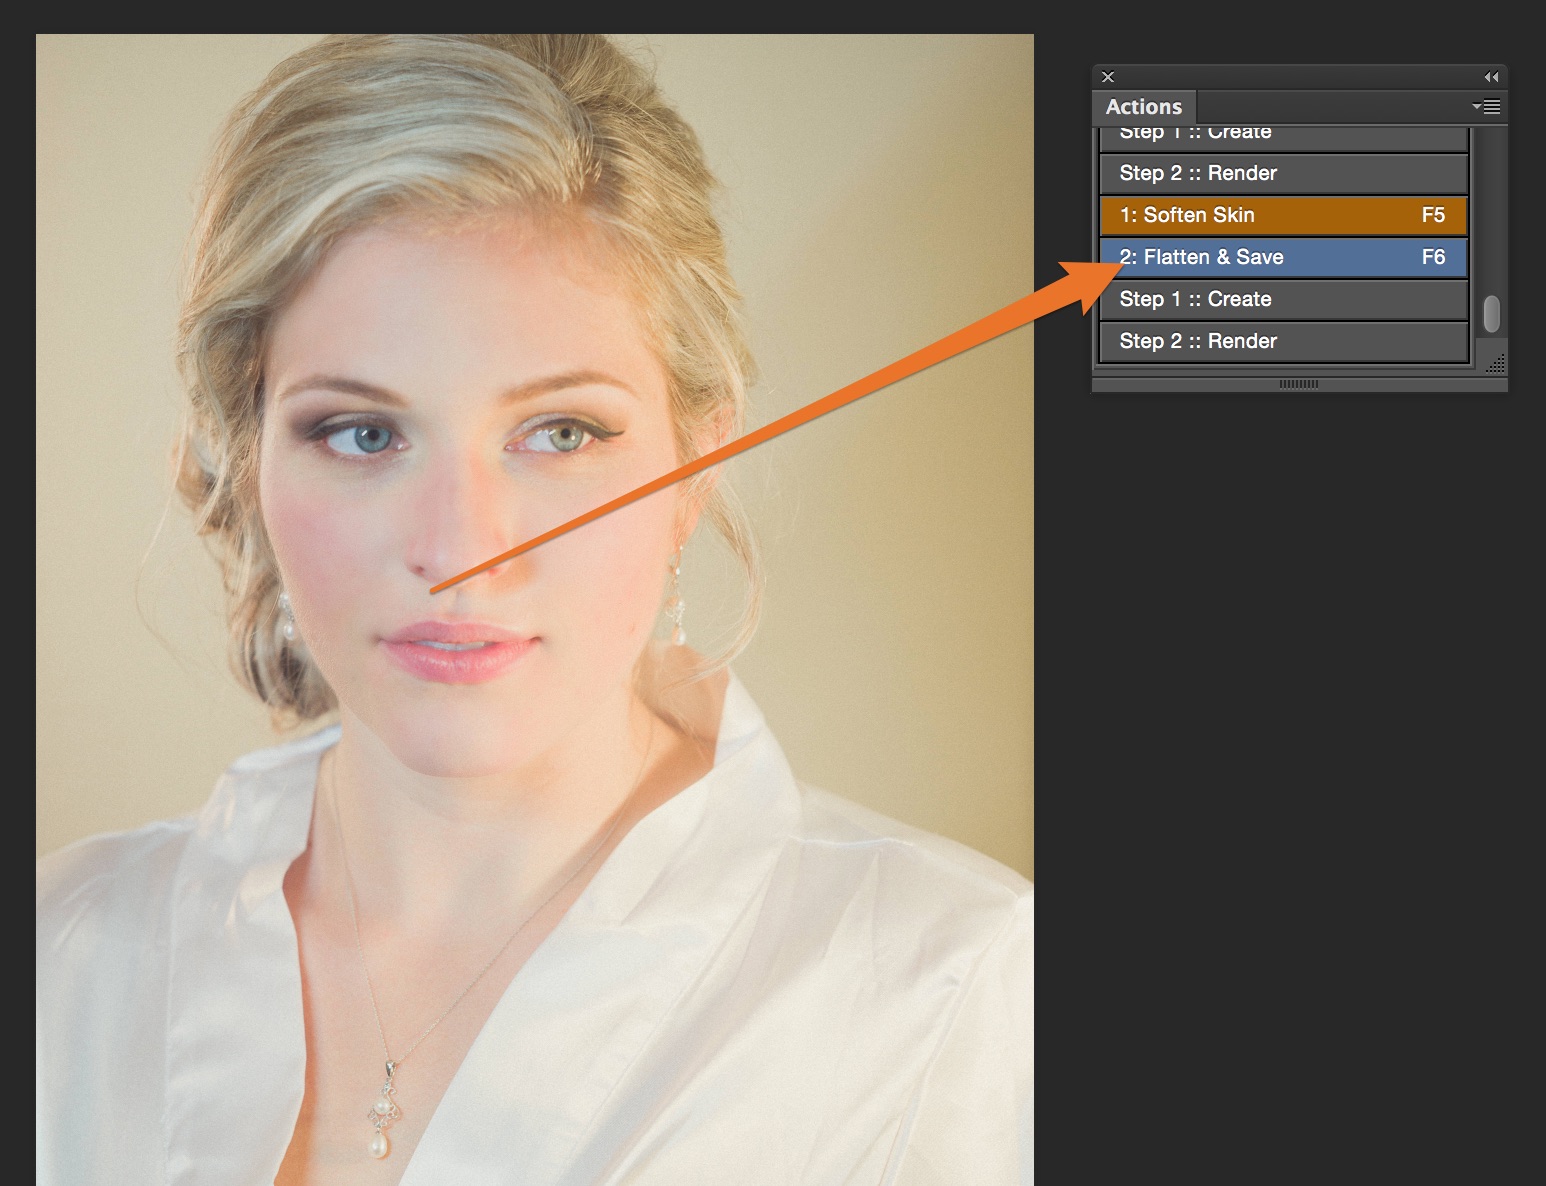
This skin softening action creates a layer. So, the Save and Close action flattens all layers, saves the images, then closes it. Because Fundy Designer searches for all changes to any original files, the image will auto update in Fundy Designer. After you’ve retouched the images you are ready to print your album or wall art.
all photos © Andrew Funderburg
Conclusion
I don’t want to sugarcoat it. This still takes time. But what may have taken an hour or more will now take you 10-15 minutes (for the entire project) depending on the size of the album or piece of wall art. Remember that your project uses all of the same images, so one pass on retouching fixes all albums, blog collages, wall art, etc. And that extra time will boost sales and make you an expert in the eyes of your clients.
Happy Retouching!
WATCH THE VIDEO Download Free Action
New to actions? Photoshop Actions Help Section
