
This week we have a great tip coming from guest blogger and WPPI Speaker Melanie Nashan of Nashan Photography (based out of Montana, Florida and California). She explains how she edits down her wedding shoots on the computer but also how keeping the overall storytelling aspect of photography in mind while on location. Melanie’s tip about switching lenses but not moving positions allows her to get separate looks of the same scene and is helpful for designing an album later. Enjoy reading!
Telling Stories and Editing In Camera
by Melanie Nashan
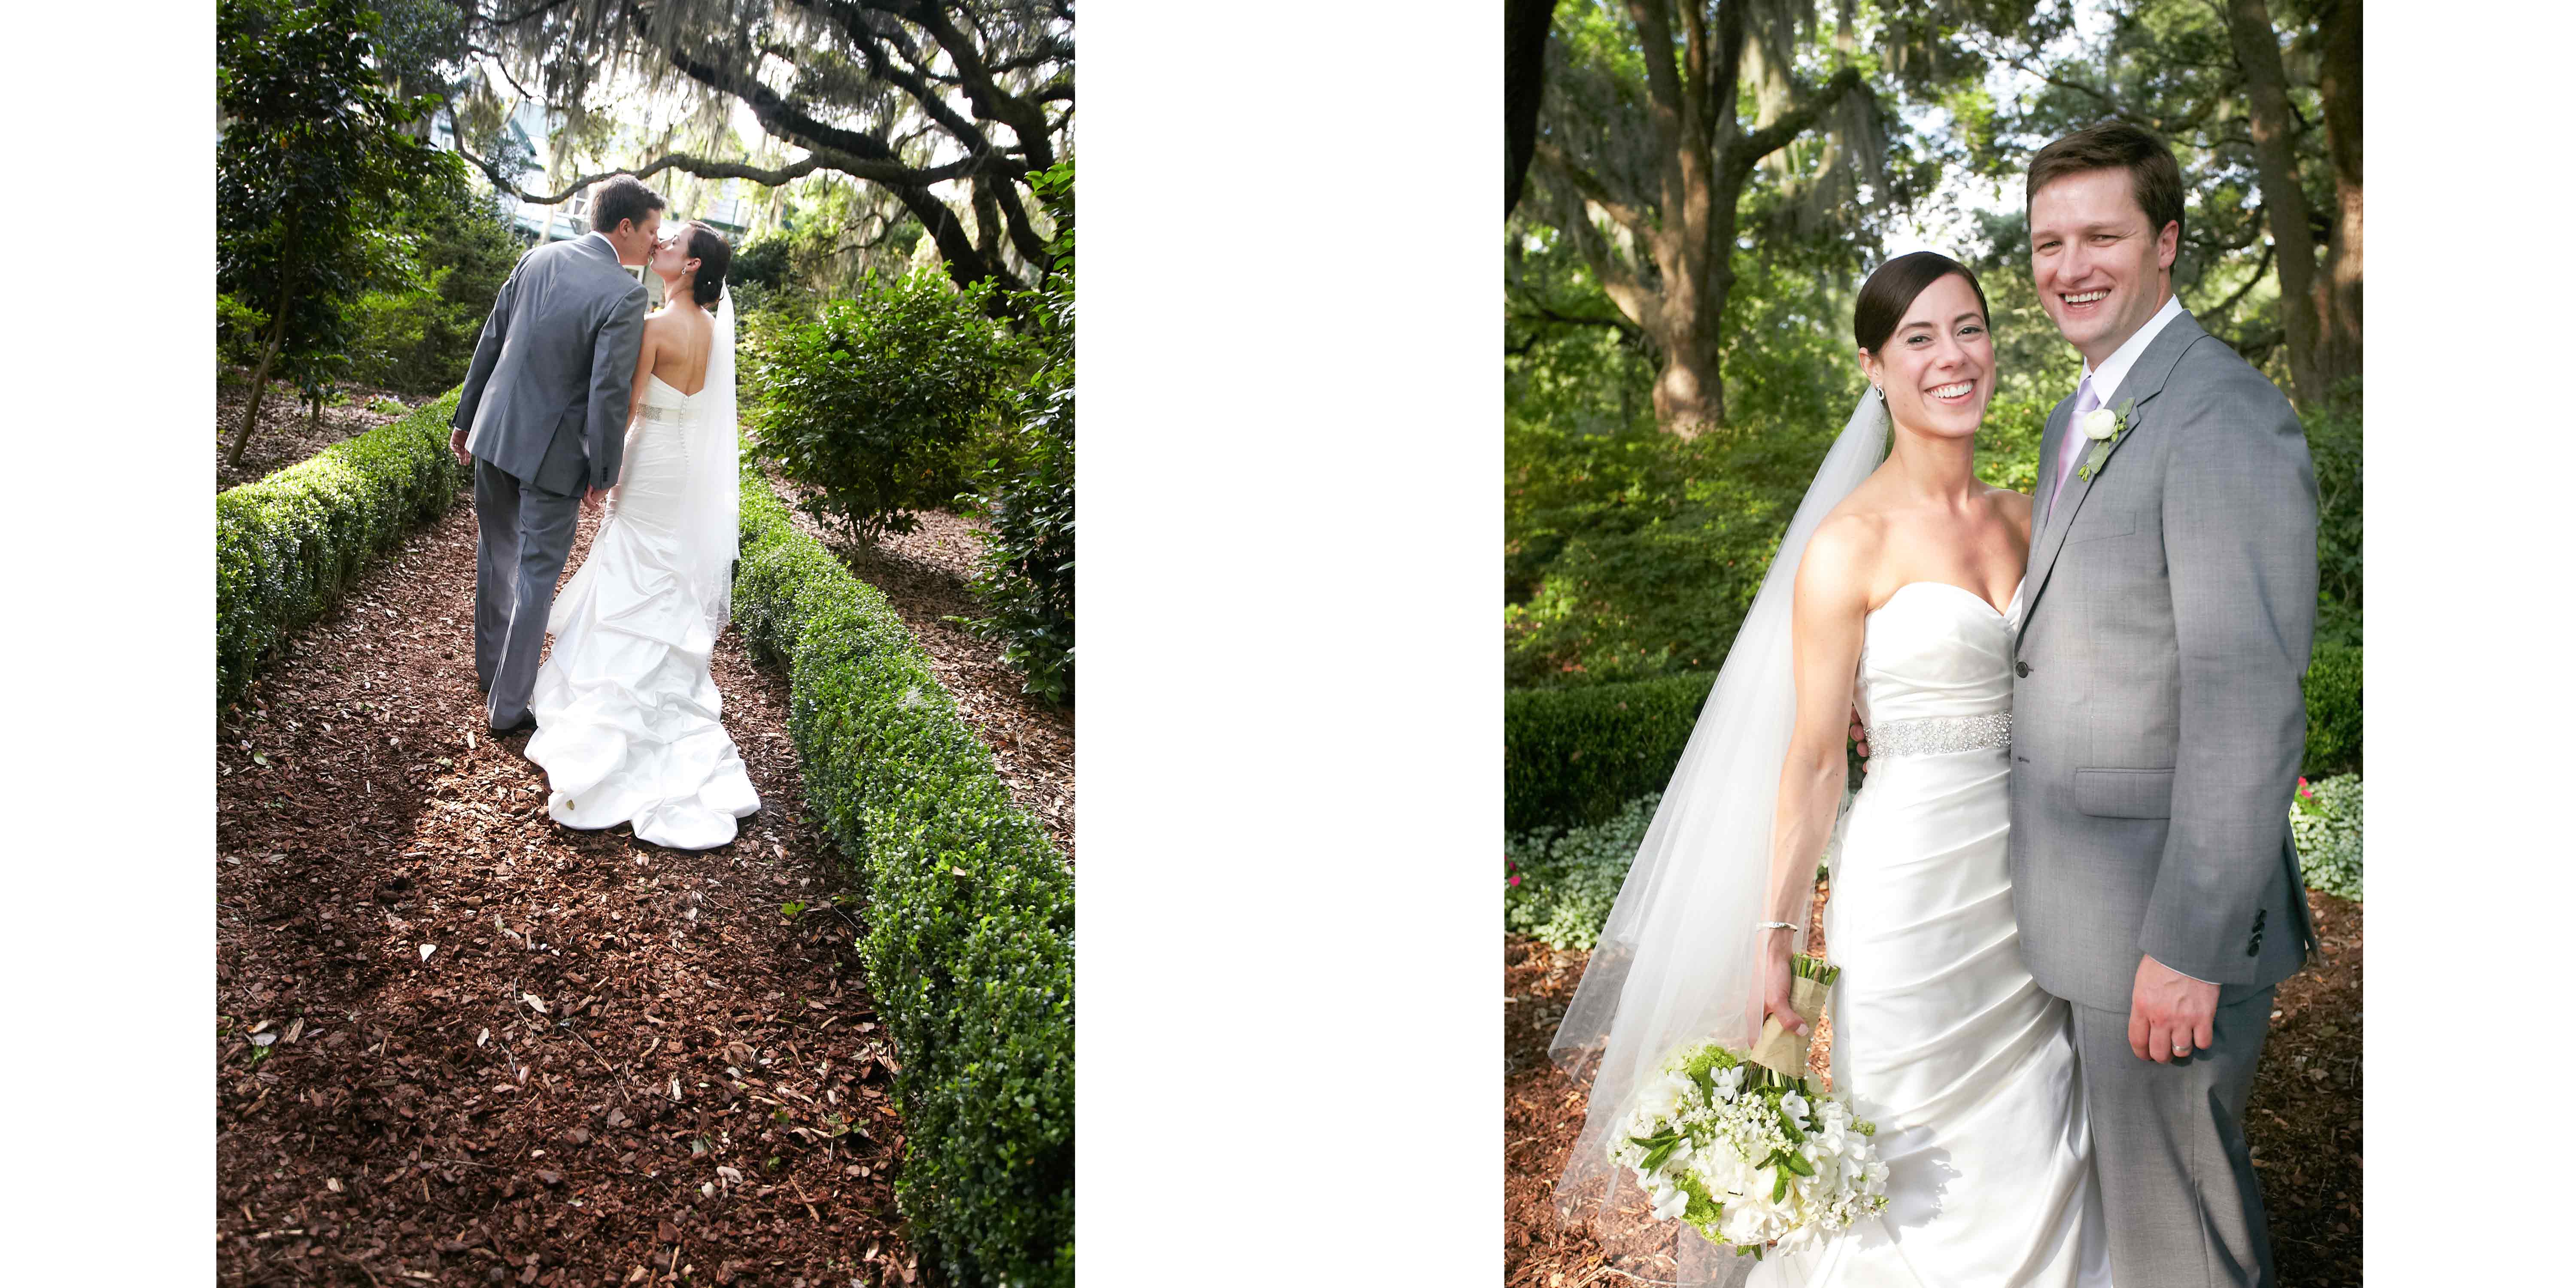
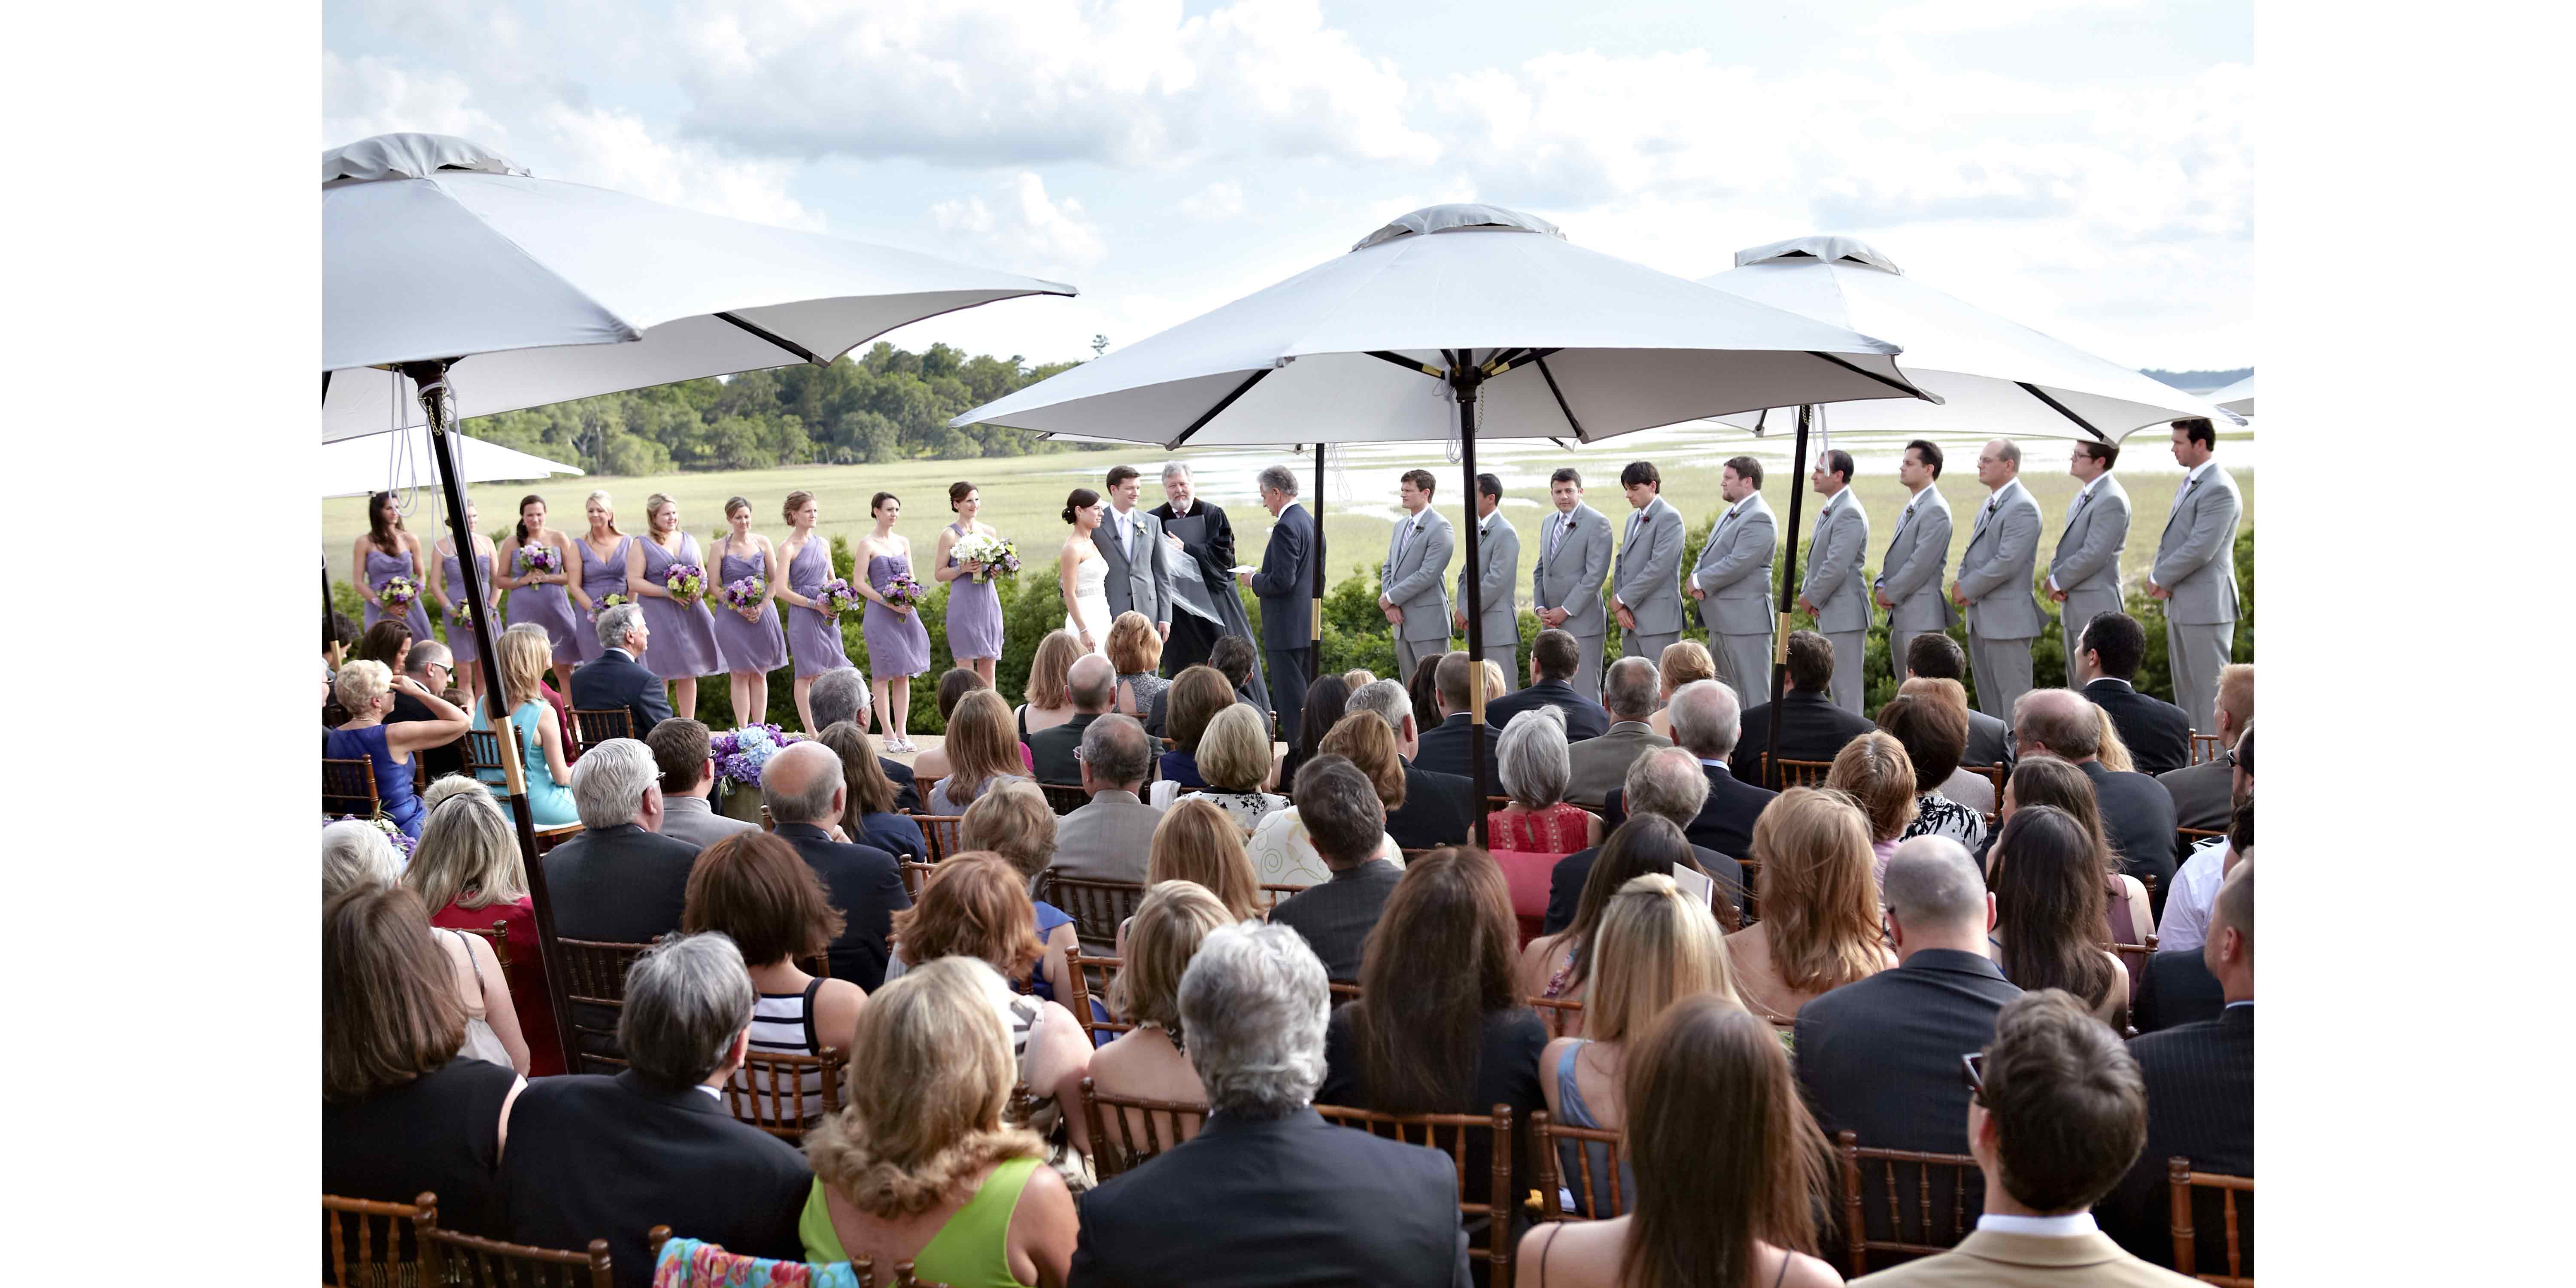
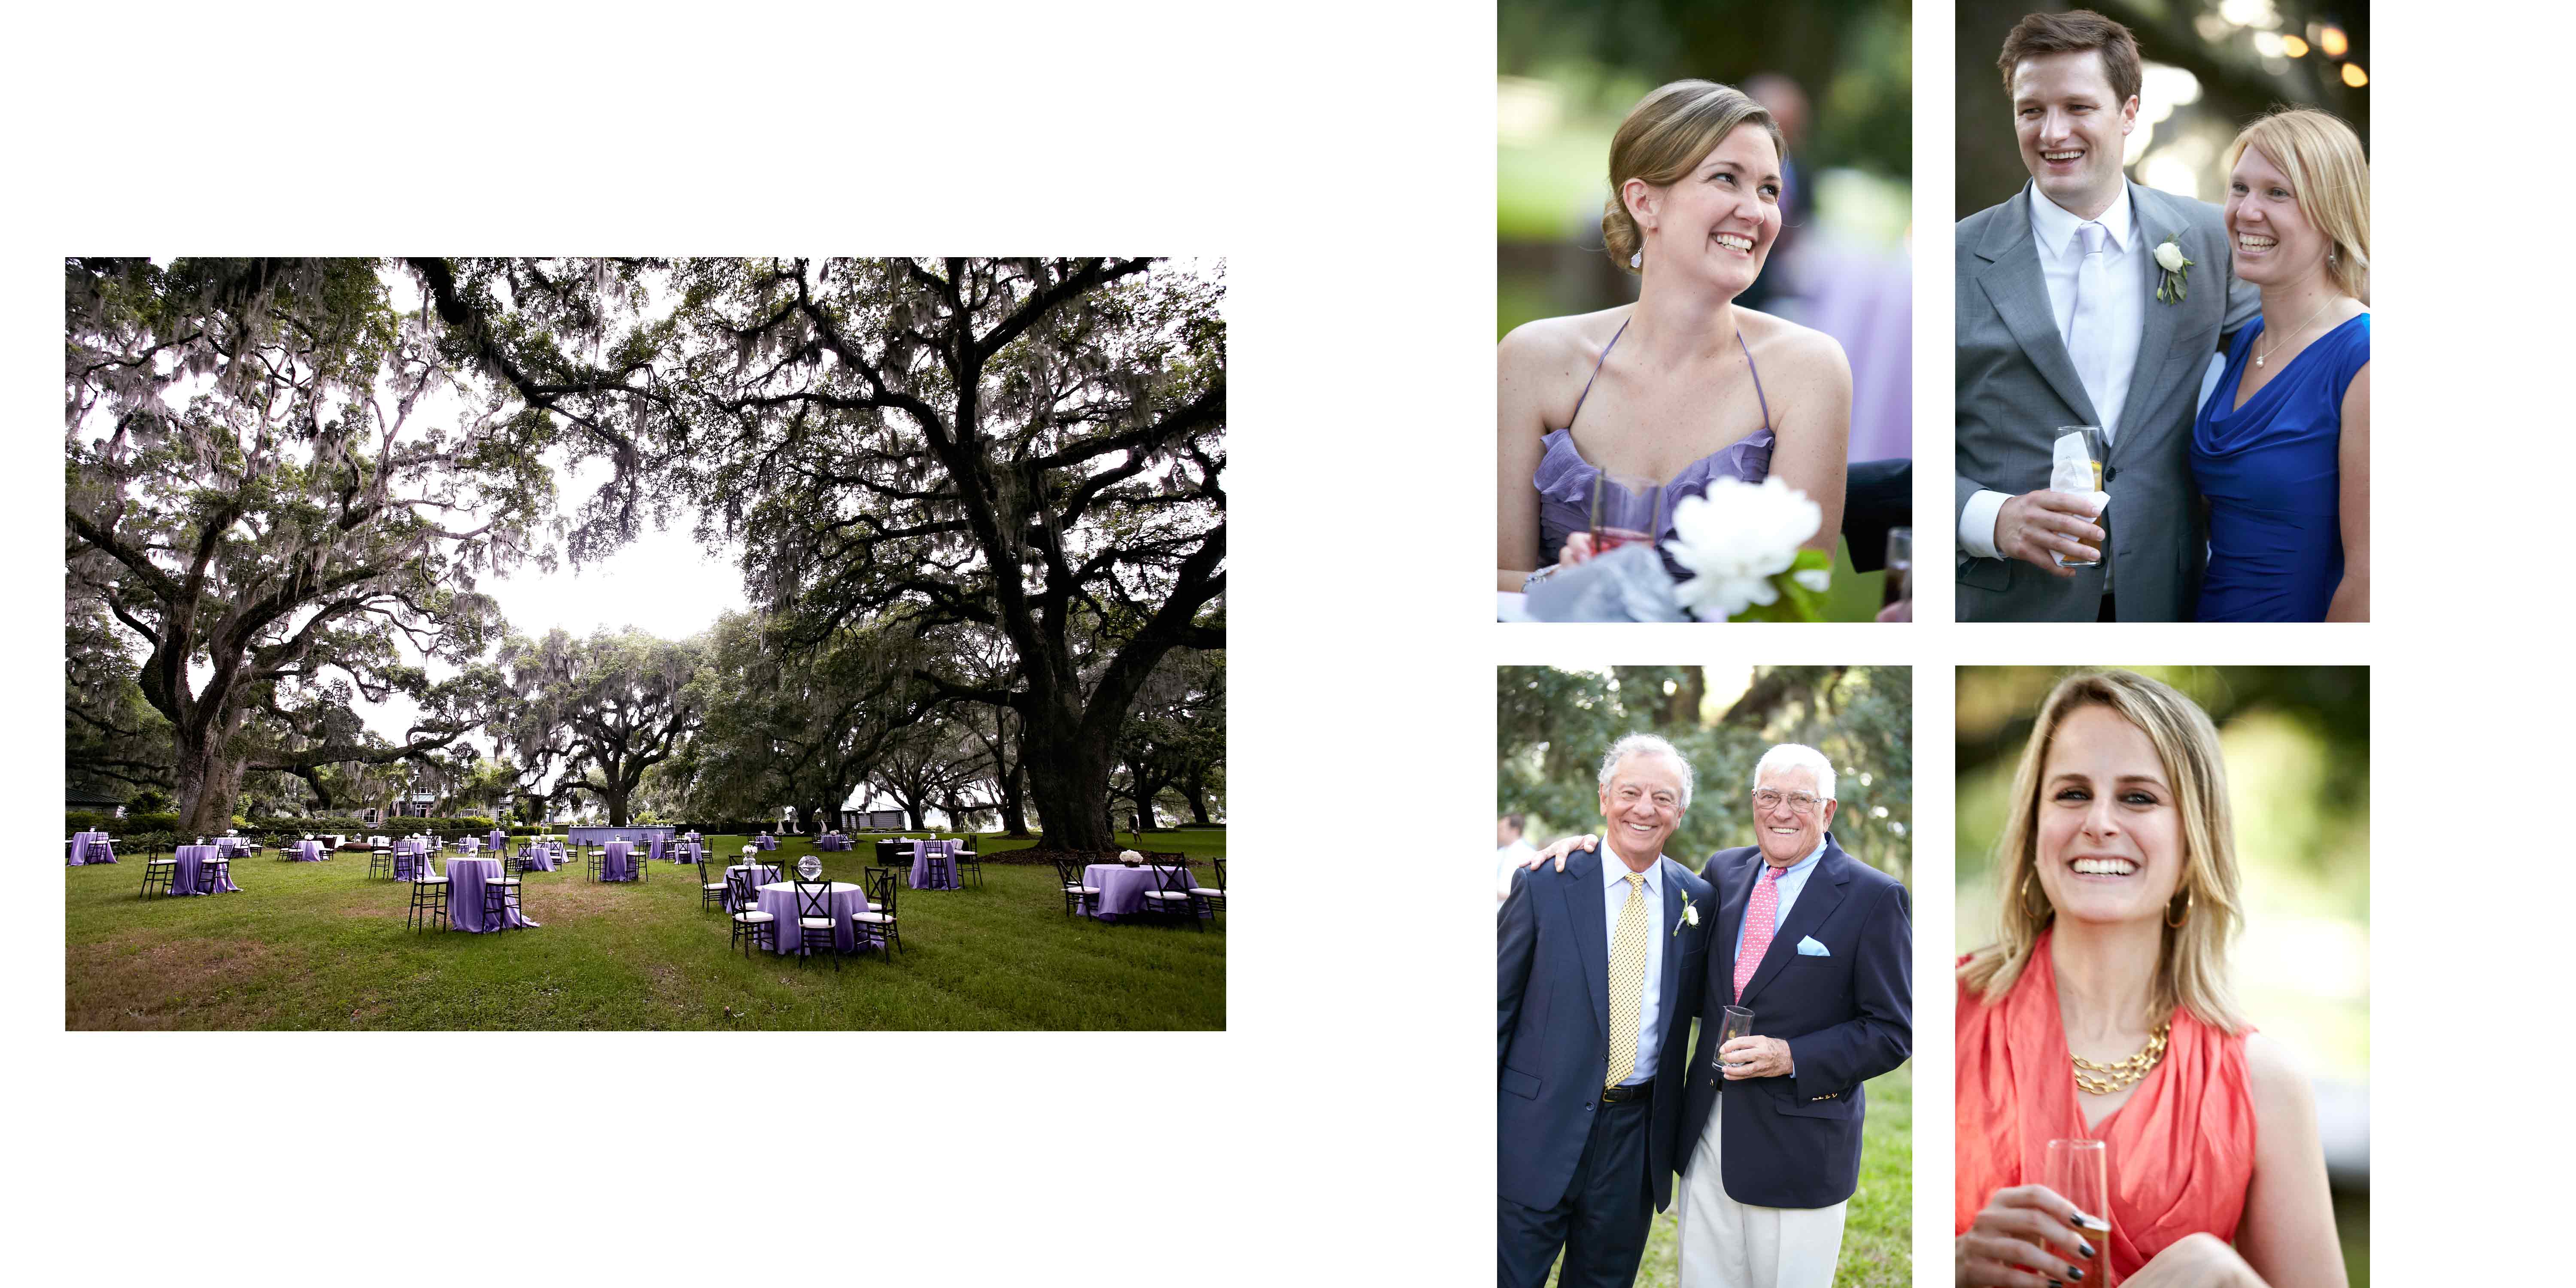
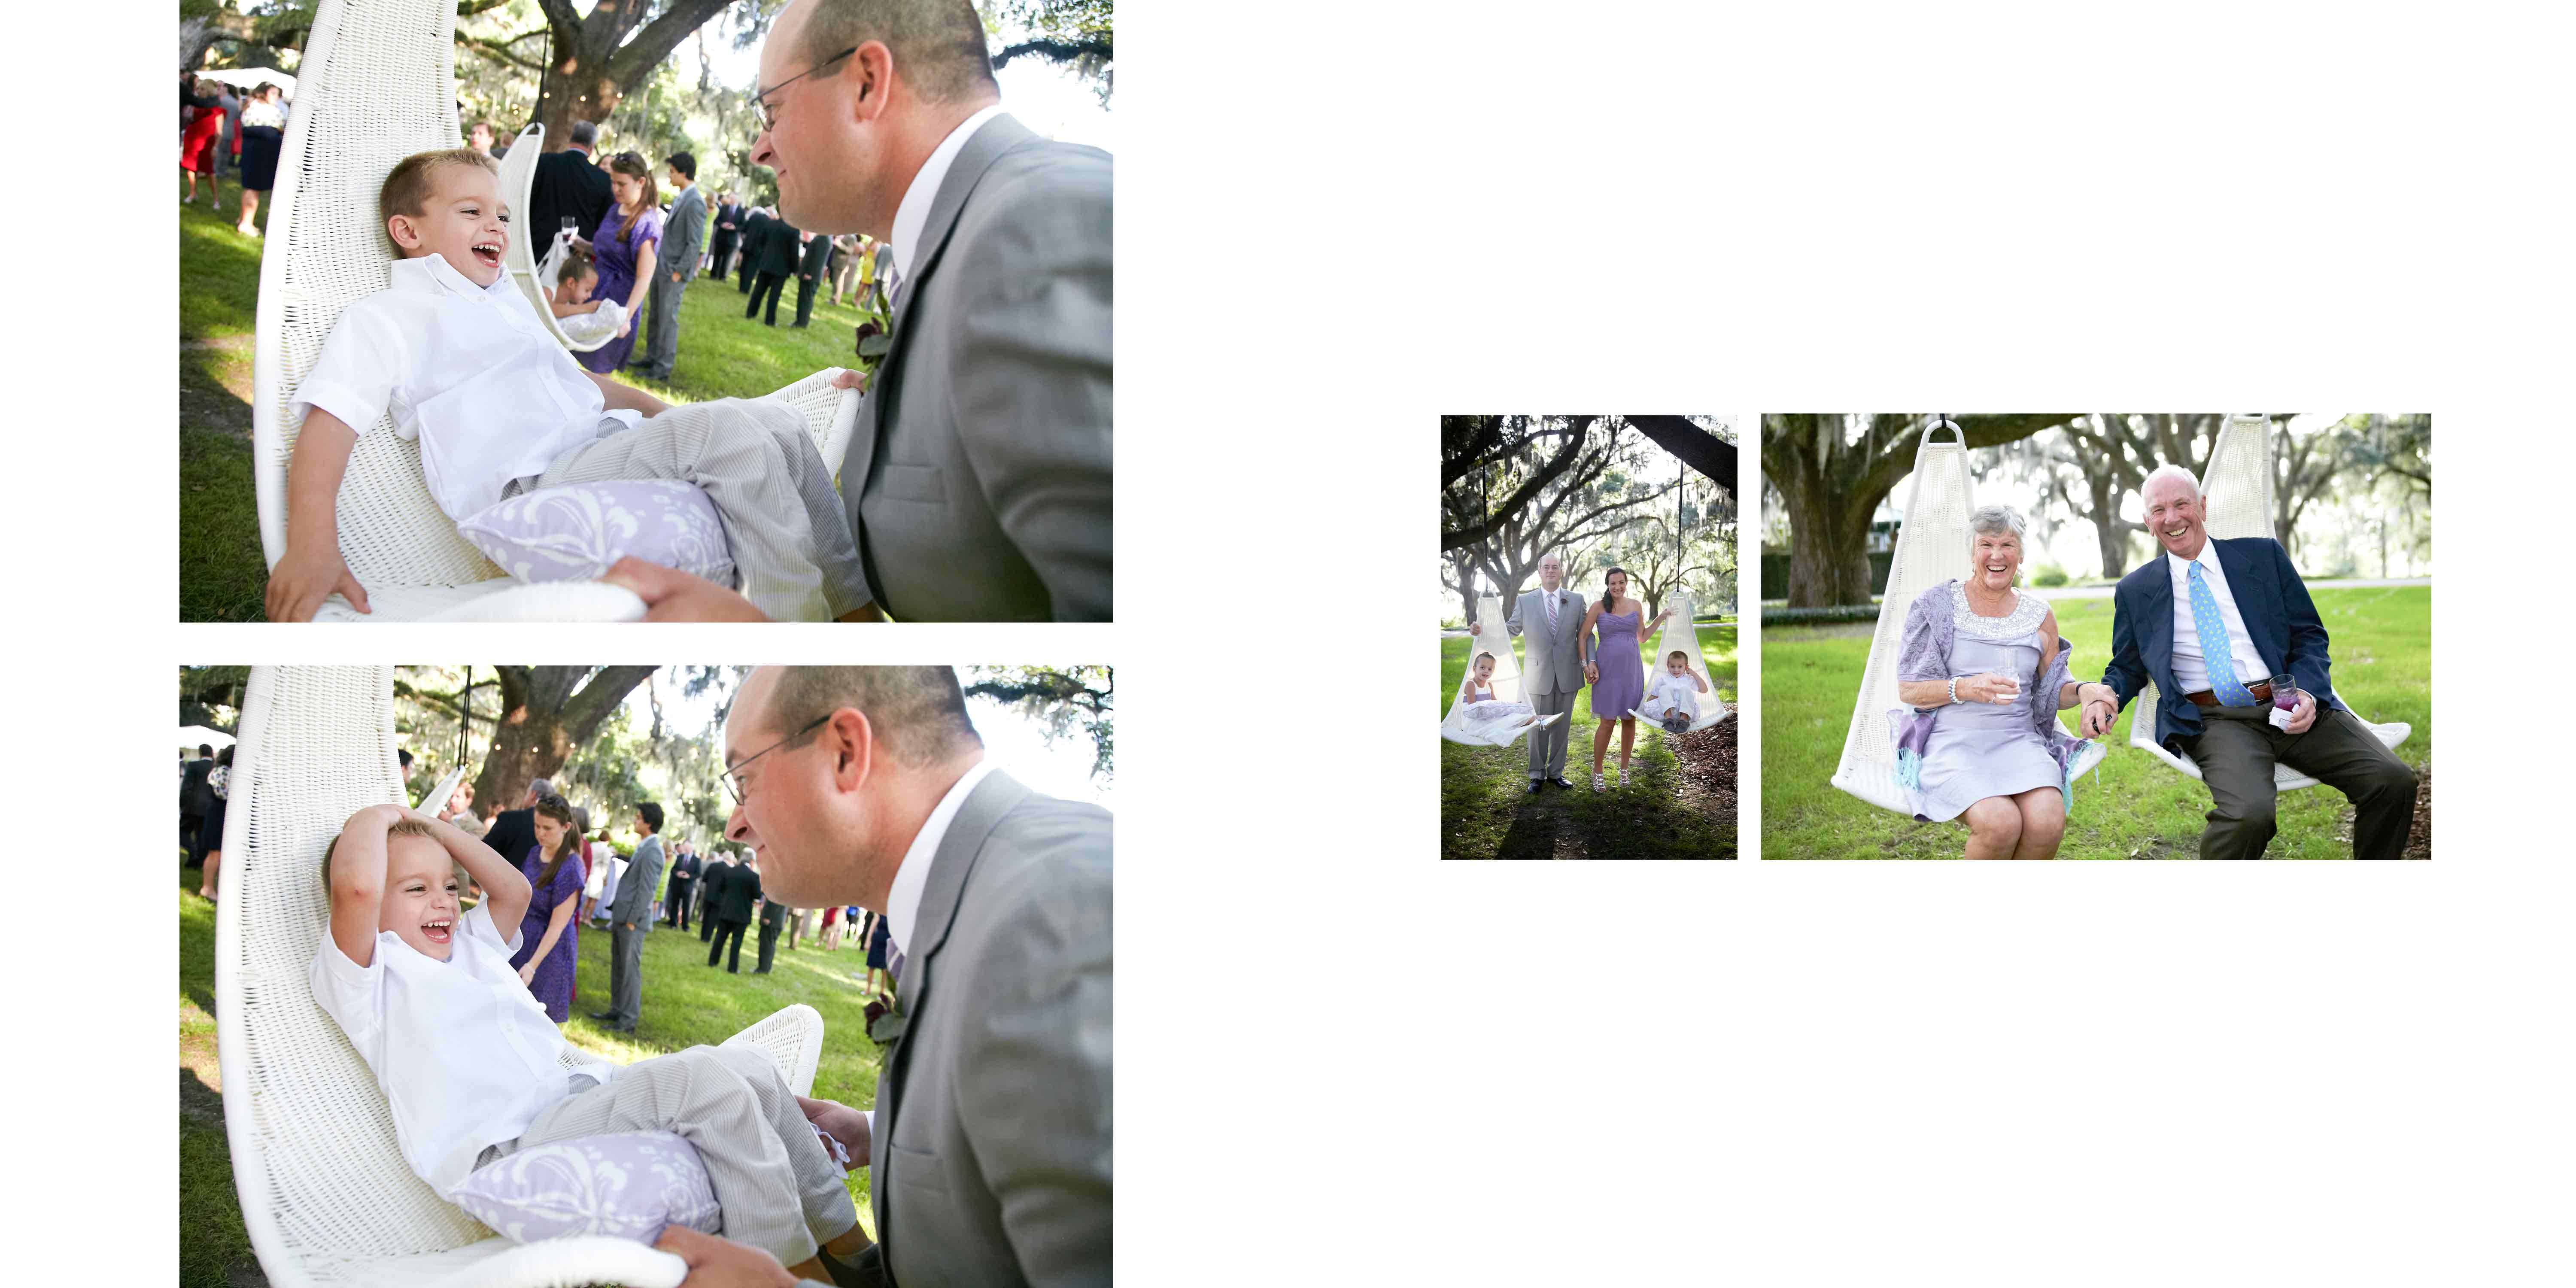
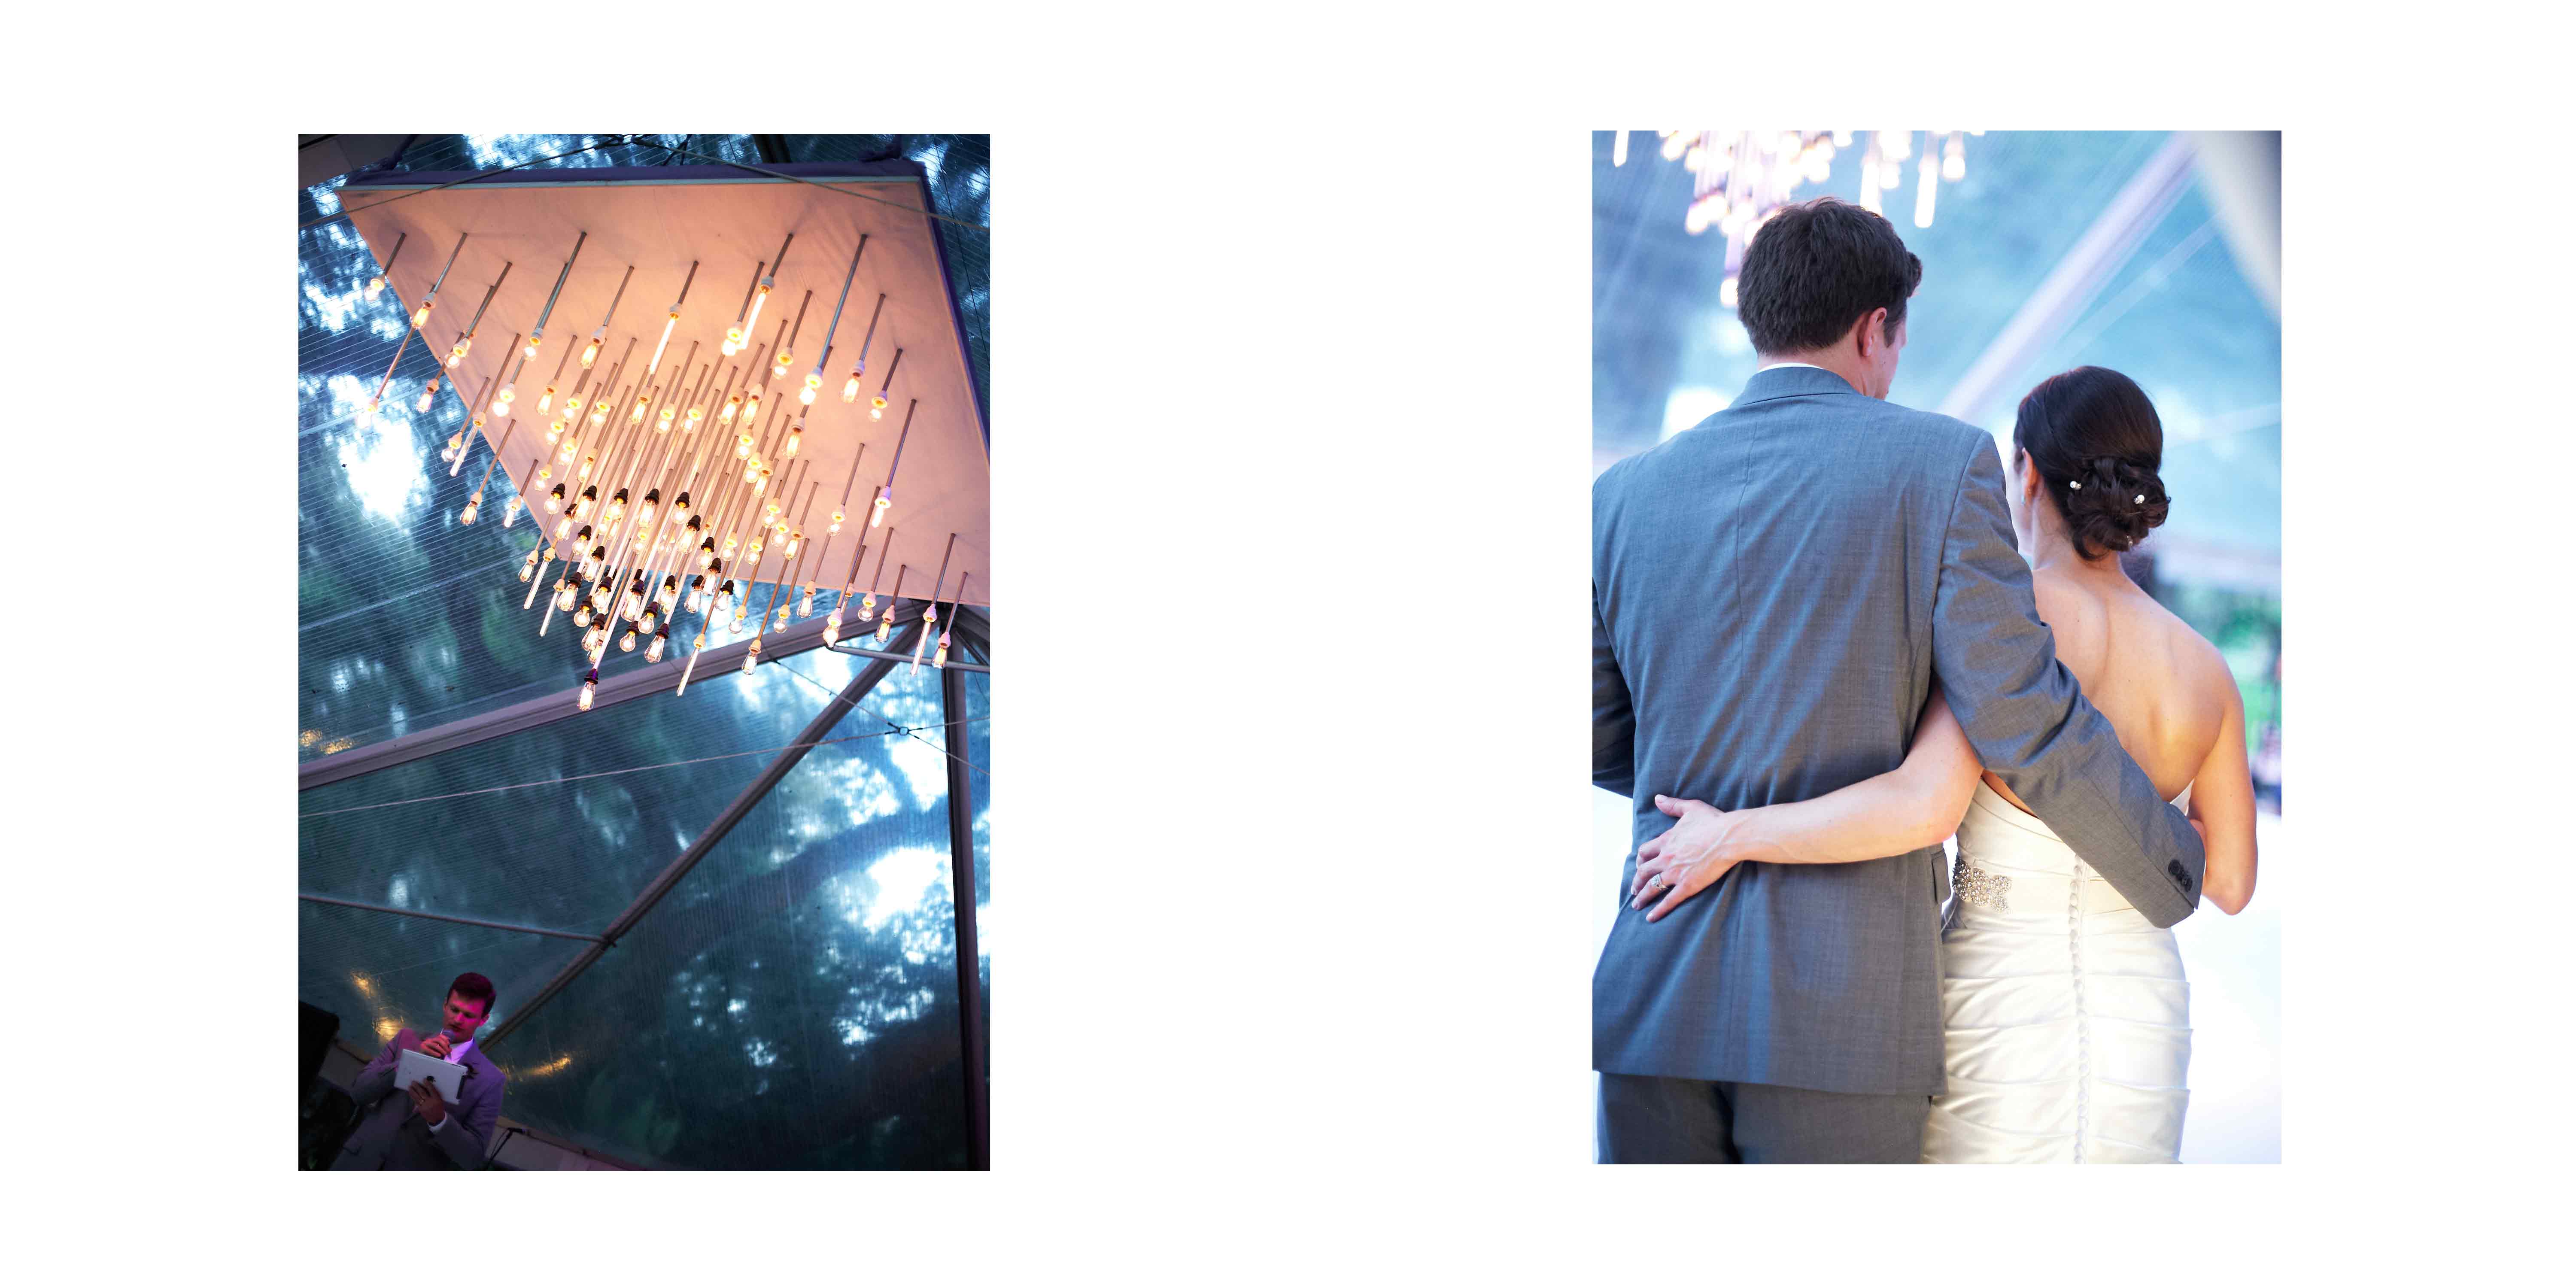
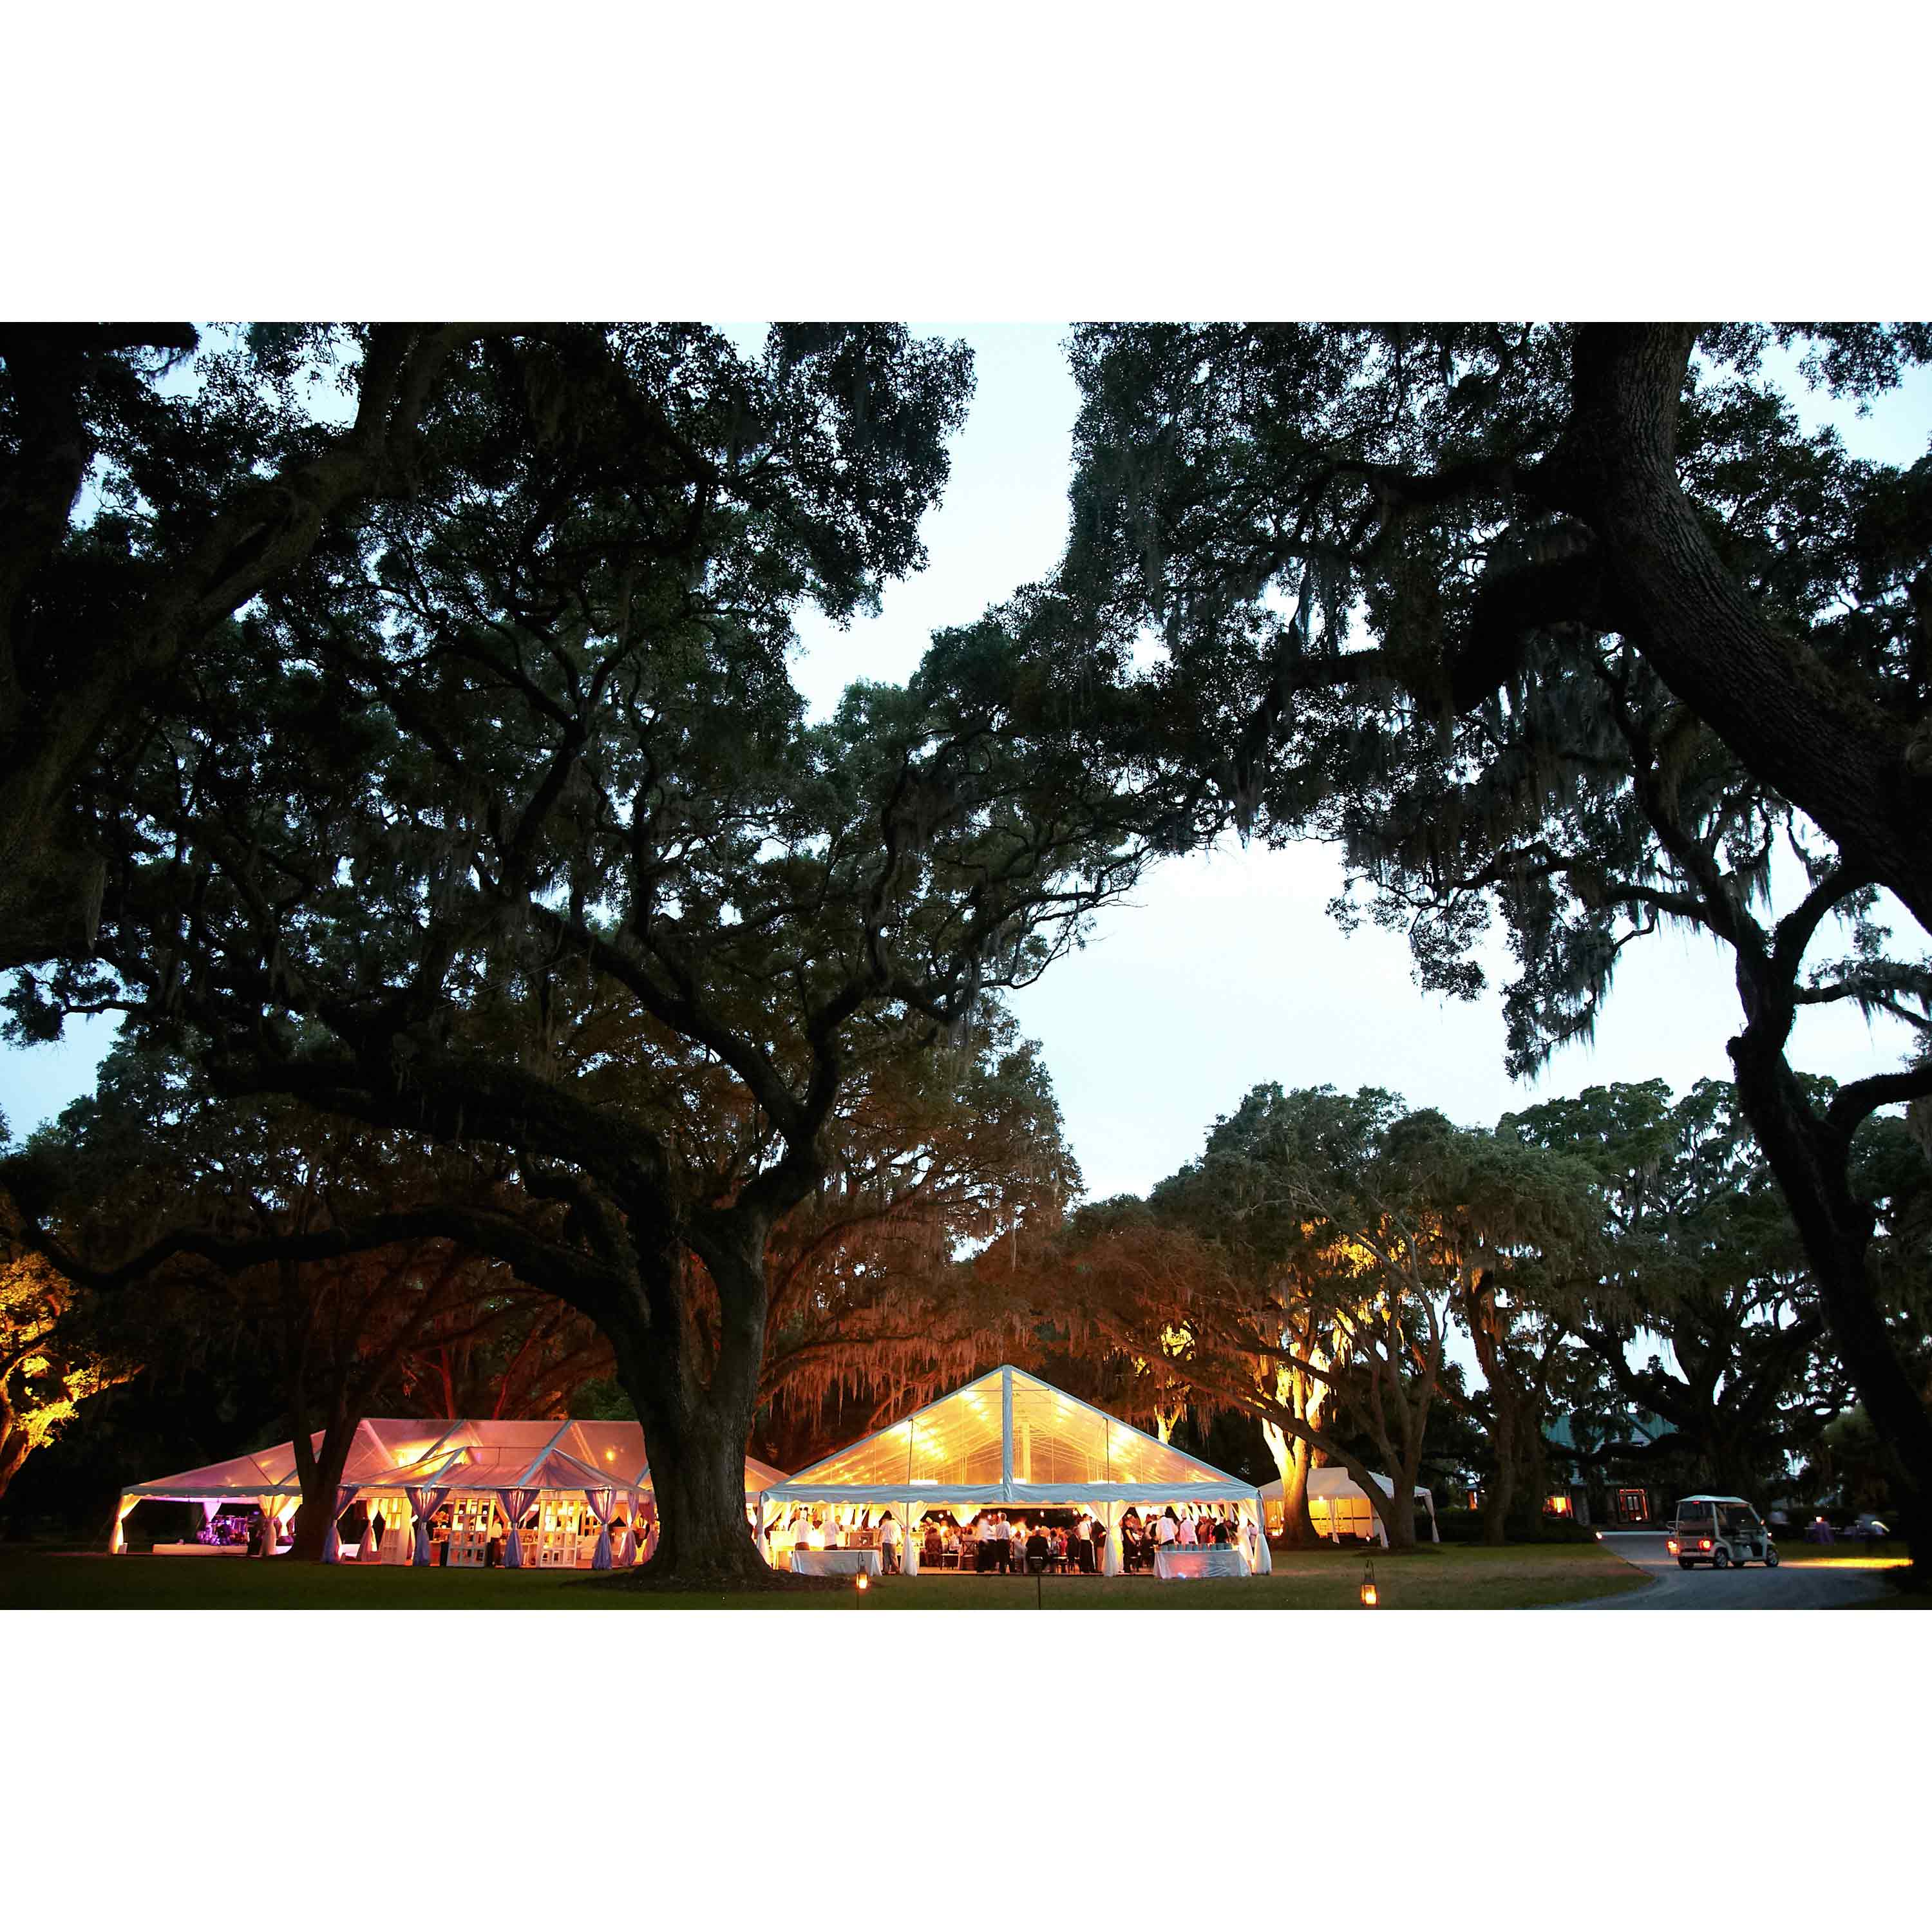
When shooting a wedding, I think about the story that I want to tell. There are so many things to photograph at a wedding, but the integral parts of the story are: fabulous portraits of the bride, groom and the wedding party; beautiful images that capture the sense of place; emotional getting ready shots; indicative detail shots; candid photos of the guests arriving; a variety of wedding ceremony images; historical family photographs, happy candid snaps of guests at the cocktail hour; and finally celebratory images at the reception. This is the order that I almost always present my images in the final albums that I show to my clients. People want to see beautiful images of themselves first, their friends second and then the story of the day.
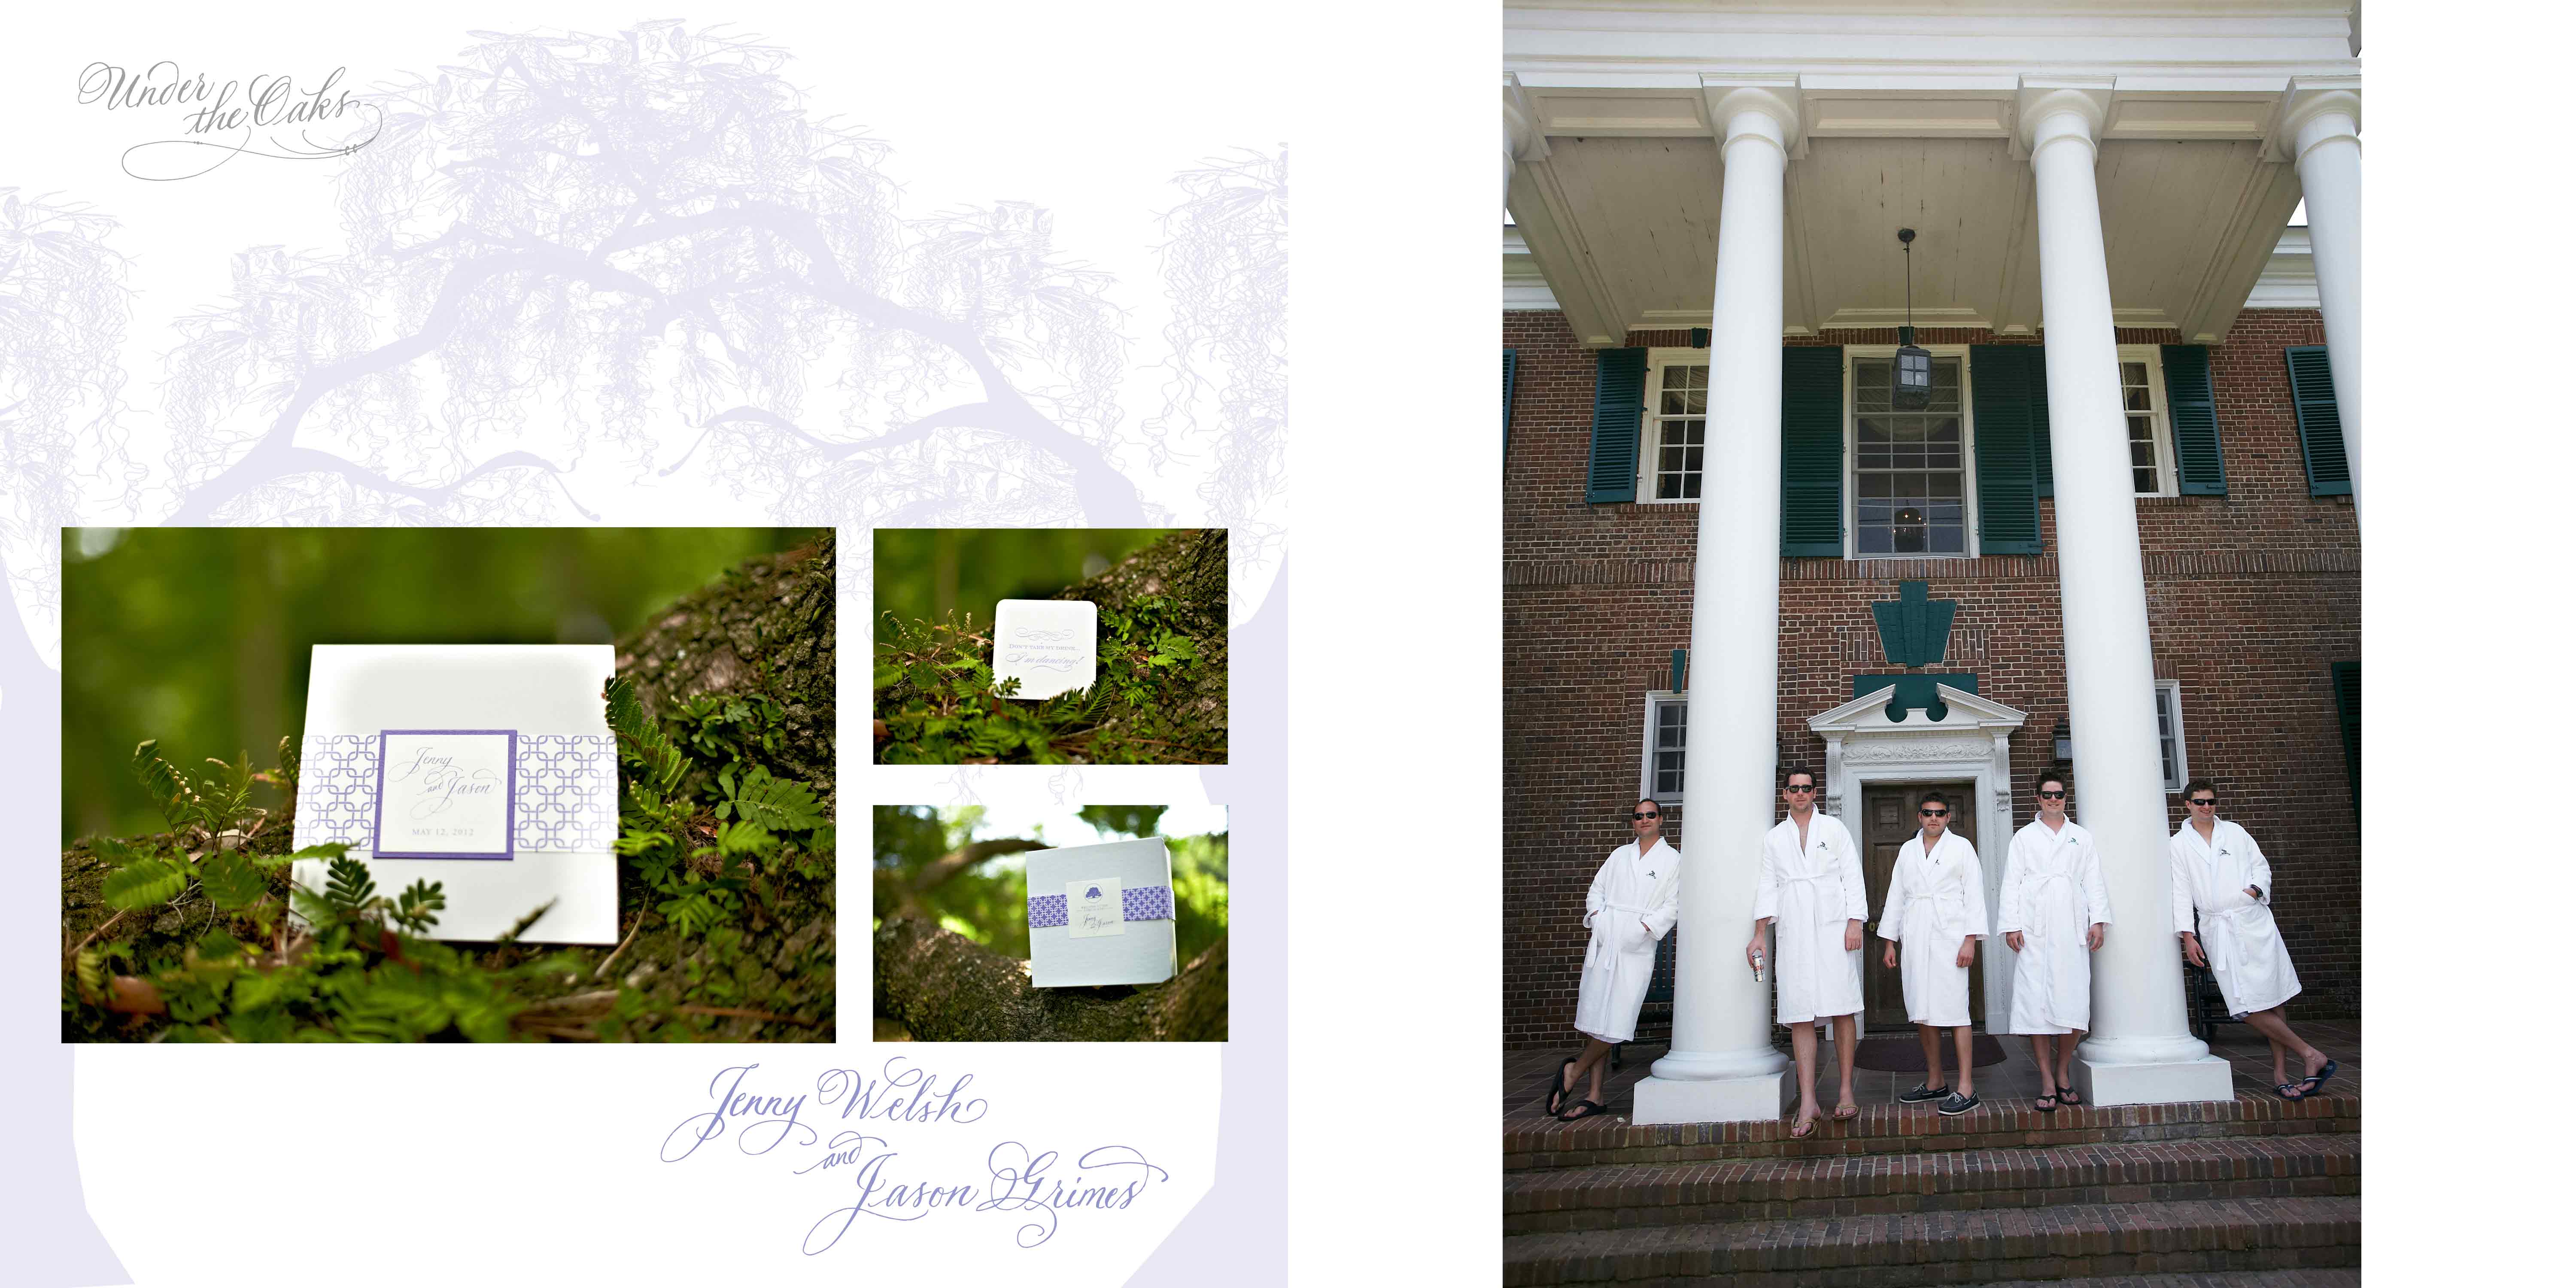
In my mind editing starts with shooting. In order to shoot beautiful images, you have to know your craft and equipment, and you need to intuitively choose the lens you want to use to depict the scene in front of you the way you envision it. When I am walking around a wedding, I am constantly changing lenses in order to cover the event as comprehensively as possible. I often will stand in one place, shoot an image with my wide angle and then switch to my 70-200 to get close to my subject without moving an inch. This gives me options later when I am sitting in front of my computer trying to choose photographs that tell the story and relate beautifully to one another.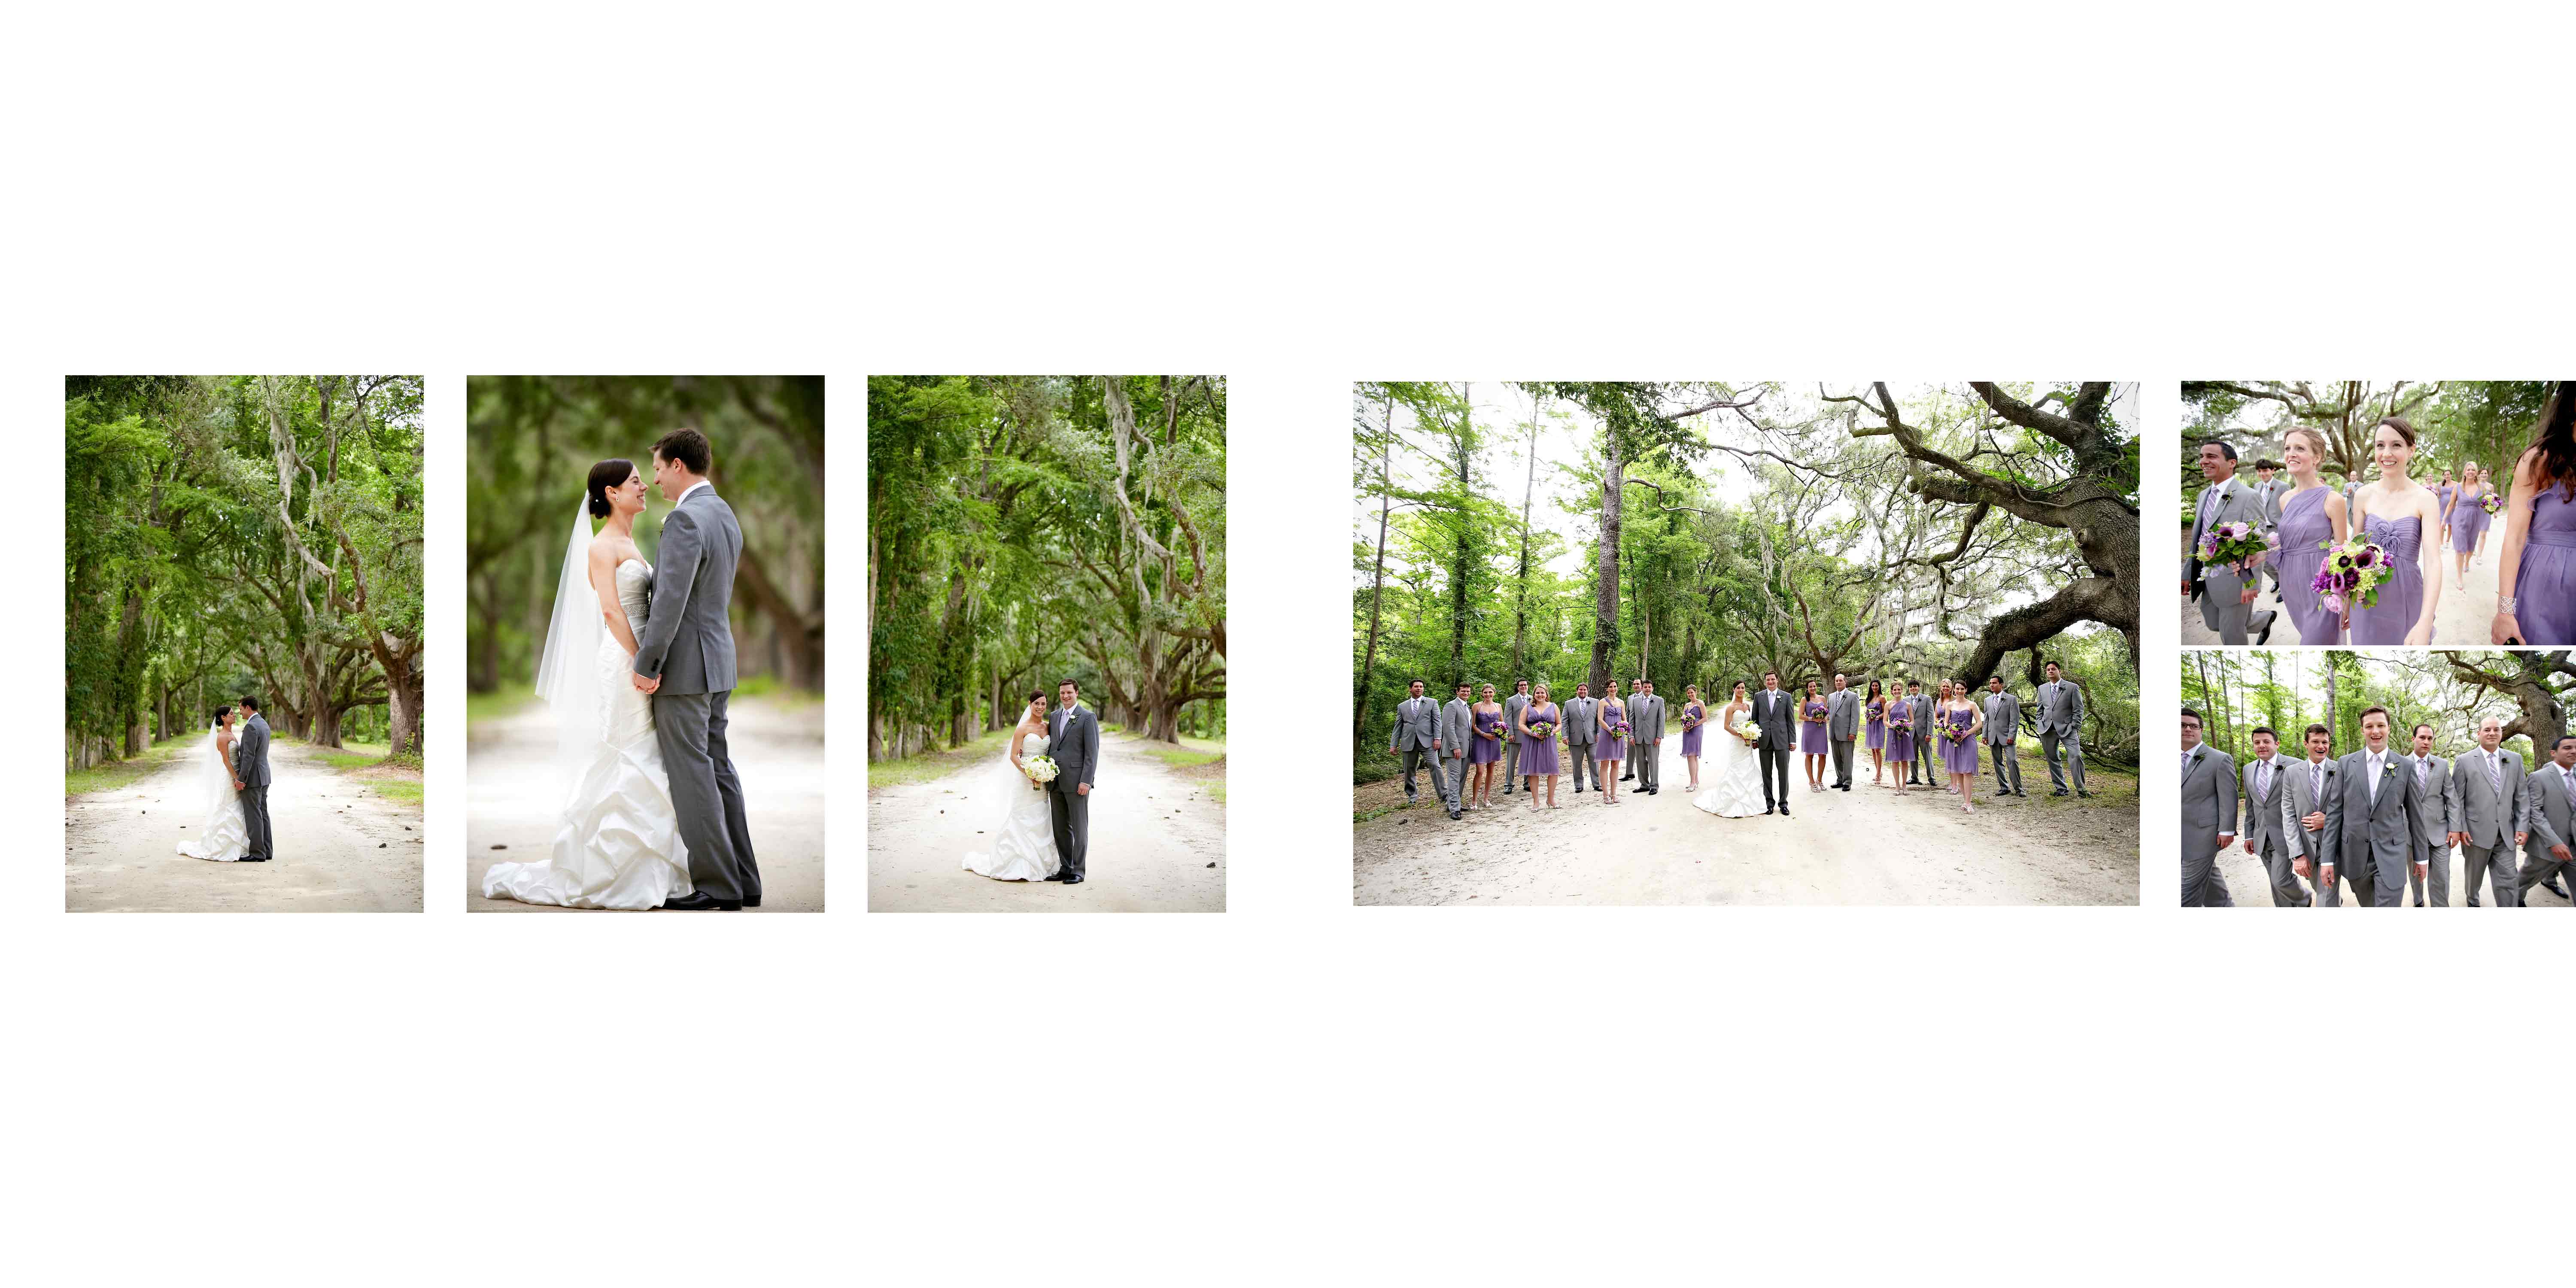
After the wedding, I load all of my images into a catalog set and make them as large as possible on the screen. I usually have between 2,500-3,000 images to edit and since I don’t like spending too much time in front of my computer, I streamline the process as much as possible. My first edit is fast, spending less than a second or two on each image, removing images that have strange facial expressions, odd body postures or gestures, bad exposure and composition. Once I have it down to the beautiful images, I start being much more critical about composition, facial expression and body language. I shoot in burst mode to be able to capture the nuances of body language and facial expression. This is one of the most valuable tools you have on your camera because a fraction of a second can mean the difference between an extraordinary image and an average one.
The next step is to look at your images as a story and see which parts of the story have too much information and which parts need more attention. As I mentioned in the beginning of this blog, my story line is basically the same for every wedding. The personalities, style and locations change, but the essence of the story remains constant, as should your shooting and editing process.

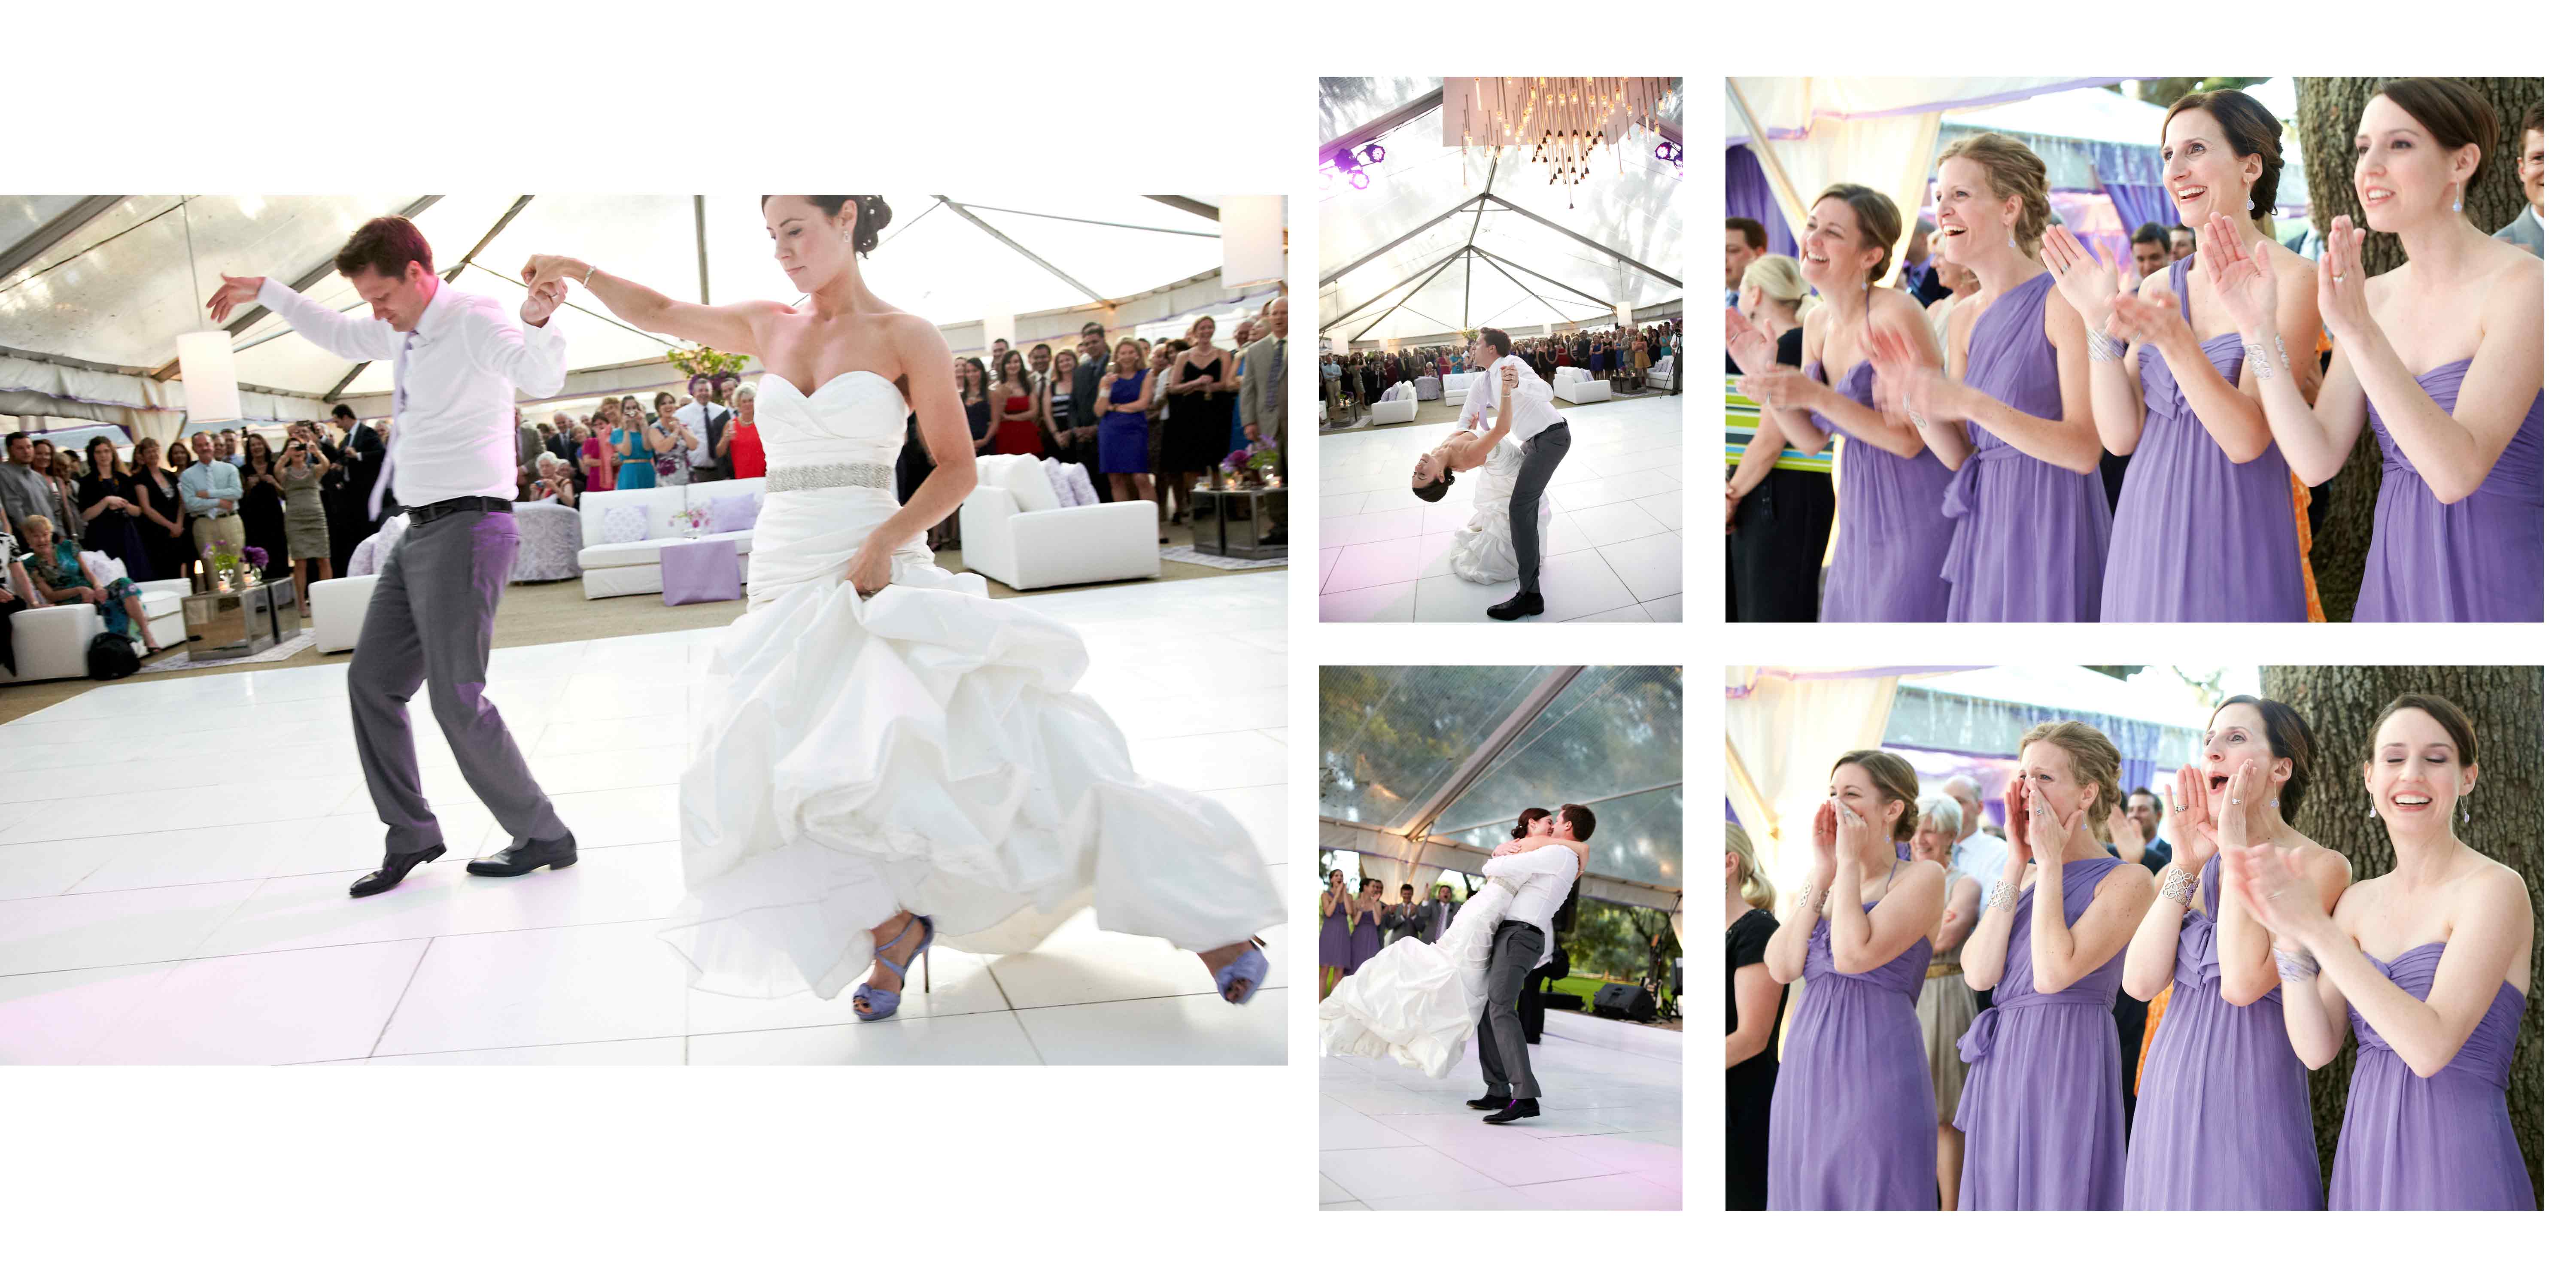
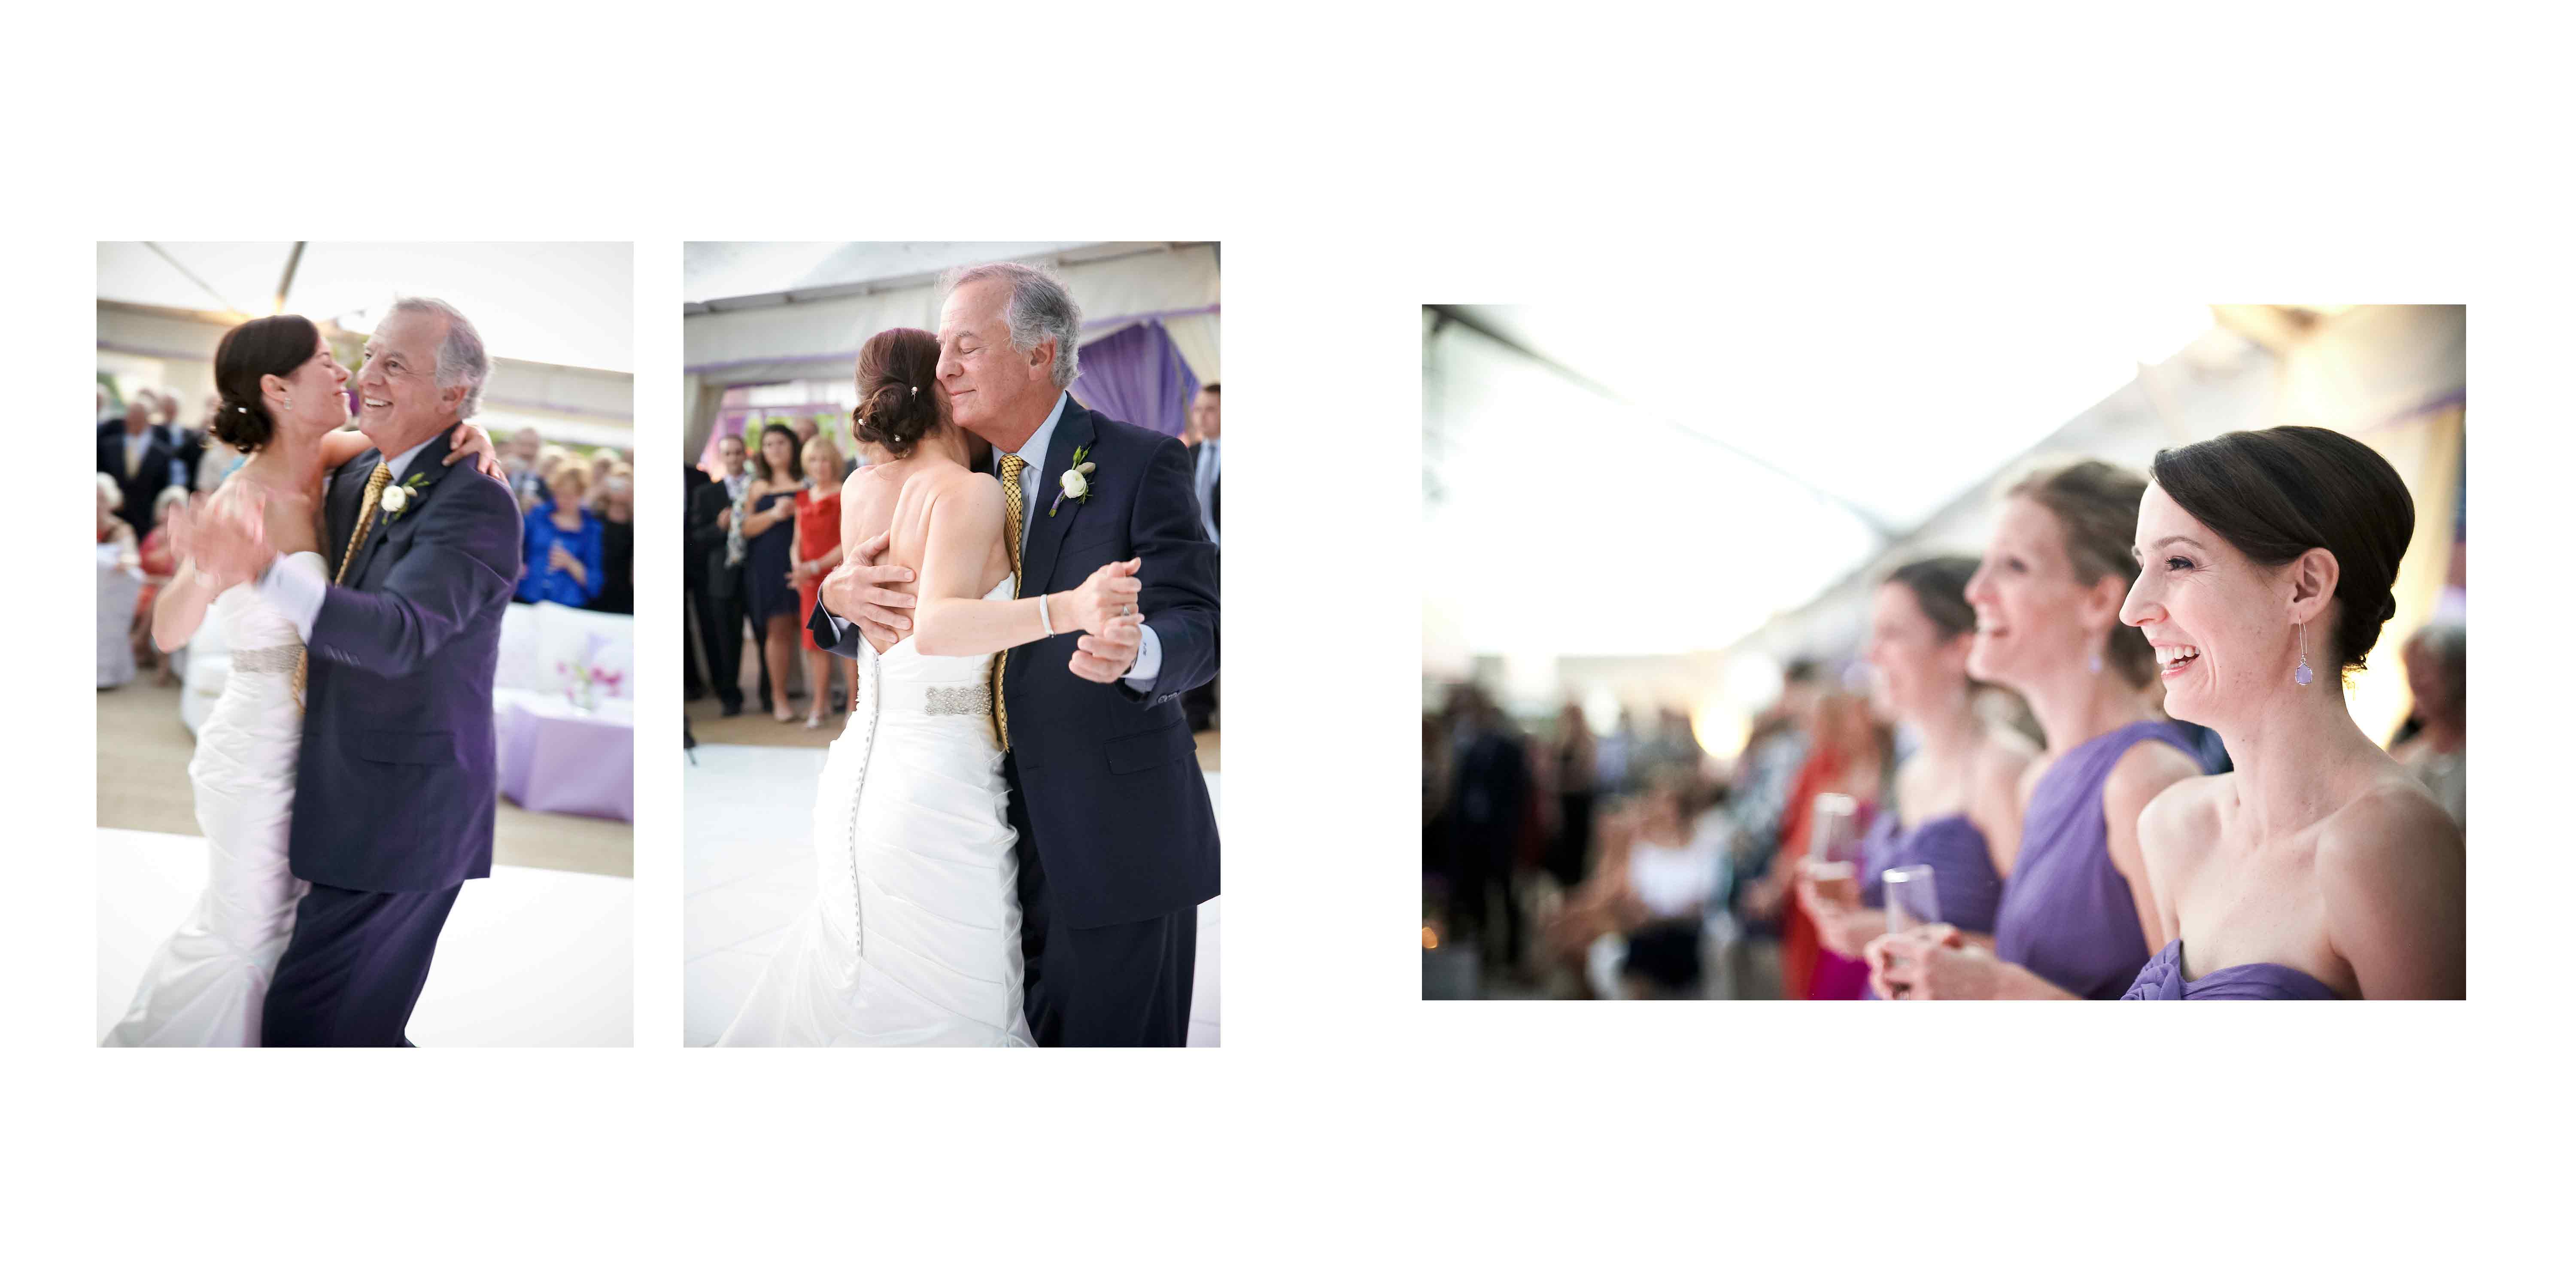
The final and incredibly important part of presenting your work is knowing how to put images on a page. This is where Album Builder is an invaluable tool. Anyone who knows me knows that I don’t say things unless I mean them, and when I say invaluable, I mean it. The page layout option makes it easy for you to start grouping photographs together that you think will tell the story in a seamless manner and look beautiful together. When deciding upon images to put on a page, I first think of the style and feeling of the wedding and make sure that the individuality of the wedding is expressed in the album, then I select images that relate to each other with regards to theme, color and emotion. I take those images and place them in the sequence that I mentioned at the beginning of this post. I always follow the thoughts of Ludwig Mies van der Rohe that ‘less is more’ when deciding upon images. My designs incorporate a lot of negative space so that people can enjoy the images and hopefully be transported to the moment the photograph was taken.
Once I have completed my design, I send the layout to my clients who then have a total of three edits. Once they have given me approval I use either Priscilla Foster or Iris Books to have my albums printed depending on the style my clients have chosen.
 Thanks for the guest post Melanie! To see more about Nashan Photography, click here.


