How to cull your photos at warp speed by Sean McLellan

Cutting down the time that I have to sit in front of a computer is something I’m constantly trying to do. Spending more time with my wife and kids = good. Spending more time by myself staring at a glowing screen = bad. Here are a few quick tips that have helped create much more time for our family and hopefully will now do the same for you.
Shoot with purpose and intention
Before we get to any software tips or tricks, let’s back up. It all starts with shooting. Be more purposeful when you click the shutter. Sometimes I turn off the high speed shooting modes so that the capability of my camera actually can’t shoot anywhere near its possible top speed anymore. For over a year, I actually switched from Canon DSLRs to Leica rangefinder cameras, and one of the reasons was because when shooting with a Leica, you have no choice but to be more intentional with each photo you take due to the mechanics of the camera.
Also practice shooting when you aren’t on paid jobs; try focusing on clicking the shutter at decisive moments to get a feel for paying attention to what’s about to happen and then getting that moment in a single click rather than treating your camera like you’re shooting video.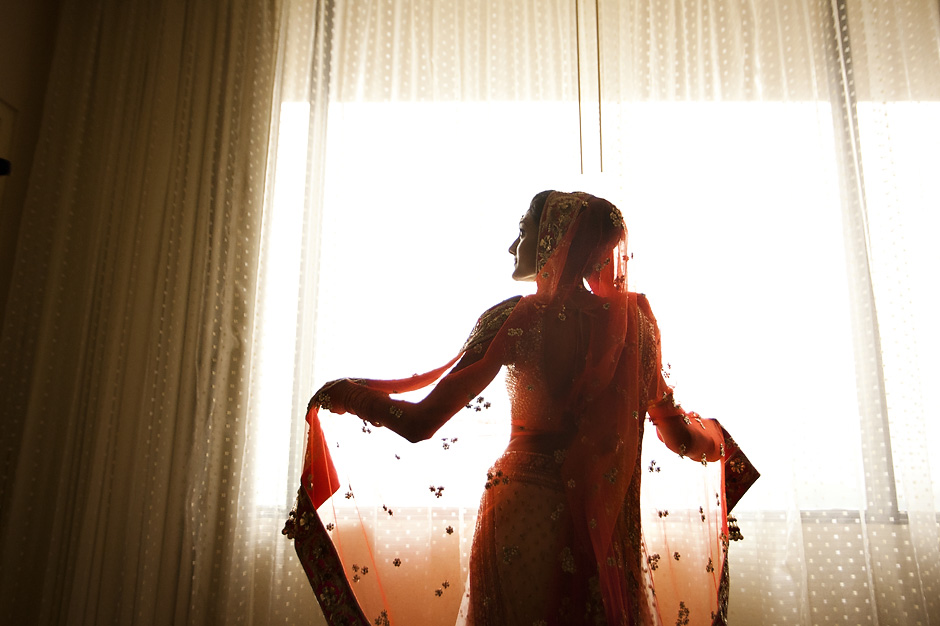
Edit in, not out
When people start culling images, it seems to be the natural tendency to go through everything and choose what to ditch.
Stop.
Instead, choose what you want to keep. It’s much easier to take decisive action when the question is “Do I want to put this image in an album?” or “Would I feel proud delivering this image?” instead of second guessing whether you should get rid of an image. Getting rid of images feels negative instead of positive, so you linger … and if you are going through hundreds or thousands of images, even taking an extra second or two on each image adds up to hours of your life being wasted.
Start from the end and move to the beginning
This is huge and something that my beautiful wife came up with. Rather than starting your cull from the beginning and moving to the end, start from the end and work back to the beginning. Why?
Because your best images are usually at the end of a sequence and not the beginning. Think about it … you’re shooting a couple, you’re trying to get them to smile–they aren’t quite comfortable yet, and you’re shooting as you work with them. And then, bam. They let their guard down … real smiles–got it. Then you move on. You may have four or five images to look through later, but chances are that No. 4 or No. 5 are going to be better than the first three. If you cull from the beginning, you might choose No. 2 or No. 3 to edit in, but then when you see No. 4 or No. 5 right after that, you realize that they are similar–only better. So you edit those in, meaning you have to go back and take No. 2 or No. 3 out. Starting at the end you would have just edited in No. 4 or No. 5 and continued forward, never hesitating on the first three images. This is a huge time saver, for sure.
Photo Mechanic
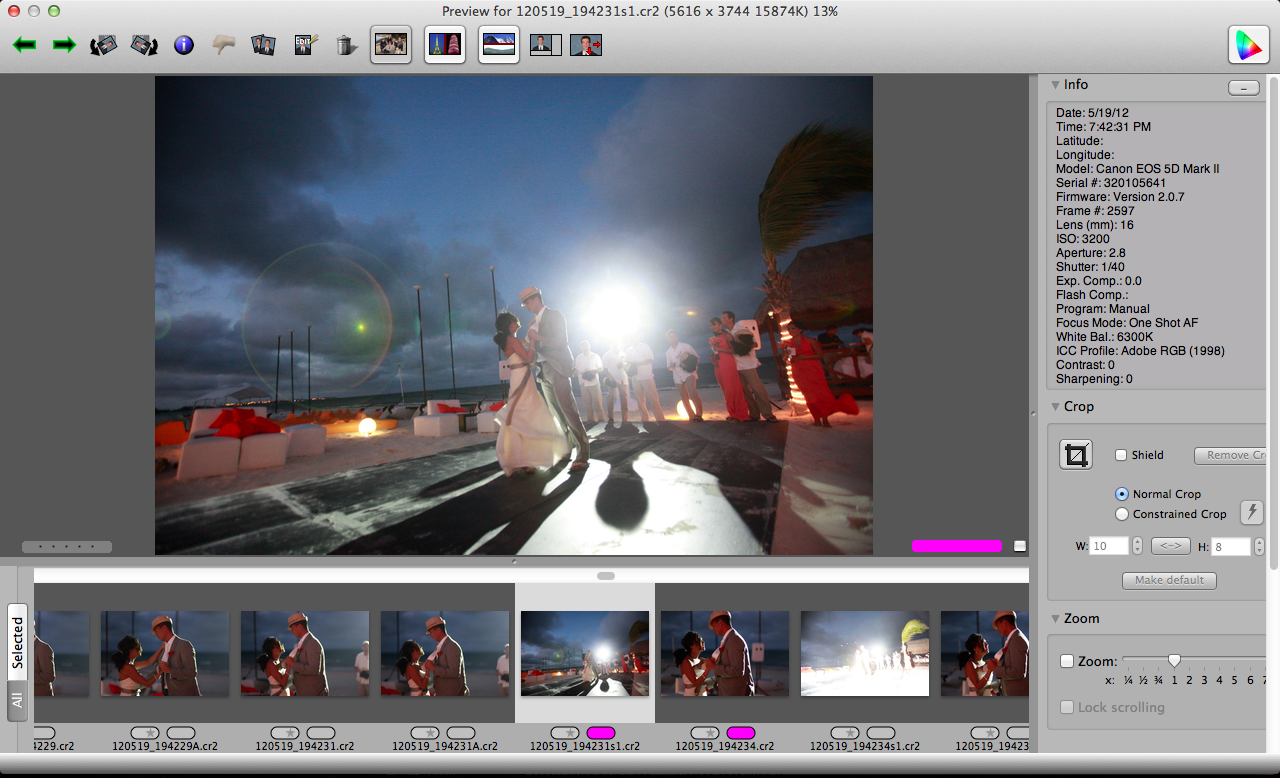
Let’s talk software. You’re not culling your images using Lightroom or Bridge or … anything that isn’t named “Photo Mechanic,” are you? Especially if you are a RAW shooter!
Photo Mechanic is a must.
Photo Mechanic was built for photojournalists in the field. There is absolutely ZERO render time to view each image. Even if you’re working with 22+ megapixel RAW images. You hit the left and right button to switch between images, and absolutely, instantaneously they pop up on the screen at full size with full pixel-perfect clarity.
When you see an image you want to keep, you can hit any number of keys to tag the image to fit whatever culling method you develop for yourself. You can rate images with numbers of stars, specific colors, etc. Personally, I just hit the “1” key to start with, editing them in. Then I do a second pass and hit the “2” key for the final main edit. Then I may do passes to choose images for the blog or for an album design and tag those differently.
Photo Mechanic is available for both Mac and Windows. It’s made by a very small business called Camera Bits, and you can download a free trial here.
 Bonus Tip: The Lightroom Catalog
Are you a Lightroom user? After you create the catalog for something large like a wedding, it can take hours to generate the thumbnails/previews. A nice, unexpected byproduct of switching to Photo Mechanic to cull the images down is that after we have our final selection, we move them to a folder named “RAW Keep.” Only then do we create a Lightroom catalog, and we only import the images from the new folder. This cuts out a huge amount of rendering time in Lightroom and also keeps Lightroom running faster since it has fewer images to keep track of when it’s open.
And there we have it. Implement these tips as soon as you can, and start using your newly found free time to do something important with the people you love and care about.
About the author: Sean McLellan and his wife, Mel, are the Nashville-based wedding photographers behind McLellan Style. Their work has been featured by In Style: Celebrity Weddings, MSNBC: The Today Show, and other national media. In 2010, McLellan Style was recognized by the Adorama Learning Center in NYC as one of 10 top inspirational wedding photographers in the industry today.
Enter To Win
One lucky winner will get a free copy of Photo Mechanic (chosen randomly). 10 Lucky Winners will get a 6-month extended trial of Photo Mechanic. Enter here. (by end of day Sept. 5)
* This contest has ended. Winners will be contacted and announced shortly.


