This week’s tip features the new Radial Filter in Lightroom 5’s Develop Module. This new tool is an impressive addition to the Graduated Filter and Adjustment Brush. Using Lightroom’s Radial Filter tool, you can easily apply selective adjustments such as color temperature, exposure, clarity, saturation and noise reduction. Like a late-night infomercial, there’s always more!
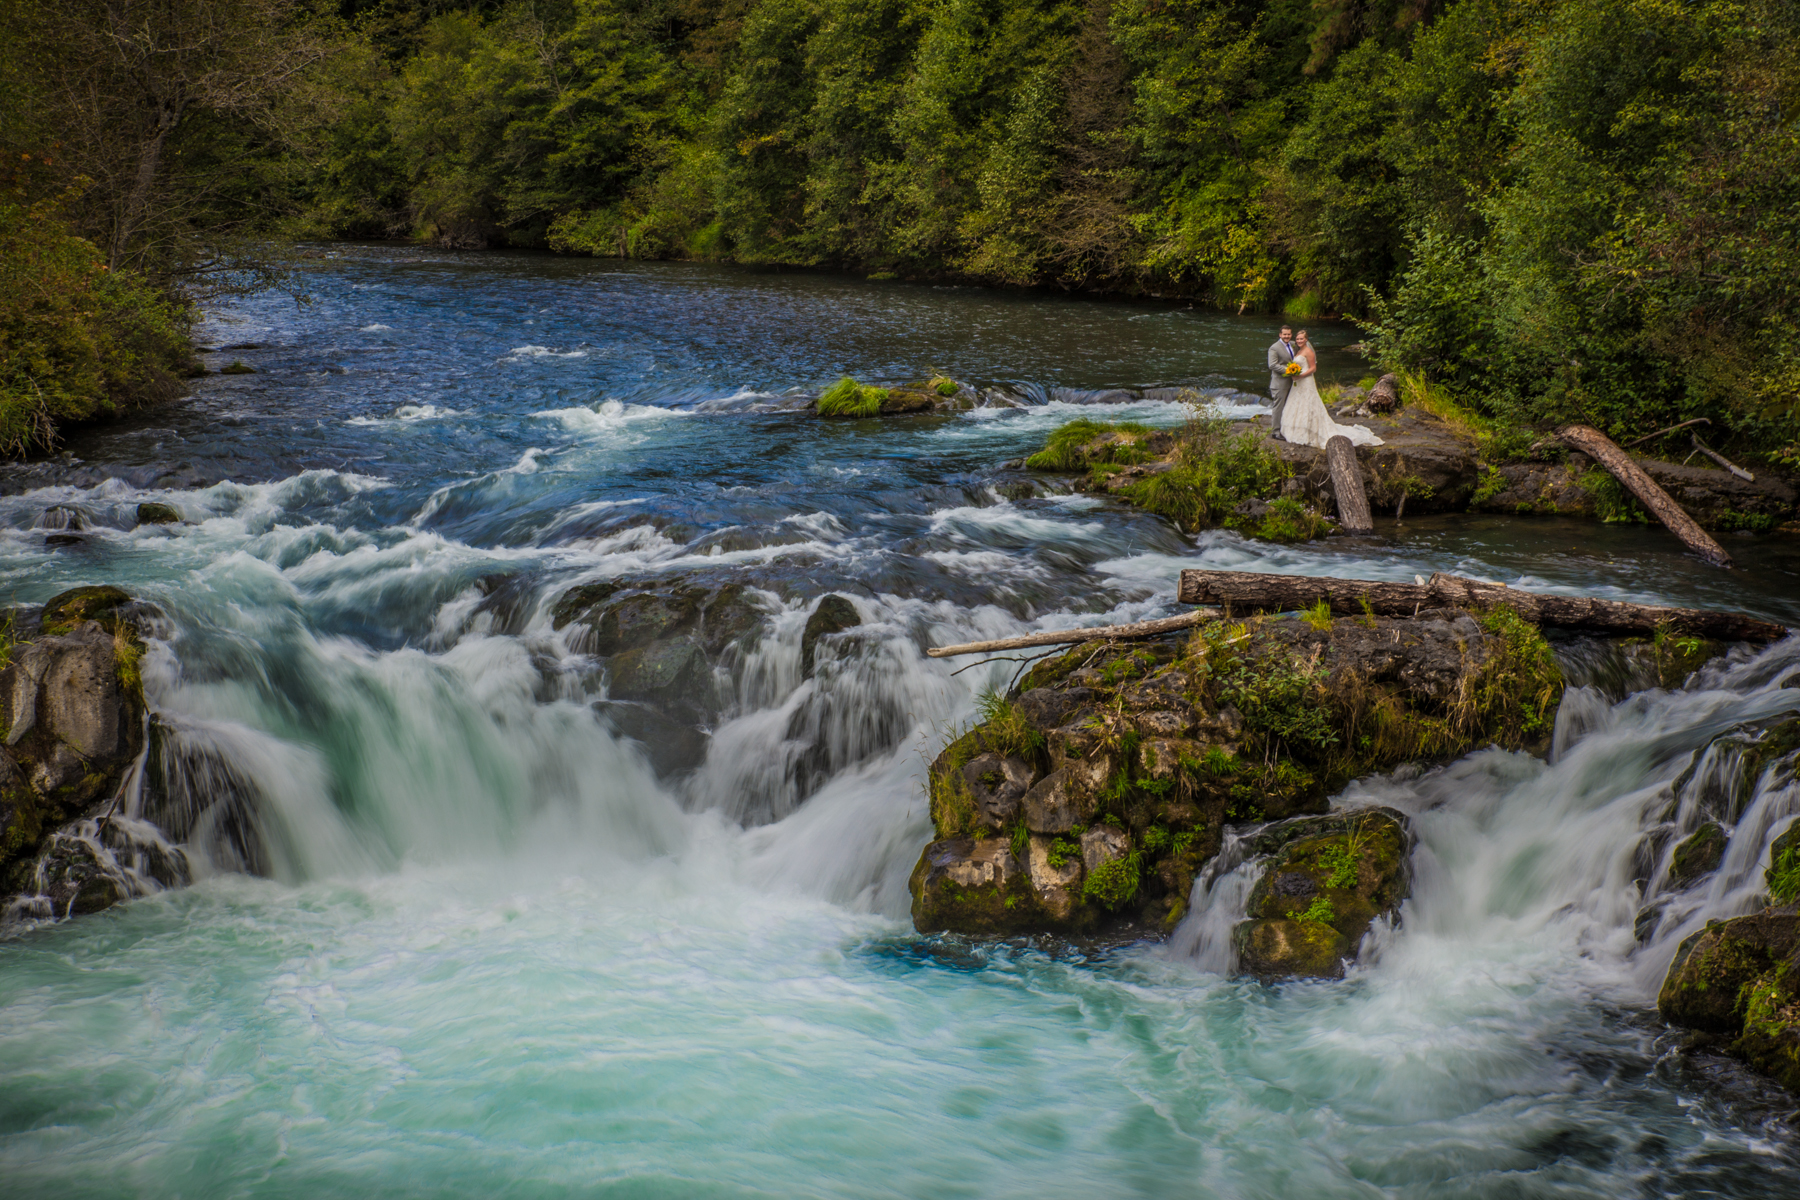
A great photograph starts with the end in mind. The image used in this week’s tip by photographer Evrim Icoz is a great example. Evrim shoots with the final image in mind. Before he’s even pressed the shutter, he’s pre-visualized the final image in his mind’s eye with his signature style. Probably the best tip of the week right there! All the elements are in the image before you start.

What is the Radial Filter and how is it different from the vignette tool in Lightroom? The biggest difference is simply that the vignette tool assumes that what you’re wanting to highlight is in the center of the photo. Think of the Radial Filter as a spotlight, allowing you to highlight or enhance what’s important in your photo. With the Radial Filter, you make an elliptical selection in your image and apply selective adjustments outside/inside your selection. You also can do selective color grading to correct or enhance specific areas in your image. And yes, you can even do custom vignettes.
Best of all, the Radial Filter is non-destructive, which means you can go back at any time and make further adjustments. You can add as many Radial Filter pins as you want by clicking the “New” button. Each Radial Filter has a pin in the center— active pins are black and inactive pins are white.
Because the Radial Filter selection has handles, you can easily change the size and orientation of your selection. If you mouse outside the selection, a rotation handle appears. You can even grab a pin and more the Radial Filter selection off-screen. To delete a section, simply select the pin and hit the delete key. It will vanish with an animated swoosh.
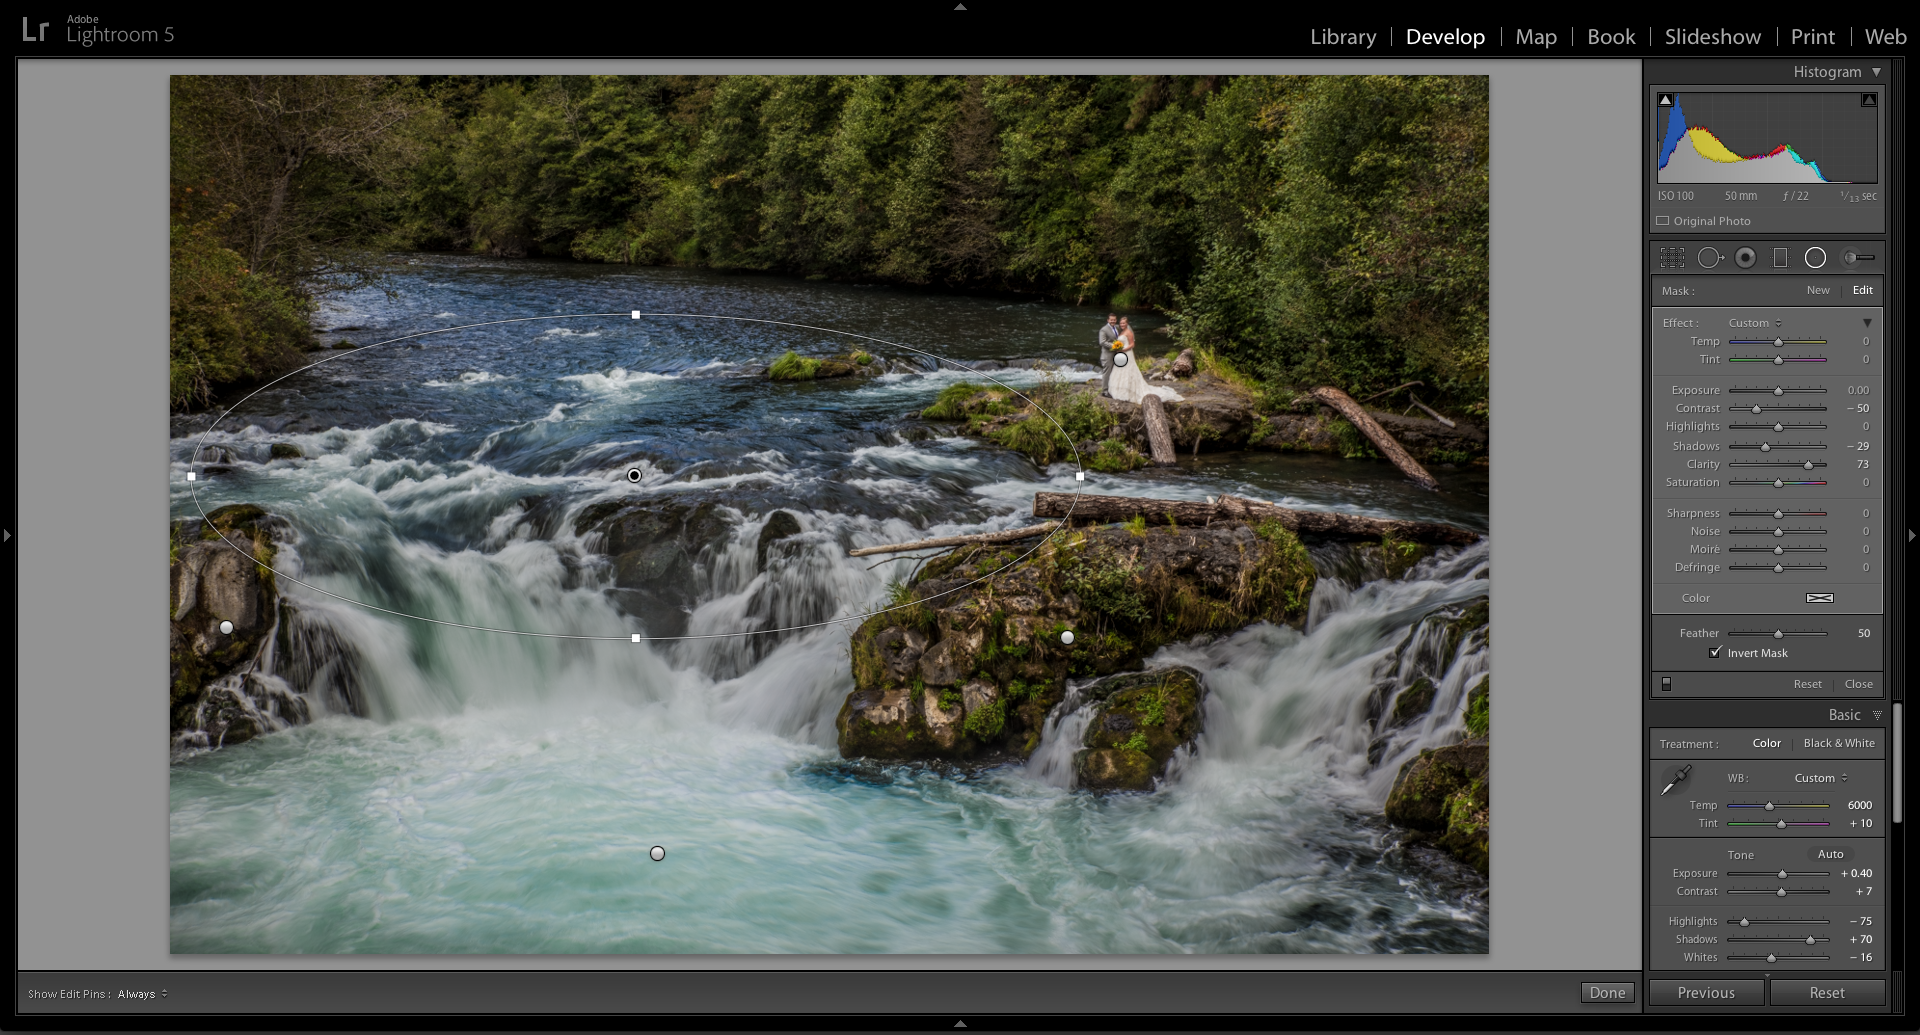
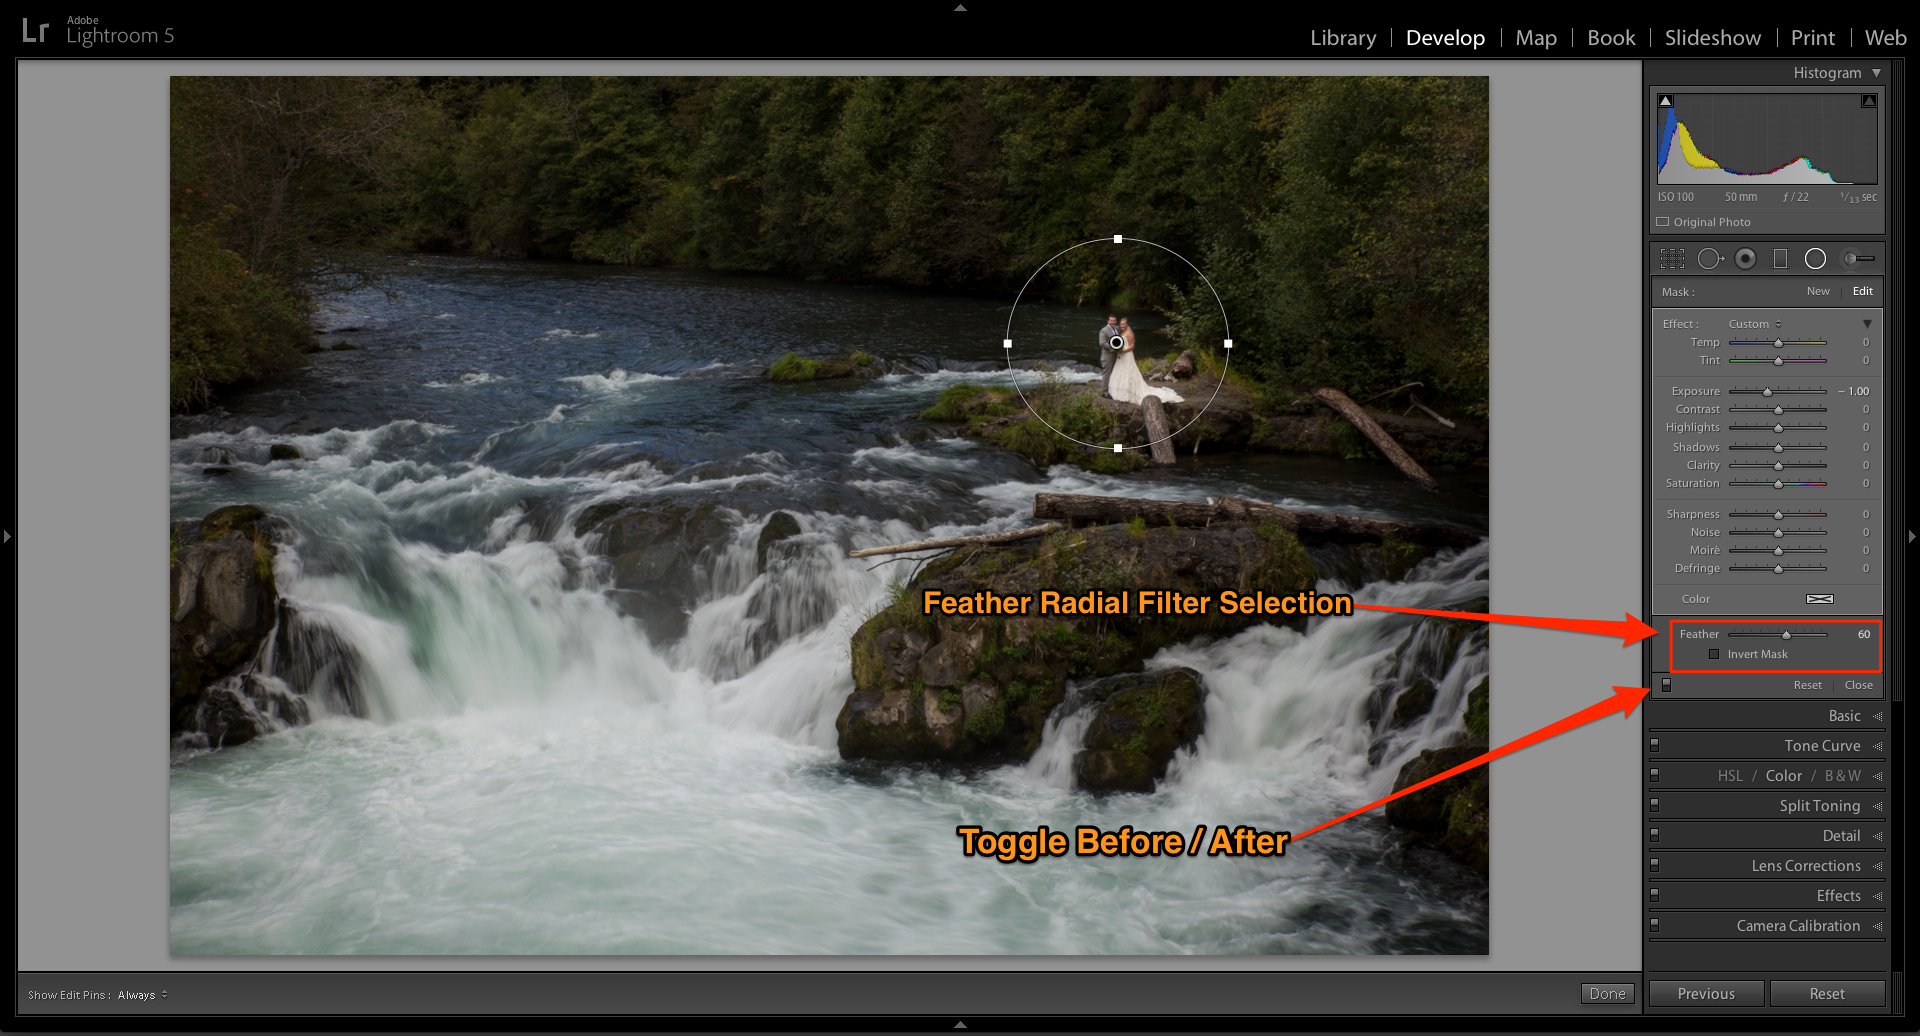
You can add as many Radial Filter selections as you want to selectively target and selectively adjust multiple areas in your image. Keep in mind that as you add pins, you may need to invert your selection. In this example, the first pin was used to spotlight the couple by darkening the image outside the selection. Additional pins were added to enhance the water and rocks, but needed to be inverted first so they’d only affect the areas inside the selection. Once you place a pin, you can also drag it off screen to include the edges of your image.
Radial Filter Tips:
Quickly reset a slider value by double-clicking the individual slider or slider name.
Bonus Tip: Double-Click the word “Effect” to reset all the sliders, which is much easier than going through each one individually.
Use the “Toggle” button to review a before/after of your image.
The “Invert Mask” checkbox flips your settings to affect inside/outside the Radial Blur selection.
Radial Filter Shortcuts:
Shift+M: Activates the Radial Blur Filter.
Cmd/Ctrl+Double-Click: Maximizes the Radial Blur Filter within your image.
Cmd+Opt / Ctrl+Alt Clicking will duplicate the filter in place.
Right+Click the Radial filter pin to bring up a contextual menu (Duplicate, Delete, Reset Radial Filters).

All photos © Evrim Icoz Photography
Spending a little bit of time learning to use this powerful new tool will quickly increase your creative options in Lightroom and enhance your production workflow. If you find this quick tutorial useful or have any questions, please leave a comment. I’ll do my best to answer questions and reply to your comments!


