In this tutorial we cover how to create a design for a lab using ROES software and submit that order. One of the great things about Album Builder v6 is that all of the major labs in the U.S. and abroad are included. We’ll go step by step through this process.
Step 1 – Download any cover templates
In this example, we will use one of our favorite labs (who will also be included in Fundy Direct), ProDPI. The first step is to download any cover template you might need for your album. We do not include cover templates for albums in Album Builder v6 due to the shear quantity available throughout the world. This will change for all labs included in Fundy Direct. But for ordering through ROES or online, you’ll want to download your cover template and save it as a JPEG.
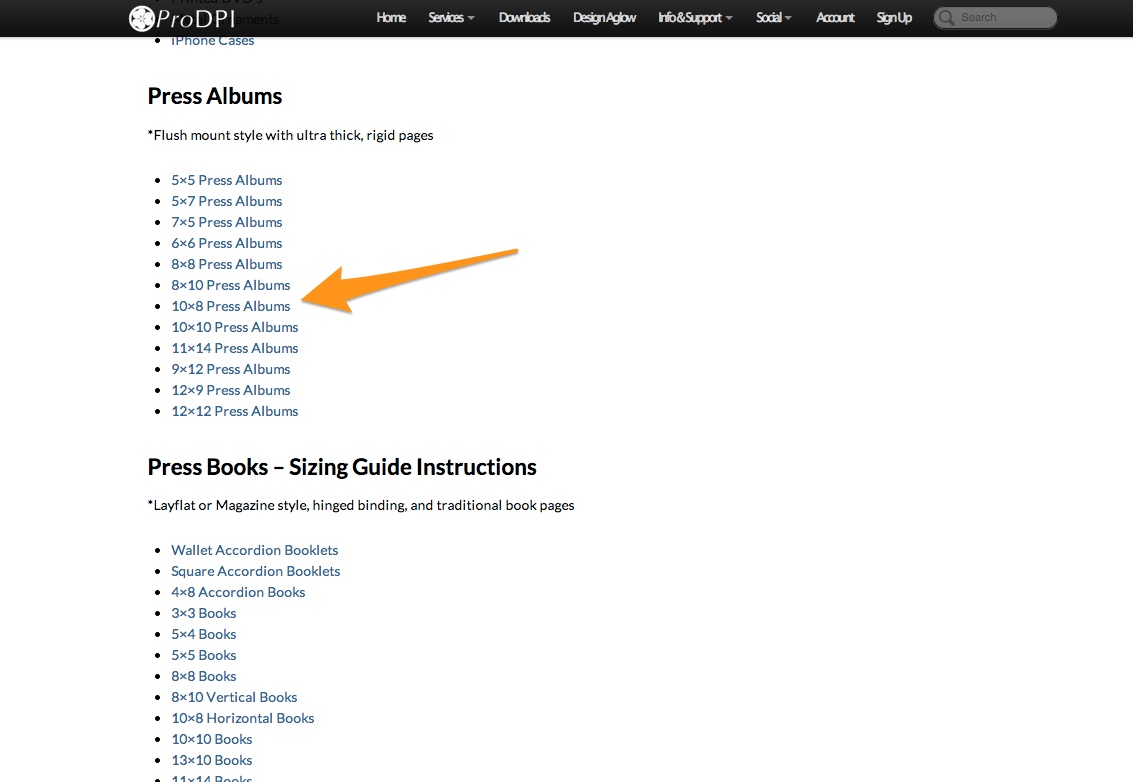
Here we have an example of the 10×10 Press Album Cover downloads from ProDPI. These download as PSD files, but do a quick save as a JPEG before starting your Album Builder project.
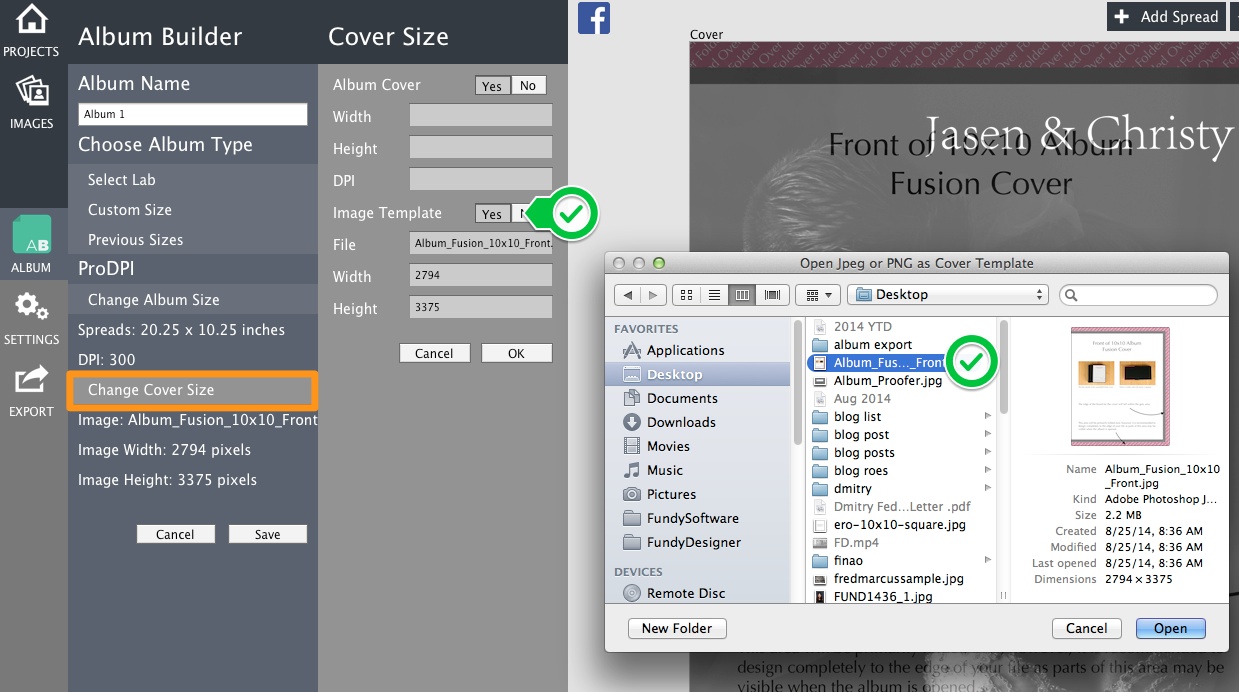
Step 2 – Set Up Your Album
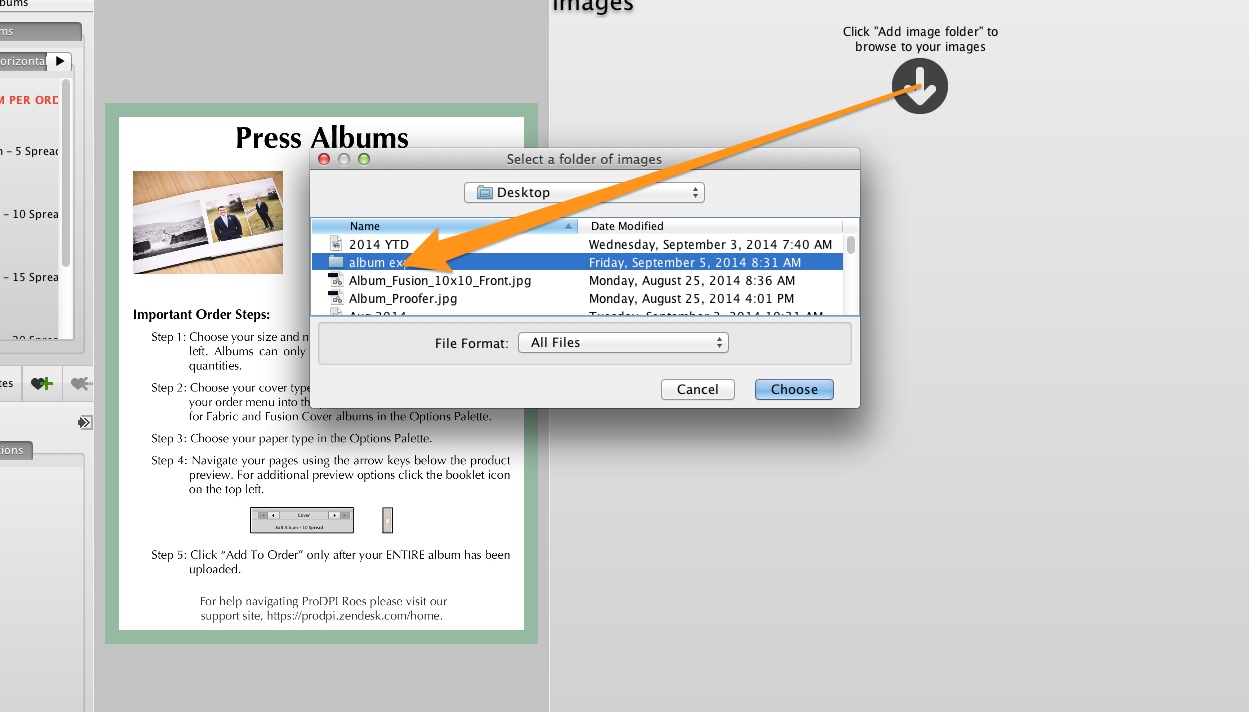
In the album setup process, after choosing your lab and album size, click on the Change Cover Size option and choose the template that you saved in the previous step.
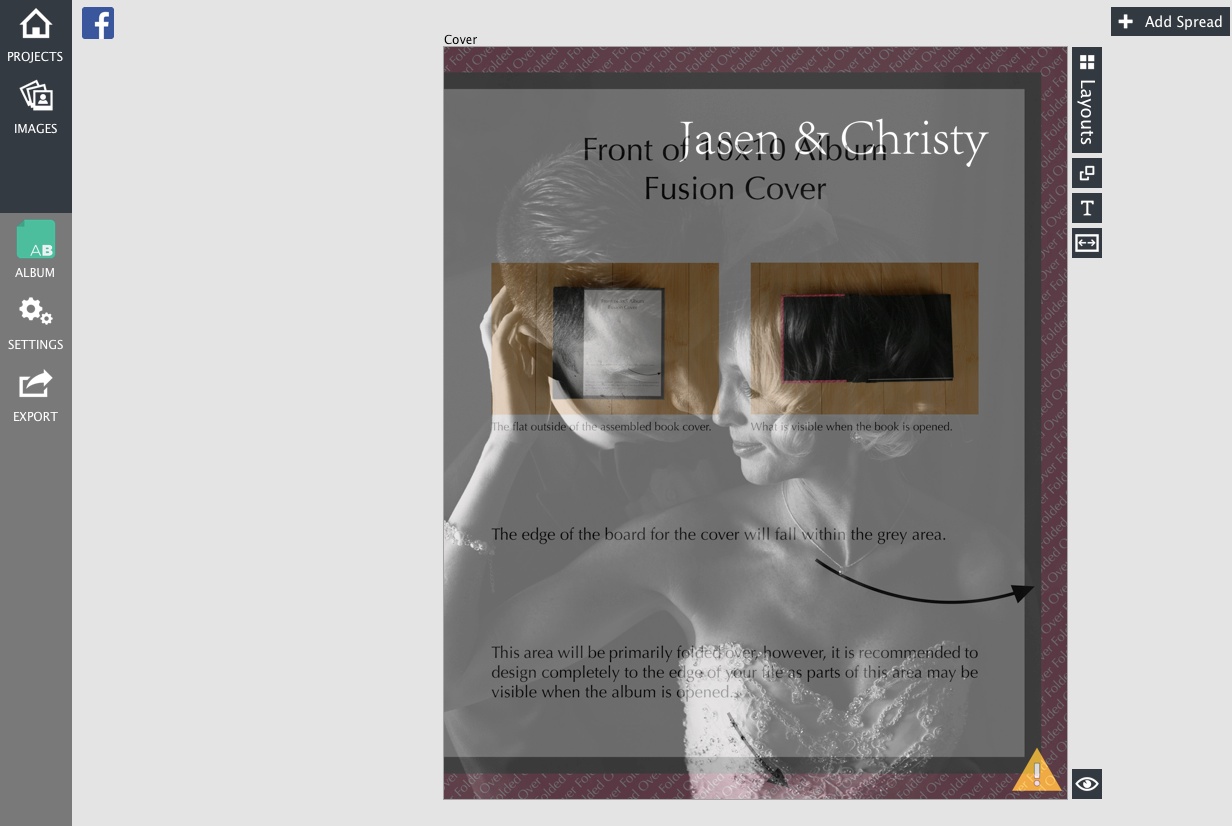
Now when you design your cover, you can see the template as an overlay. Remember, you can hit the “g” key to toggle this view so you don’t see the guides or the template.
 Step 3 – Design and Export
Now just design and export as you normally would any album.
Please Note: You will need to choose “Export for Print” if you are ordering a PRESS ALBUM and “Export as Splits” if you are ordering a PRESS BOOK.
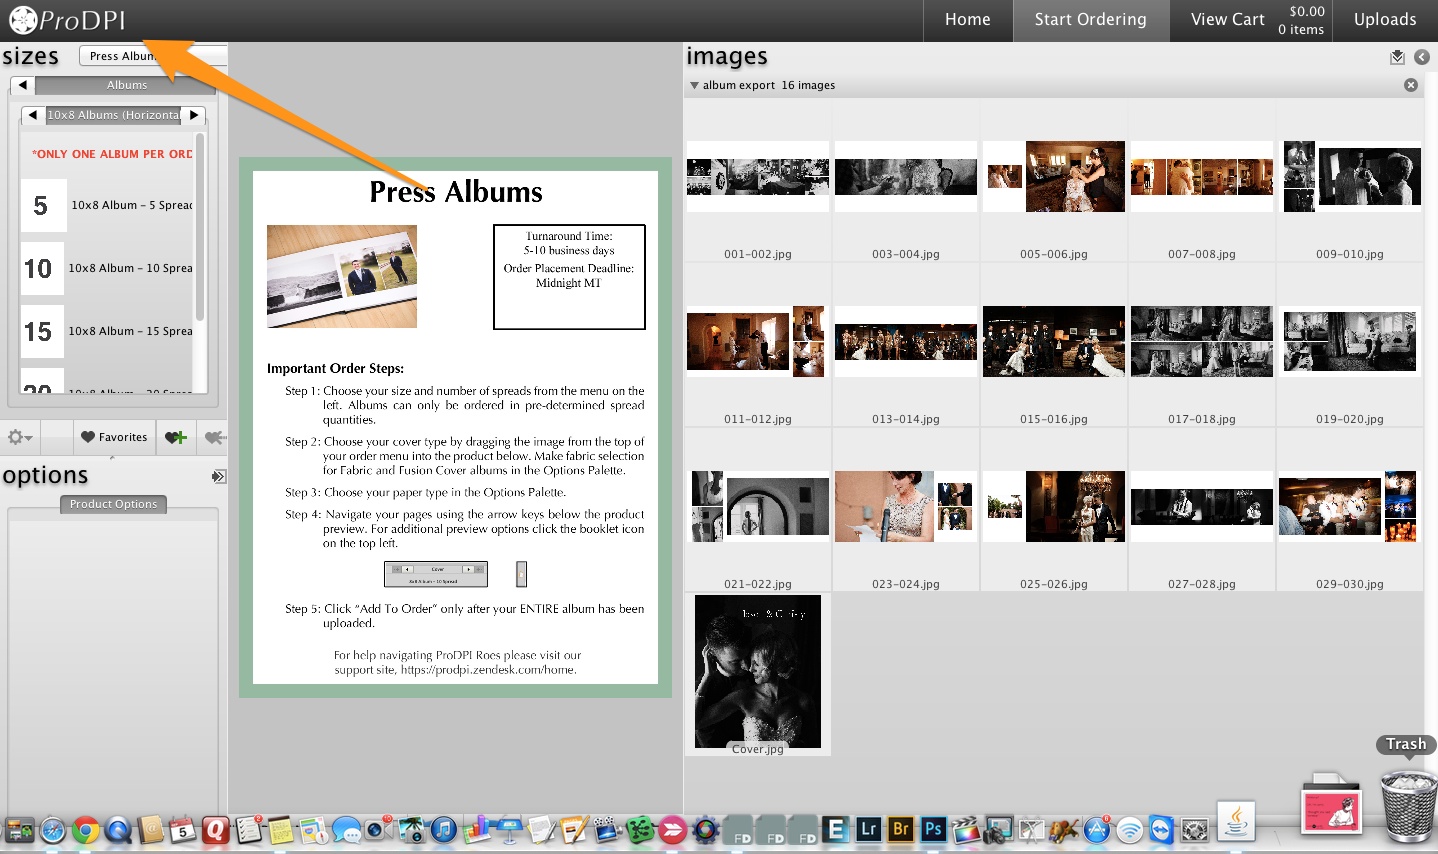
Step 4 – Launch ROES and import your album designs
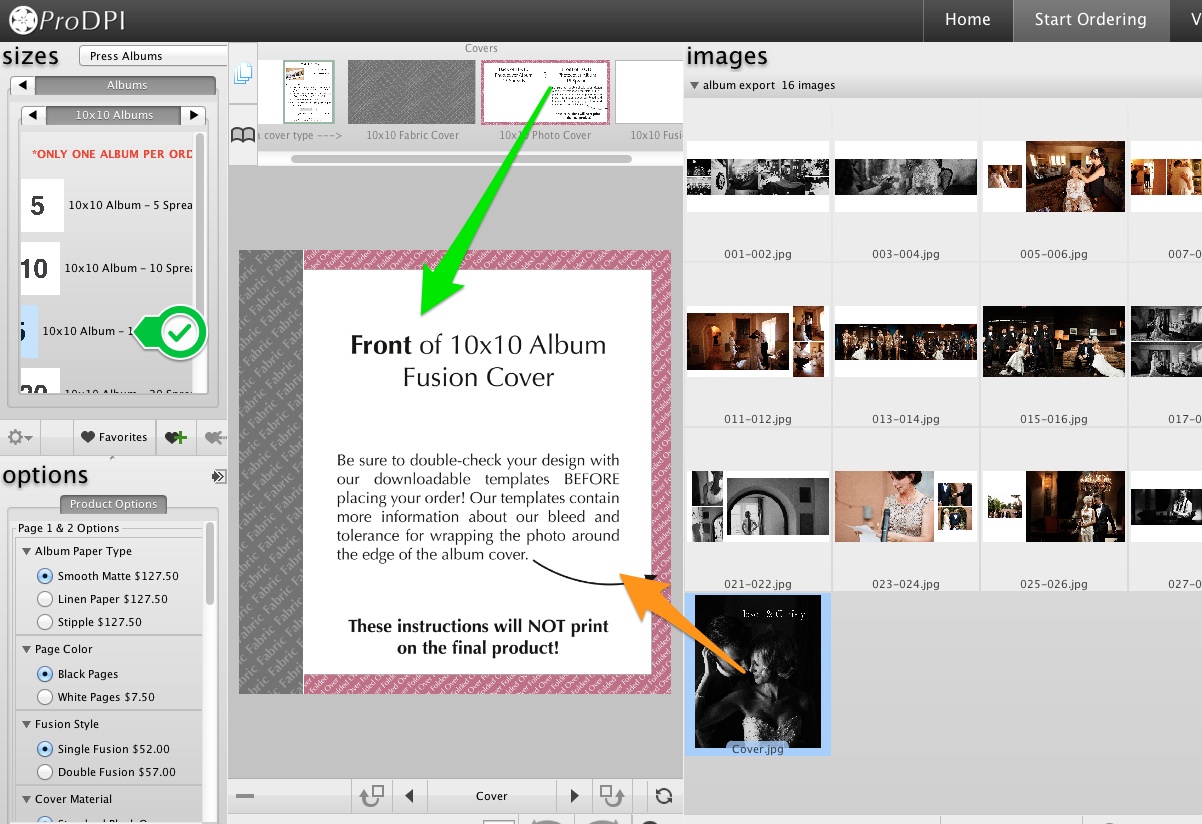
Step 5 – Choose Your Cover and Album
This is where ROES gets a bit confusing. Choose your album size on the left, then choose your cover style above and drag it down into the middle area. Then you can drag your cover design onto the cover area.
Step 6 – Add the Spreads
Now you need to click the little arrow just right of the Cover text and flip the book until you get to the first page or spread. Then select all of your pages/spreads and drag them onto order area.

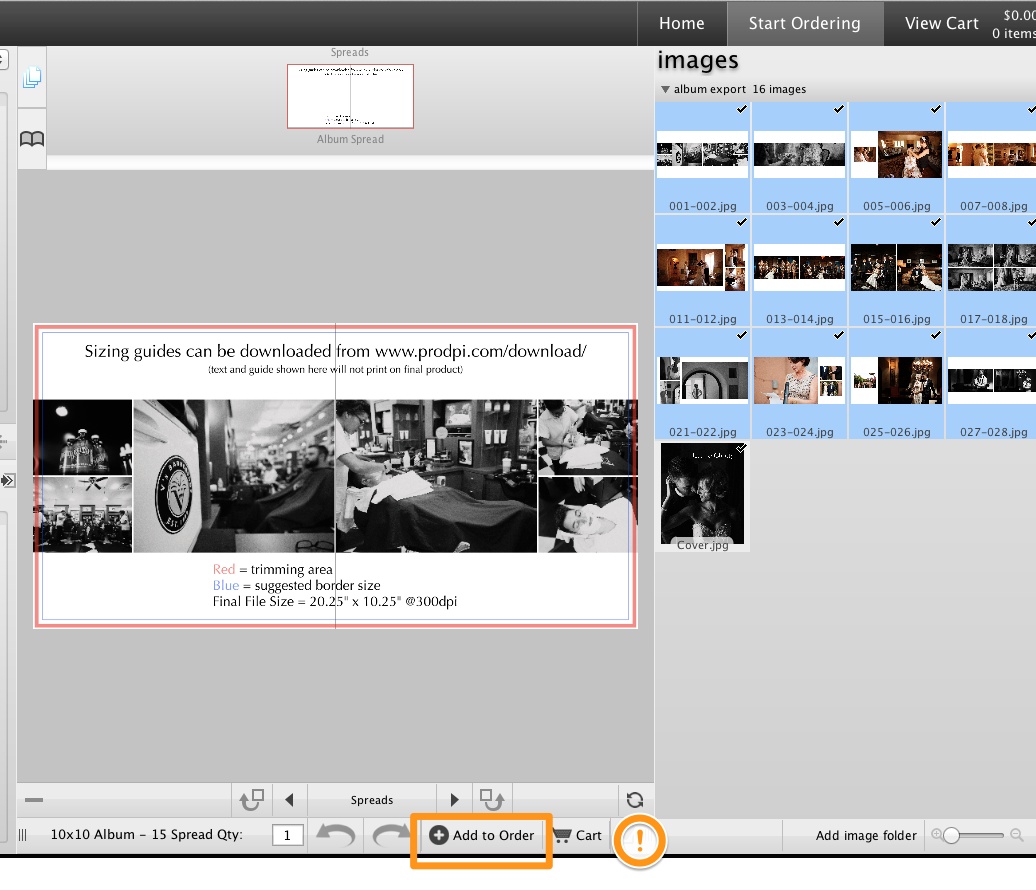
Final Step – Add to Order and Order
Now in the final step, just click add to order, then go to the shopping cart and finalize the purchase.
All images © Hiram Trillo
See It In Action
How Fundy Direct Will Change Things
Album Builder v6 will always be able to export your full designs and upload them to the lab of your choice. You’ll always be able to go through ROES or any other system to order your albums.
But we are introducing Fundy Direct in October of 2014 to make things a bit simpler for you. We have 20+ of the best album companies and labs in the world in the pipeline. We’ll have all of their most popular albums, cover materials and cover styles pre-loaded in Album Builder v6. We won’t have every single option under the sun, so you might still need to export and order from time to time.
But instead of the 7 steps above, you’ll have two steps.
1. Click Order
2. Enter your payment details.
We want to make the entire album design process easier and that includes the ordering too.


