Retouching photos in Fundy Designer is the fastest and easiest way to deliver perfectly printed products to your clients.
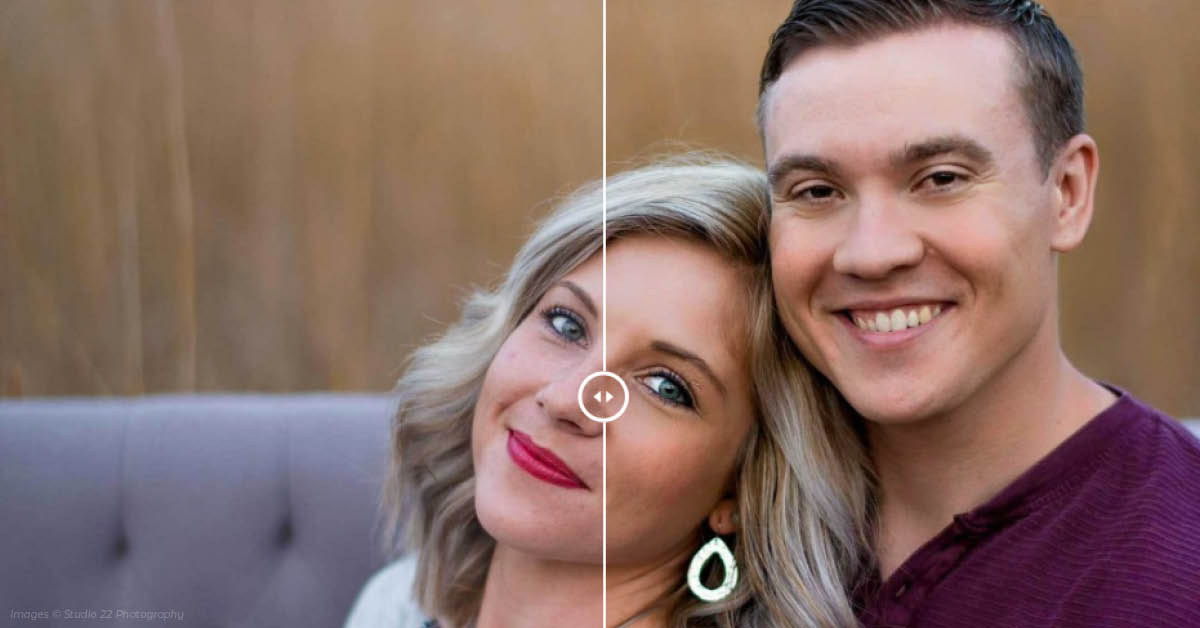
Perfectly Clear One-Click
We’ve chosen Perfectly Clear to be our retouching partner because it is the only automated retouching software that looks natural.
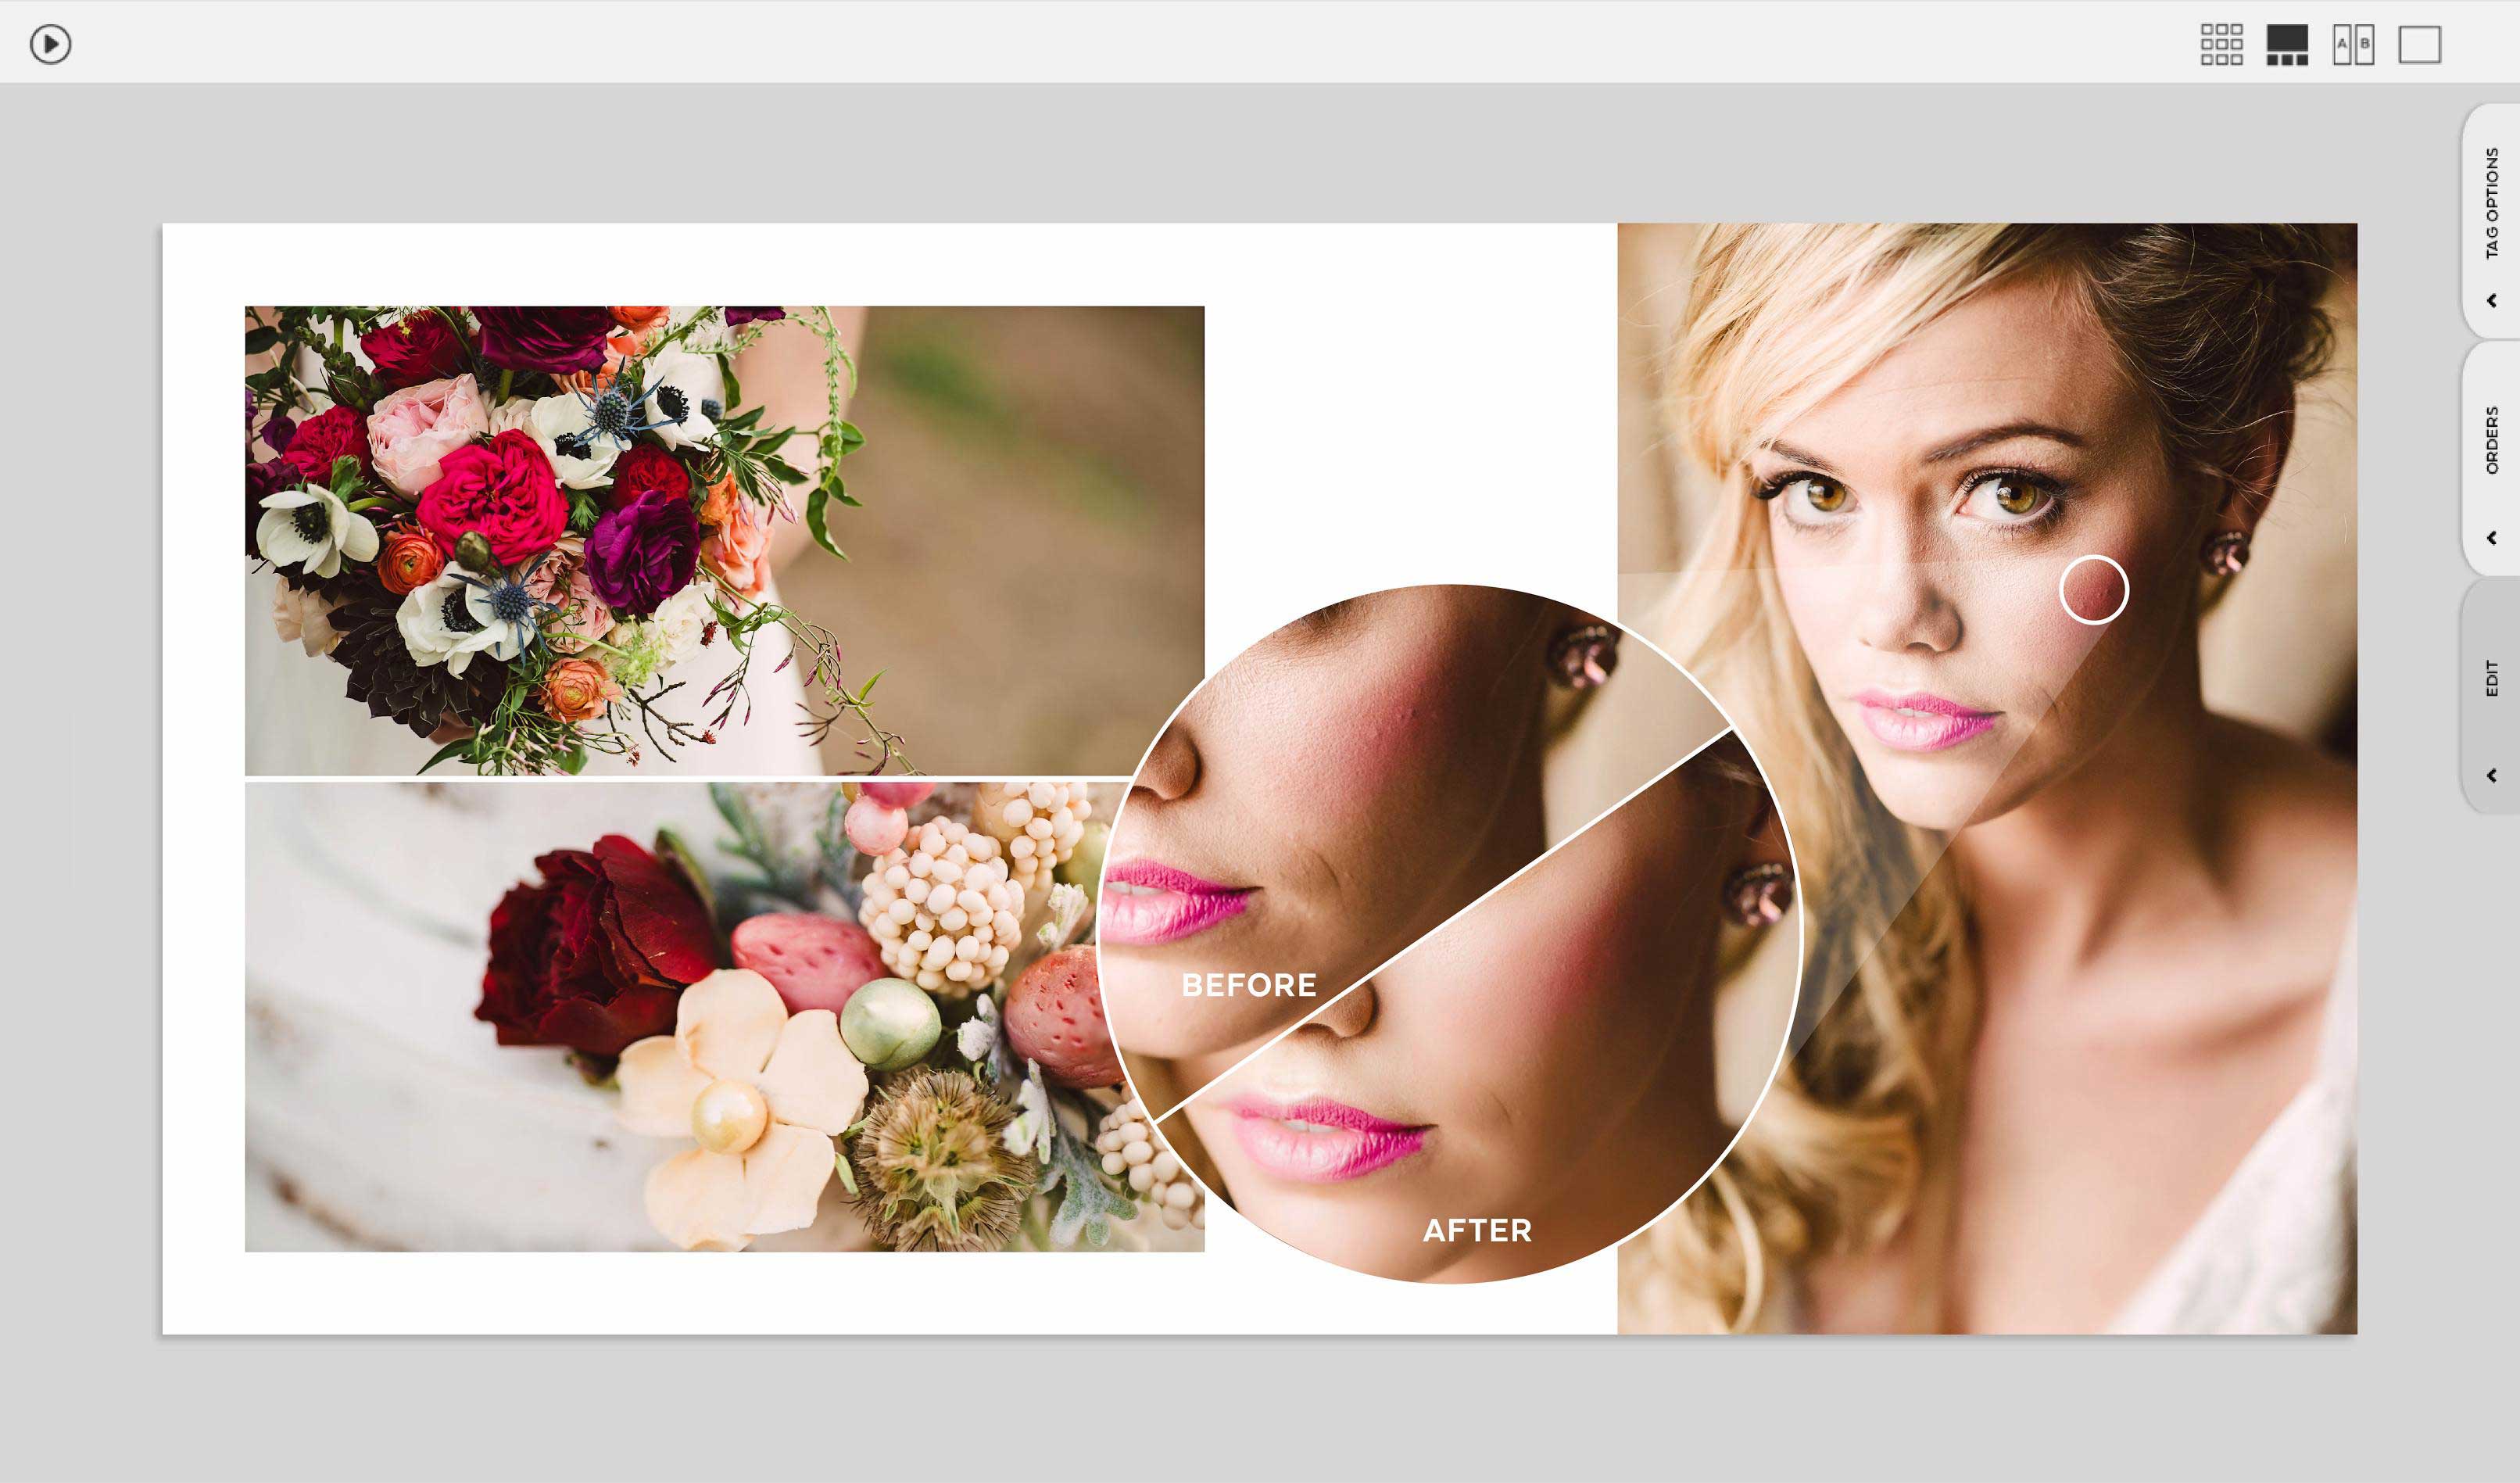
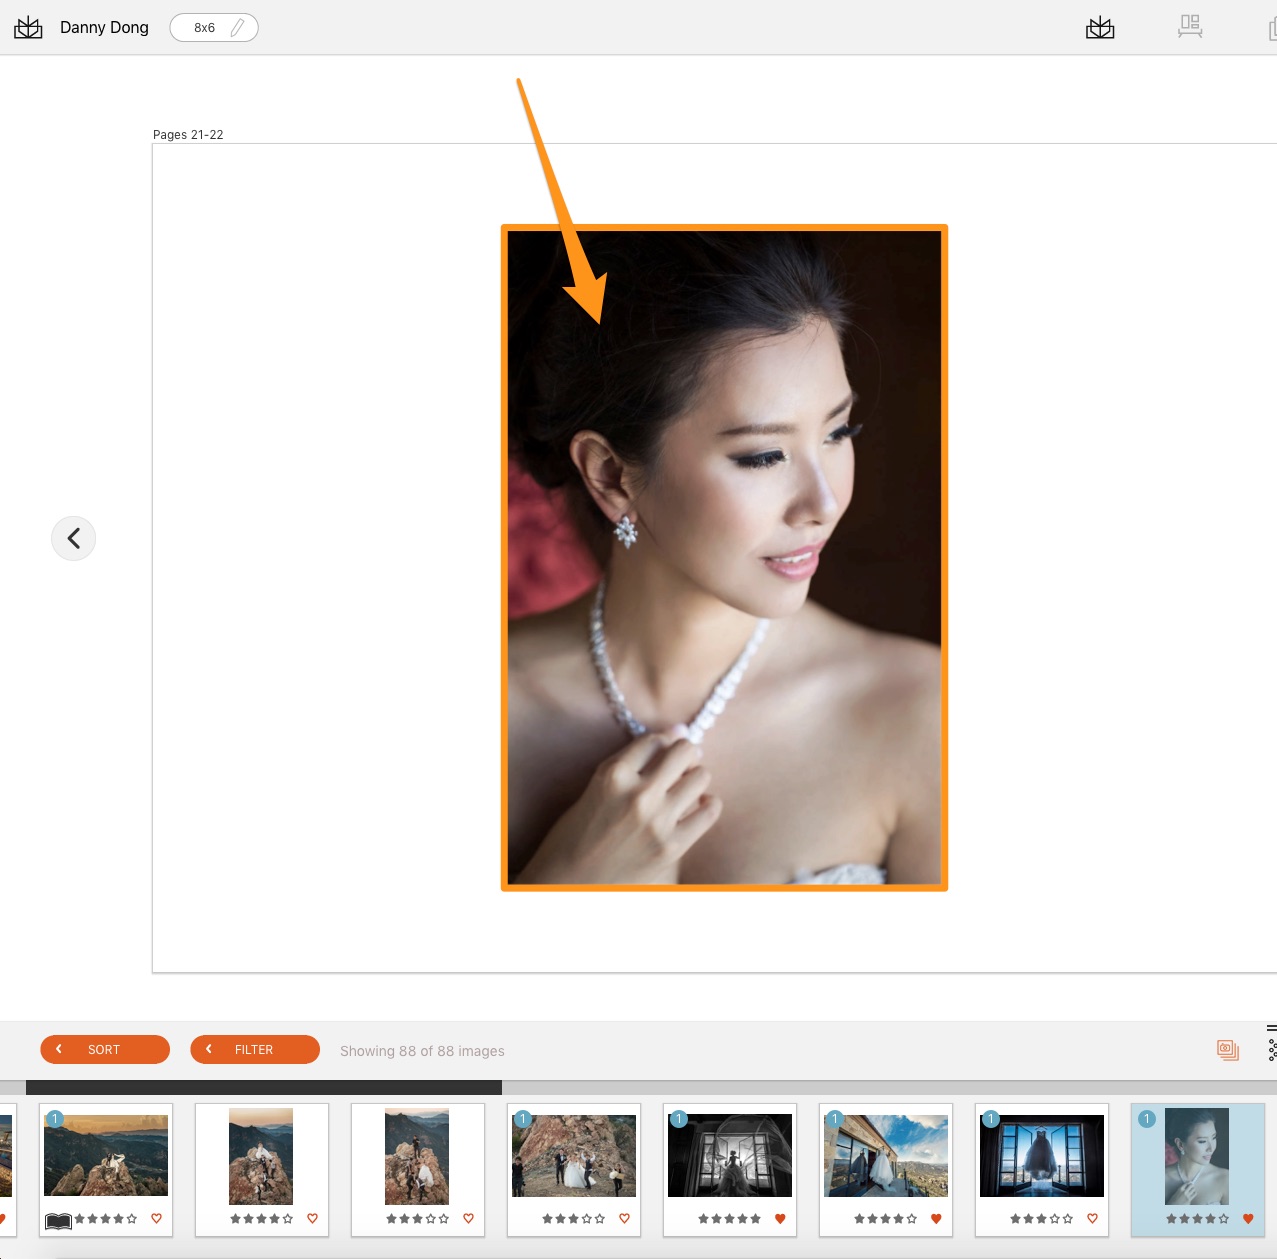
Double click on any photo to open the Fundy Designer Image Browser.
If you aren’t already in Filmstrip view, click on the Filmstrip icon or use the hotkey SHIFT+x.
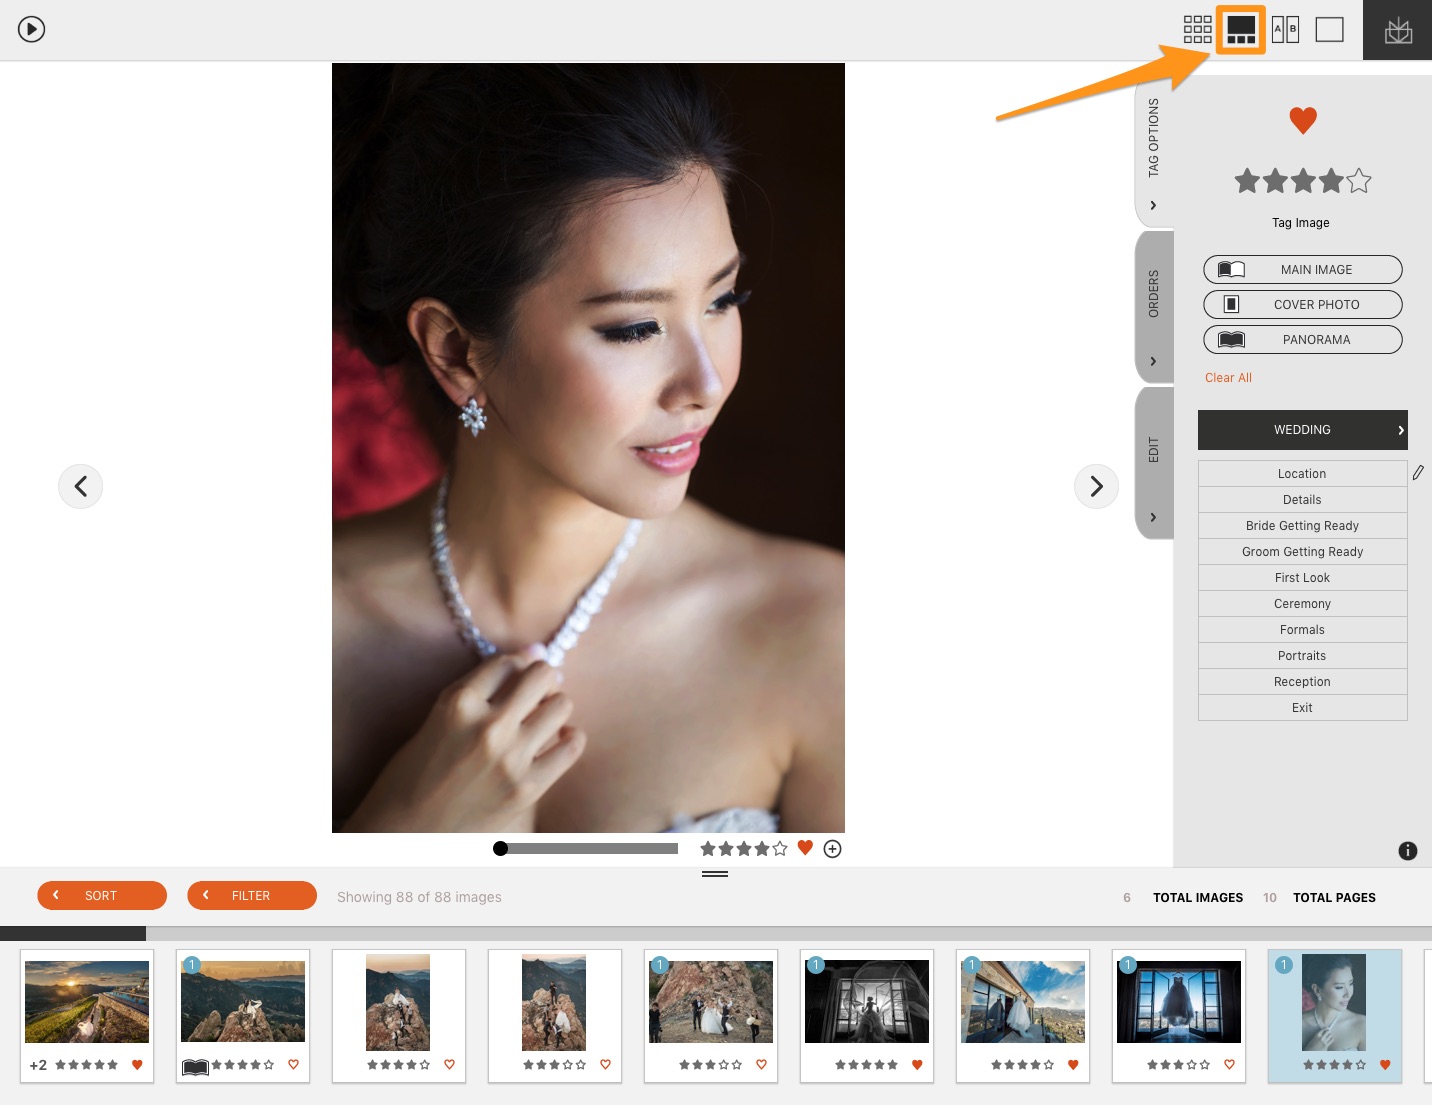
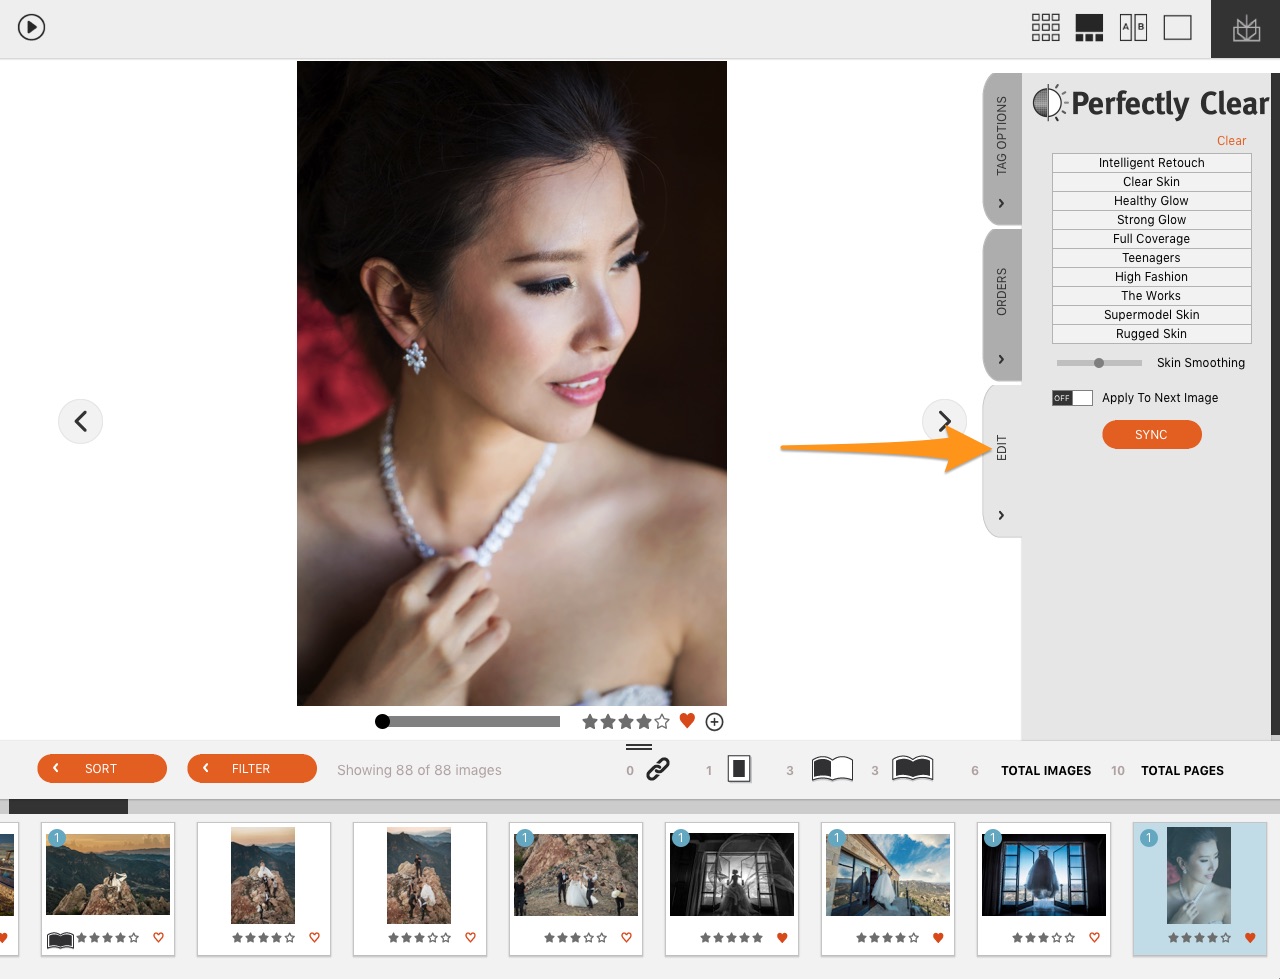
Now click on the edit tab.
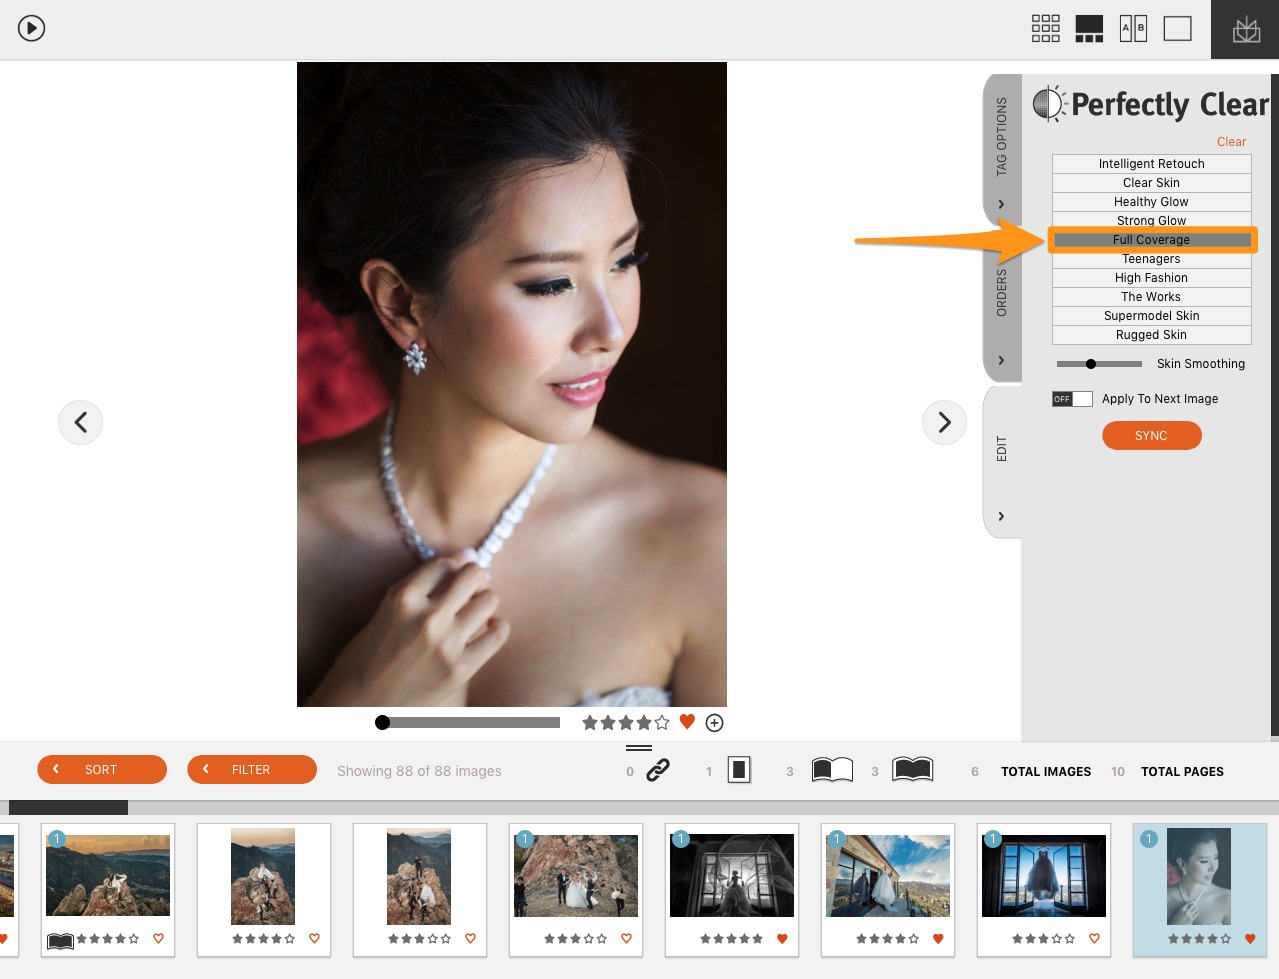
Choose a one-click option. We personally recommend “Full Coverage,” for a solid ‘go to’ look.
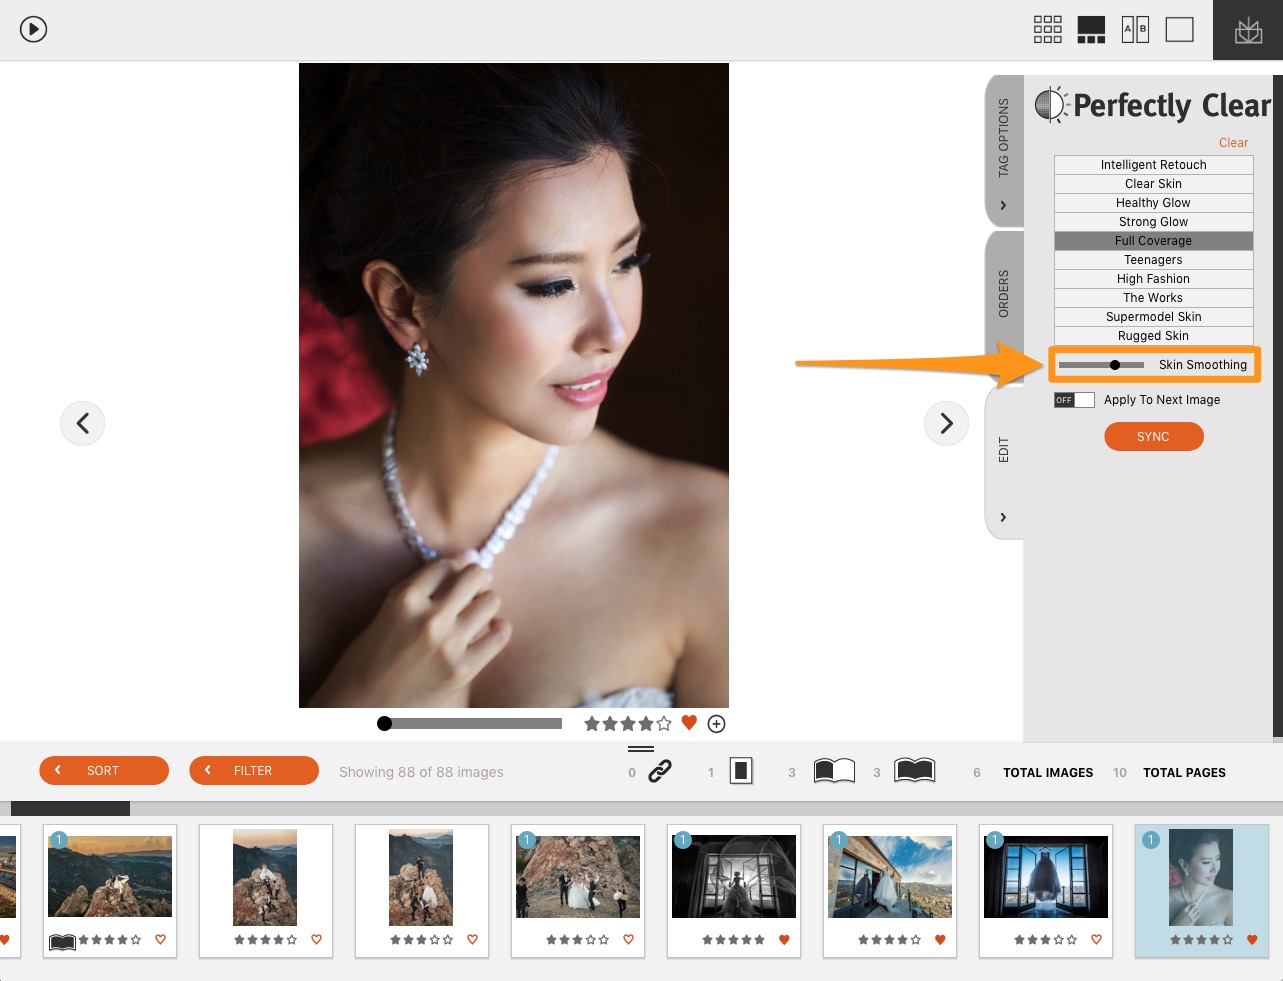
Next, slide the skin softening slider to how you like it.
Finally, select similar images or all images and click the “Sync” button to sync your retouching settings across all images. Depending on the number of photos you have selected, it could take up to a minute to sync the settings.
Optional Spot Healing
The one-click retouching in Fundy Designer is excellent, but the one thing it can’t do is spot heal blemishes. But you can connect Photoshop to Fundy Designer and spot heal there.
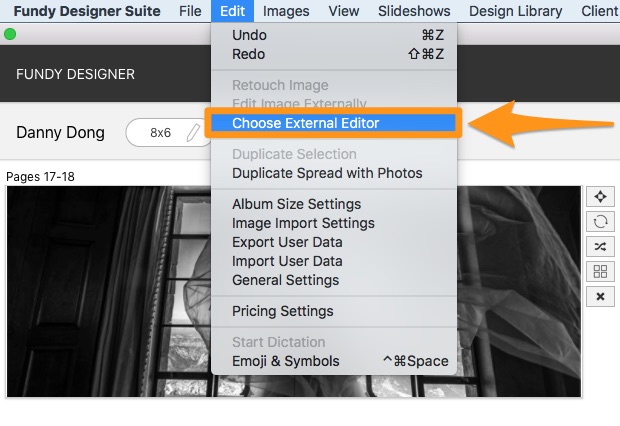
First, under the Edit menu, choose “Choose External Editor,” and choose the version of Photoshop you would like to use.
Next, navigate to a photo you would like to retouch and right-click on it (or choose the pencil icon under a photo in a design).
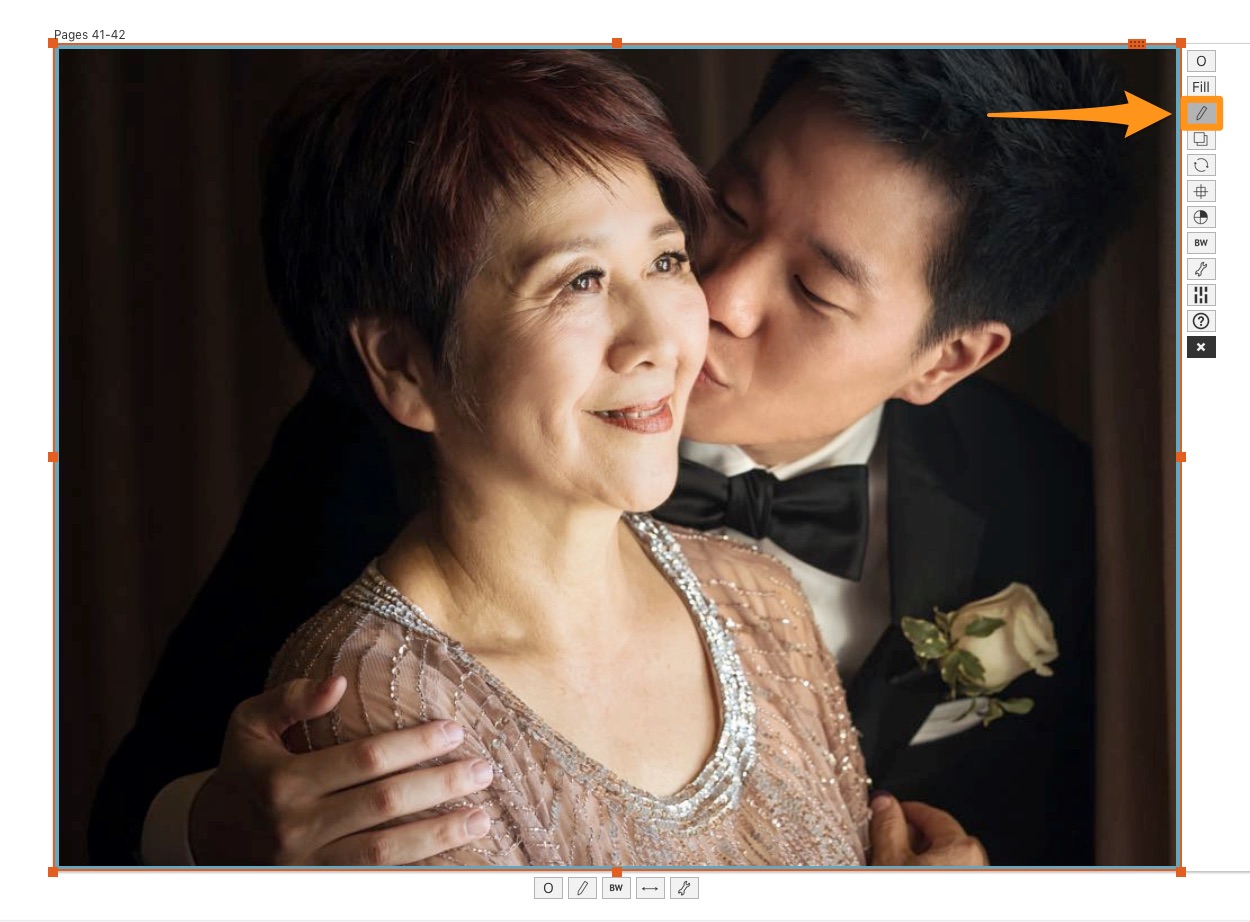
The photo will open in Photoshop.
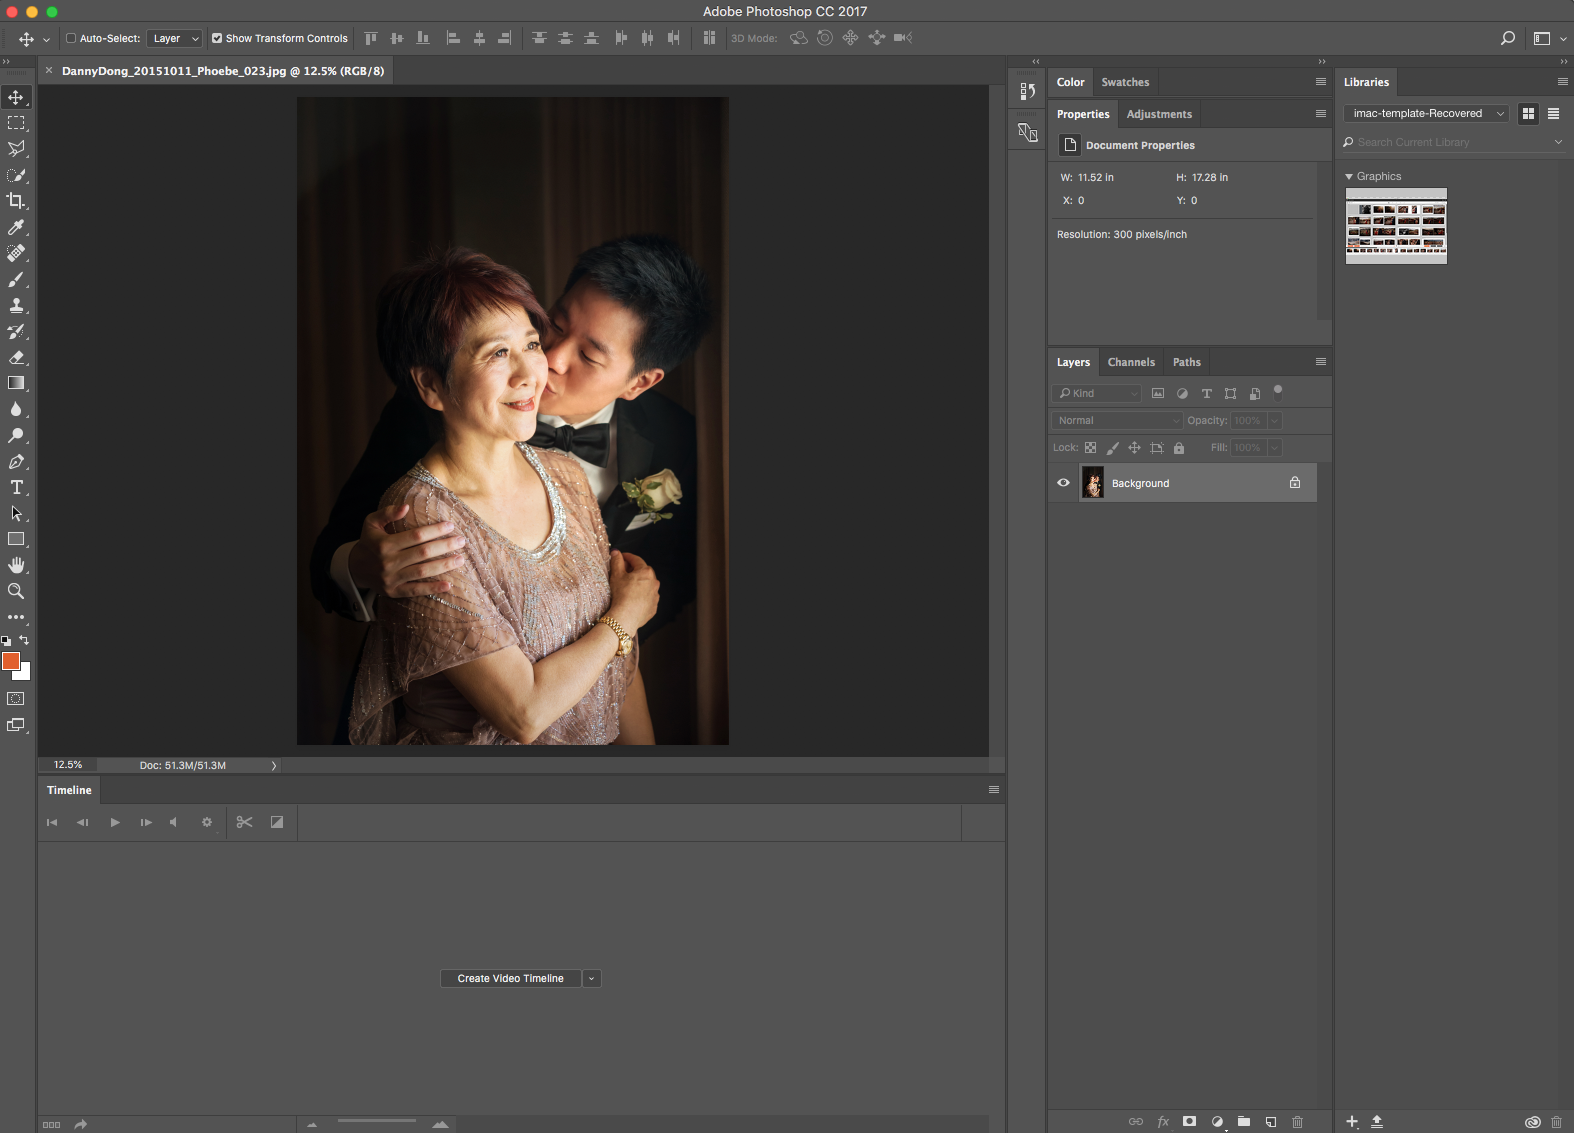
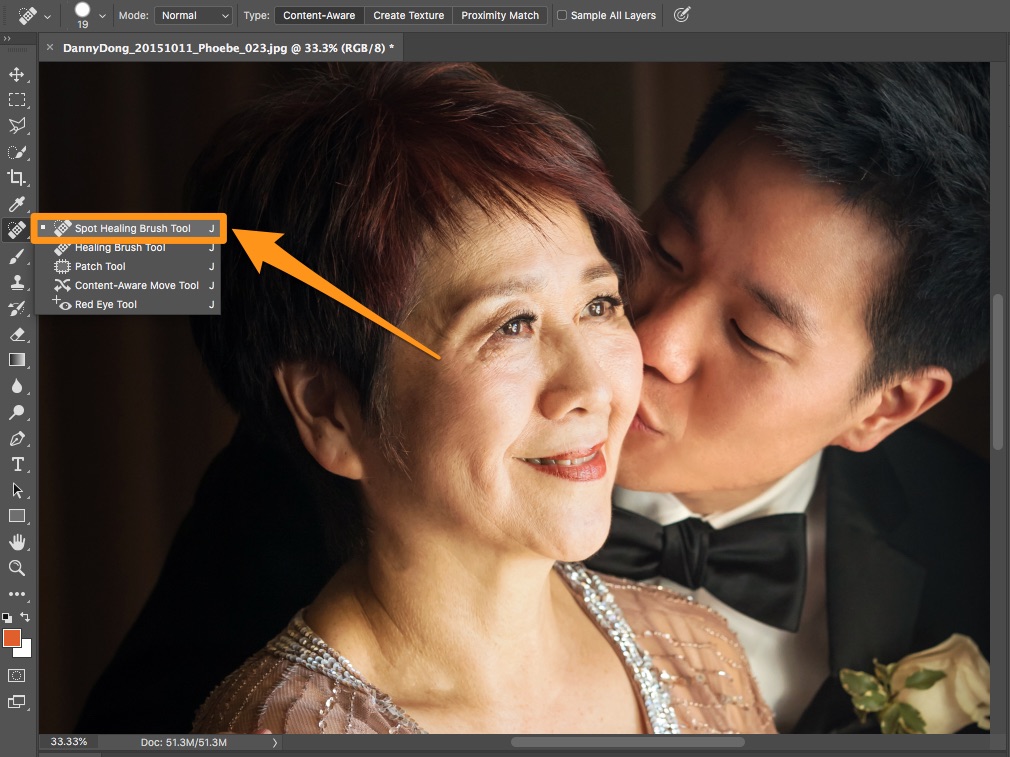
Use the healing brush to remove any large blemishes. Here you can basically do anything in Photoshop you would like. If you happen to create any new layers, be sure to flatten the image.
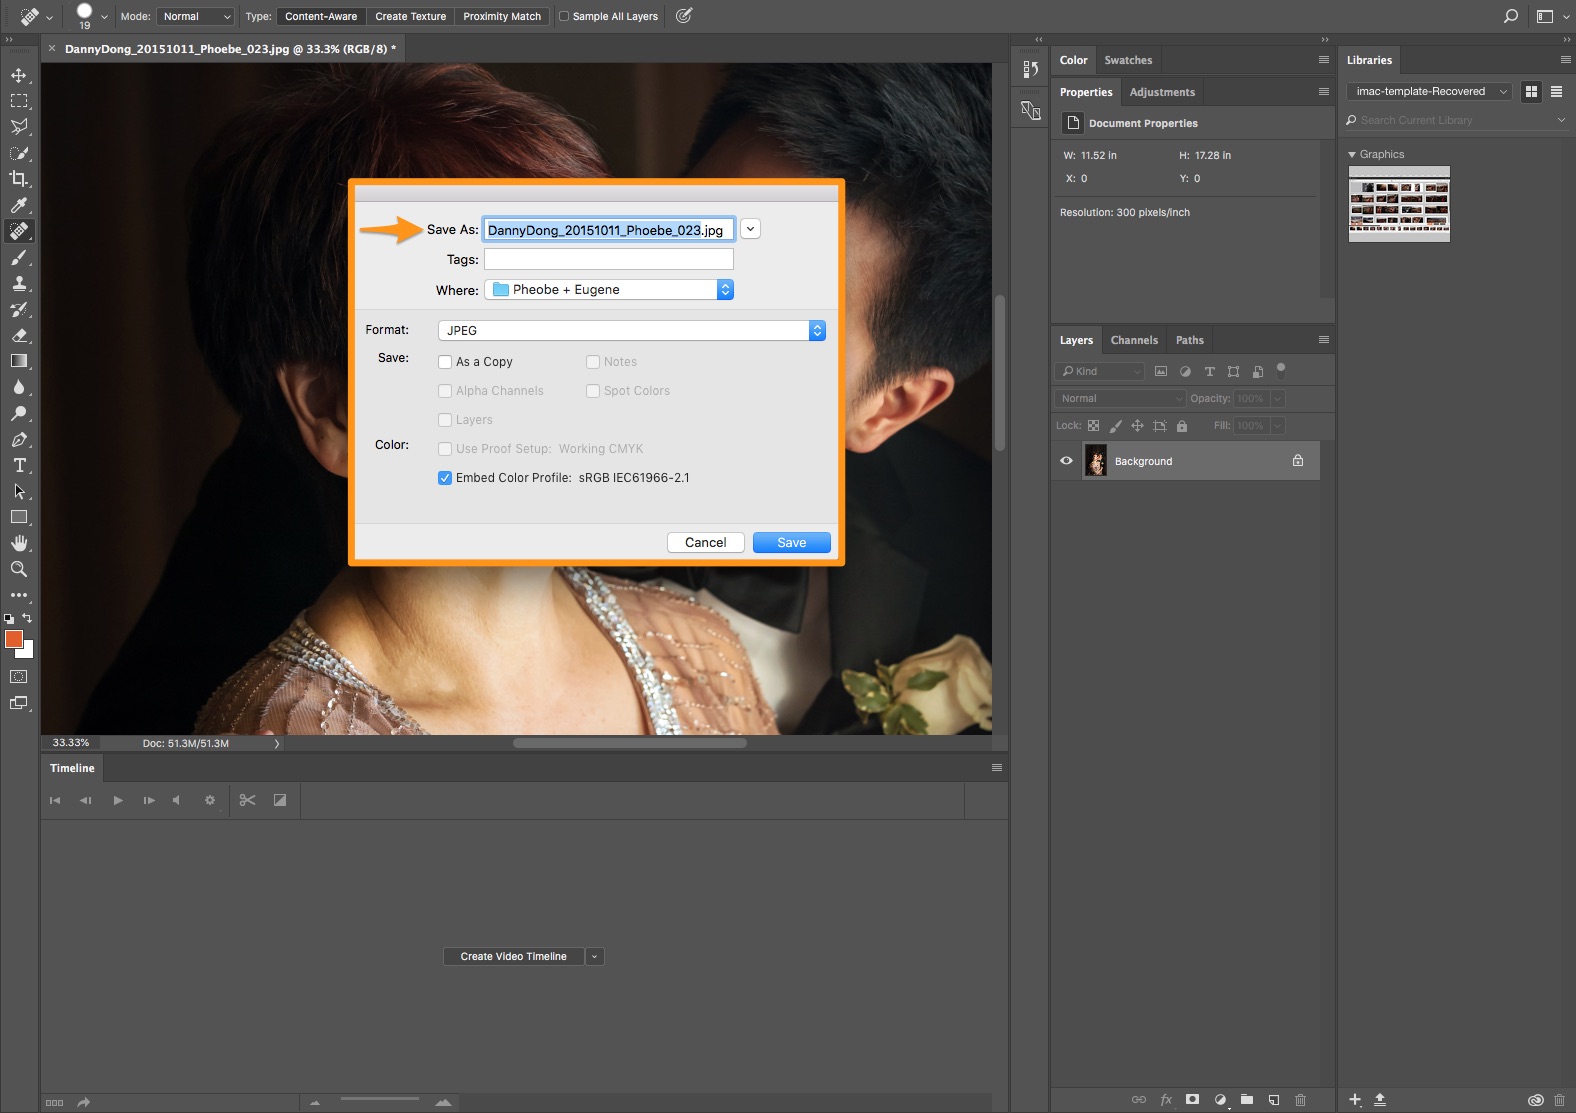
Now save the photo in the same location with the same name and close it.
Making sure all of your photos are retouched in Fundy Designer can cut hours a week off of your workflow.
Photos © Studio 22 Photography, Crystal Stokes Photography, Danny Dong Photography


