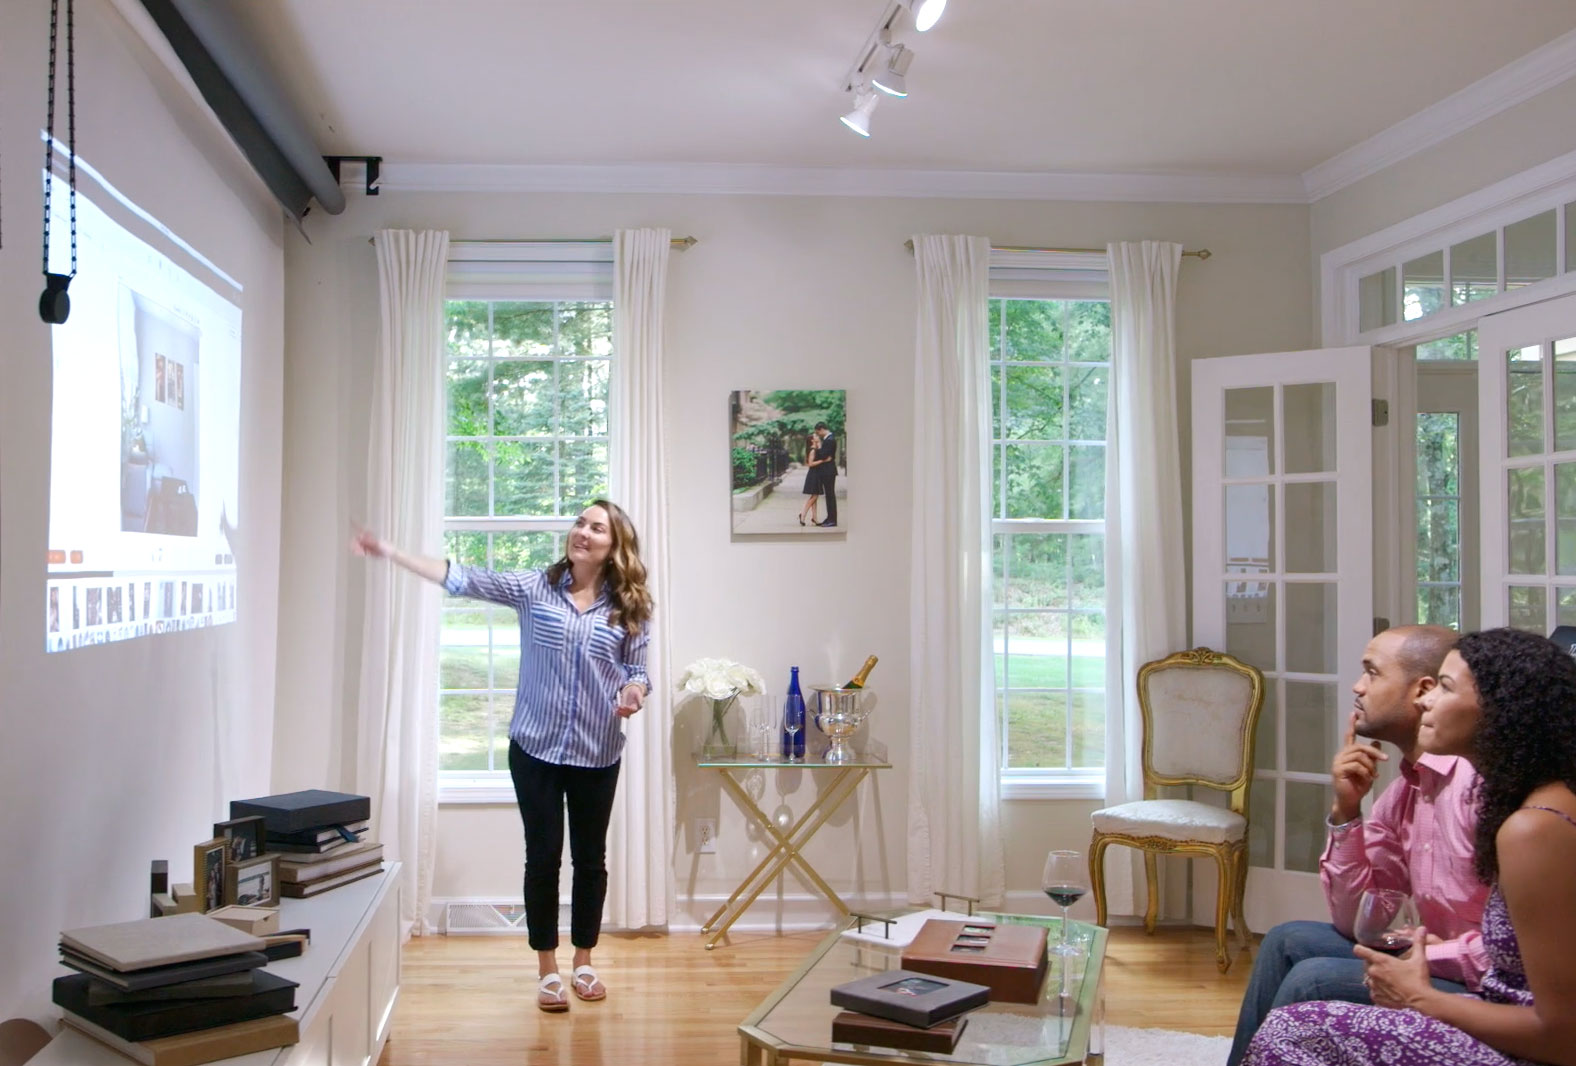
When conducting in-person sales, one benefit to projecting images onto the wall versus displaying them on a TV is that you can show the client what a 16 x 20 really looks like on the wall. Often times the client will say, that the 16×20 is fine, but they are basing that more on price. When you project that 16 x 20 at actual size on the wall, their minds quickly change. We developed Gallery Designer with this need in mind.
Click The Actual Size Icon
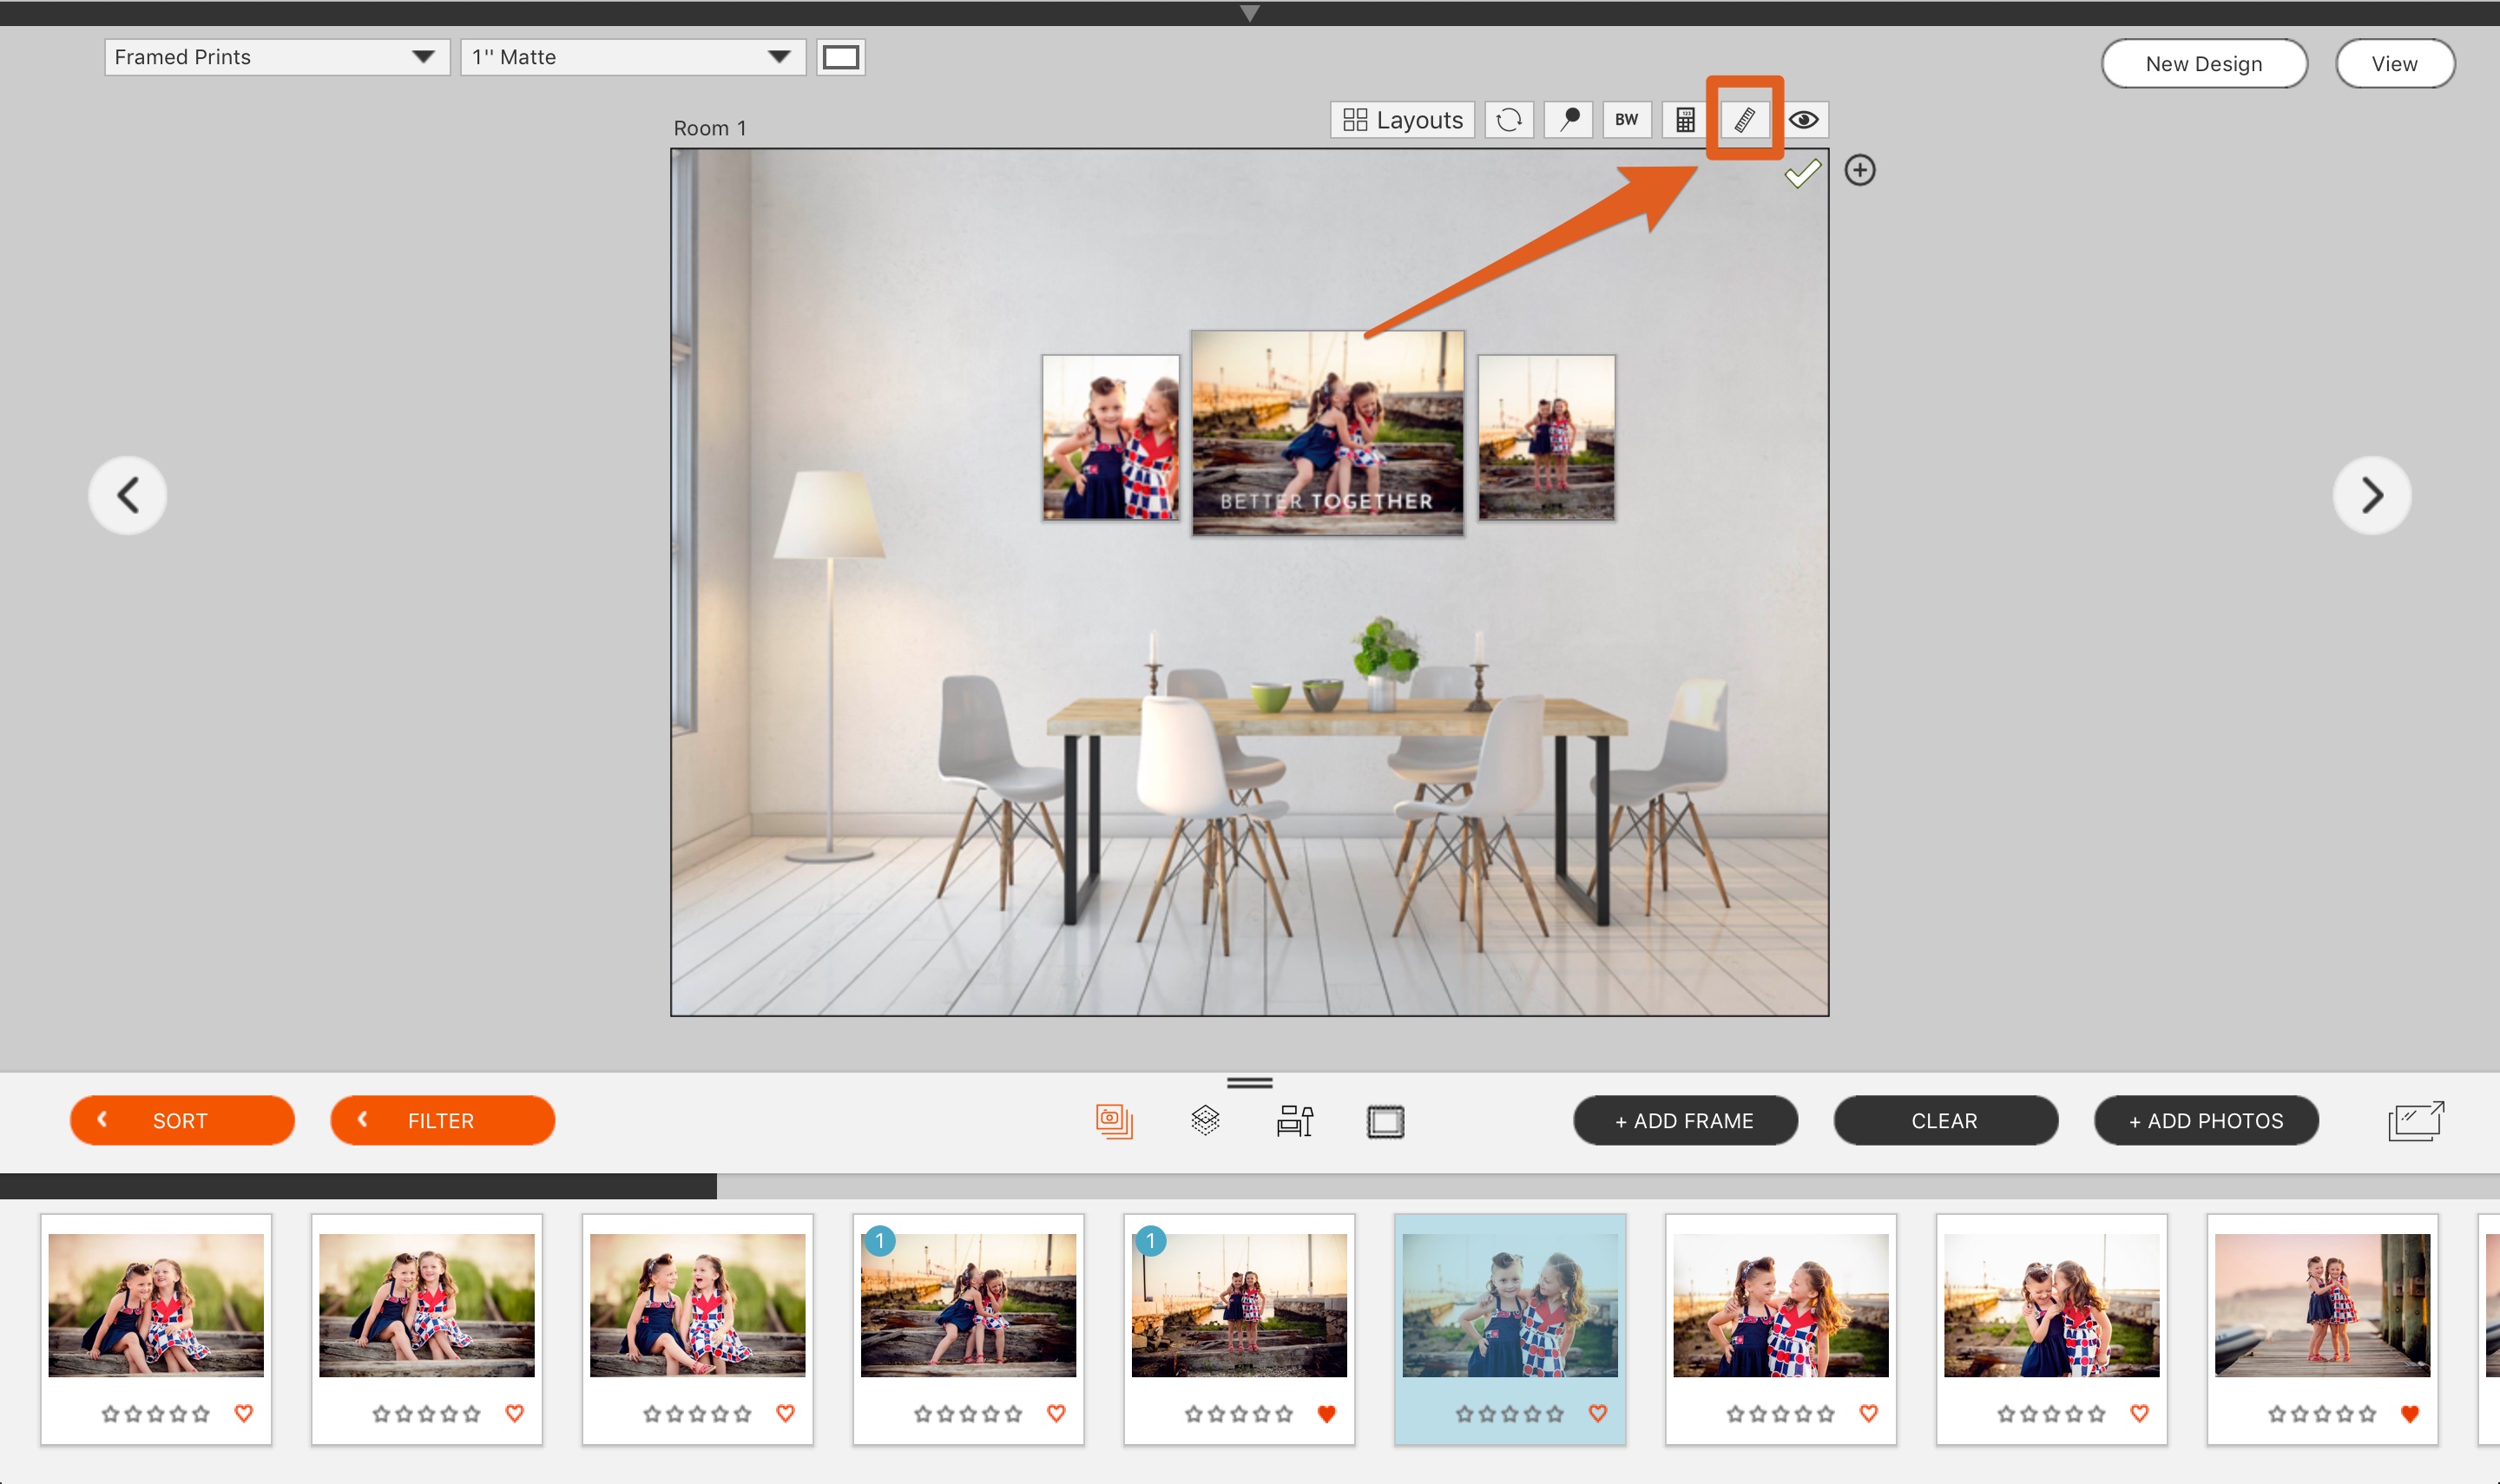
When you are in the Single Room View in Gallery Designer (instead the view where you can see thumbnails of all rooms) simply click on the “Actual Size” button.
Calibrate
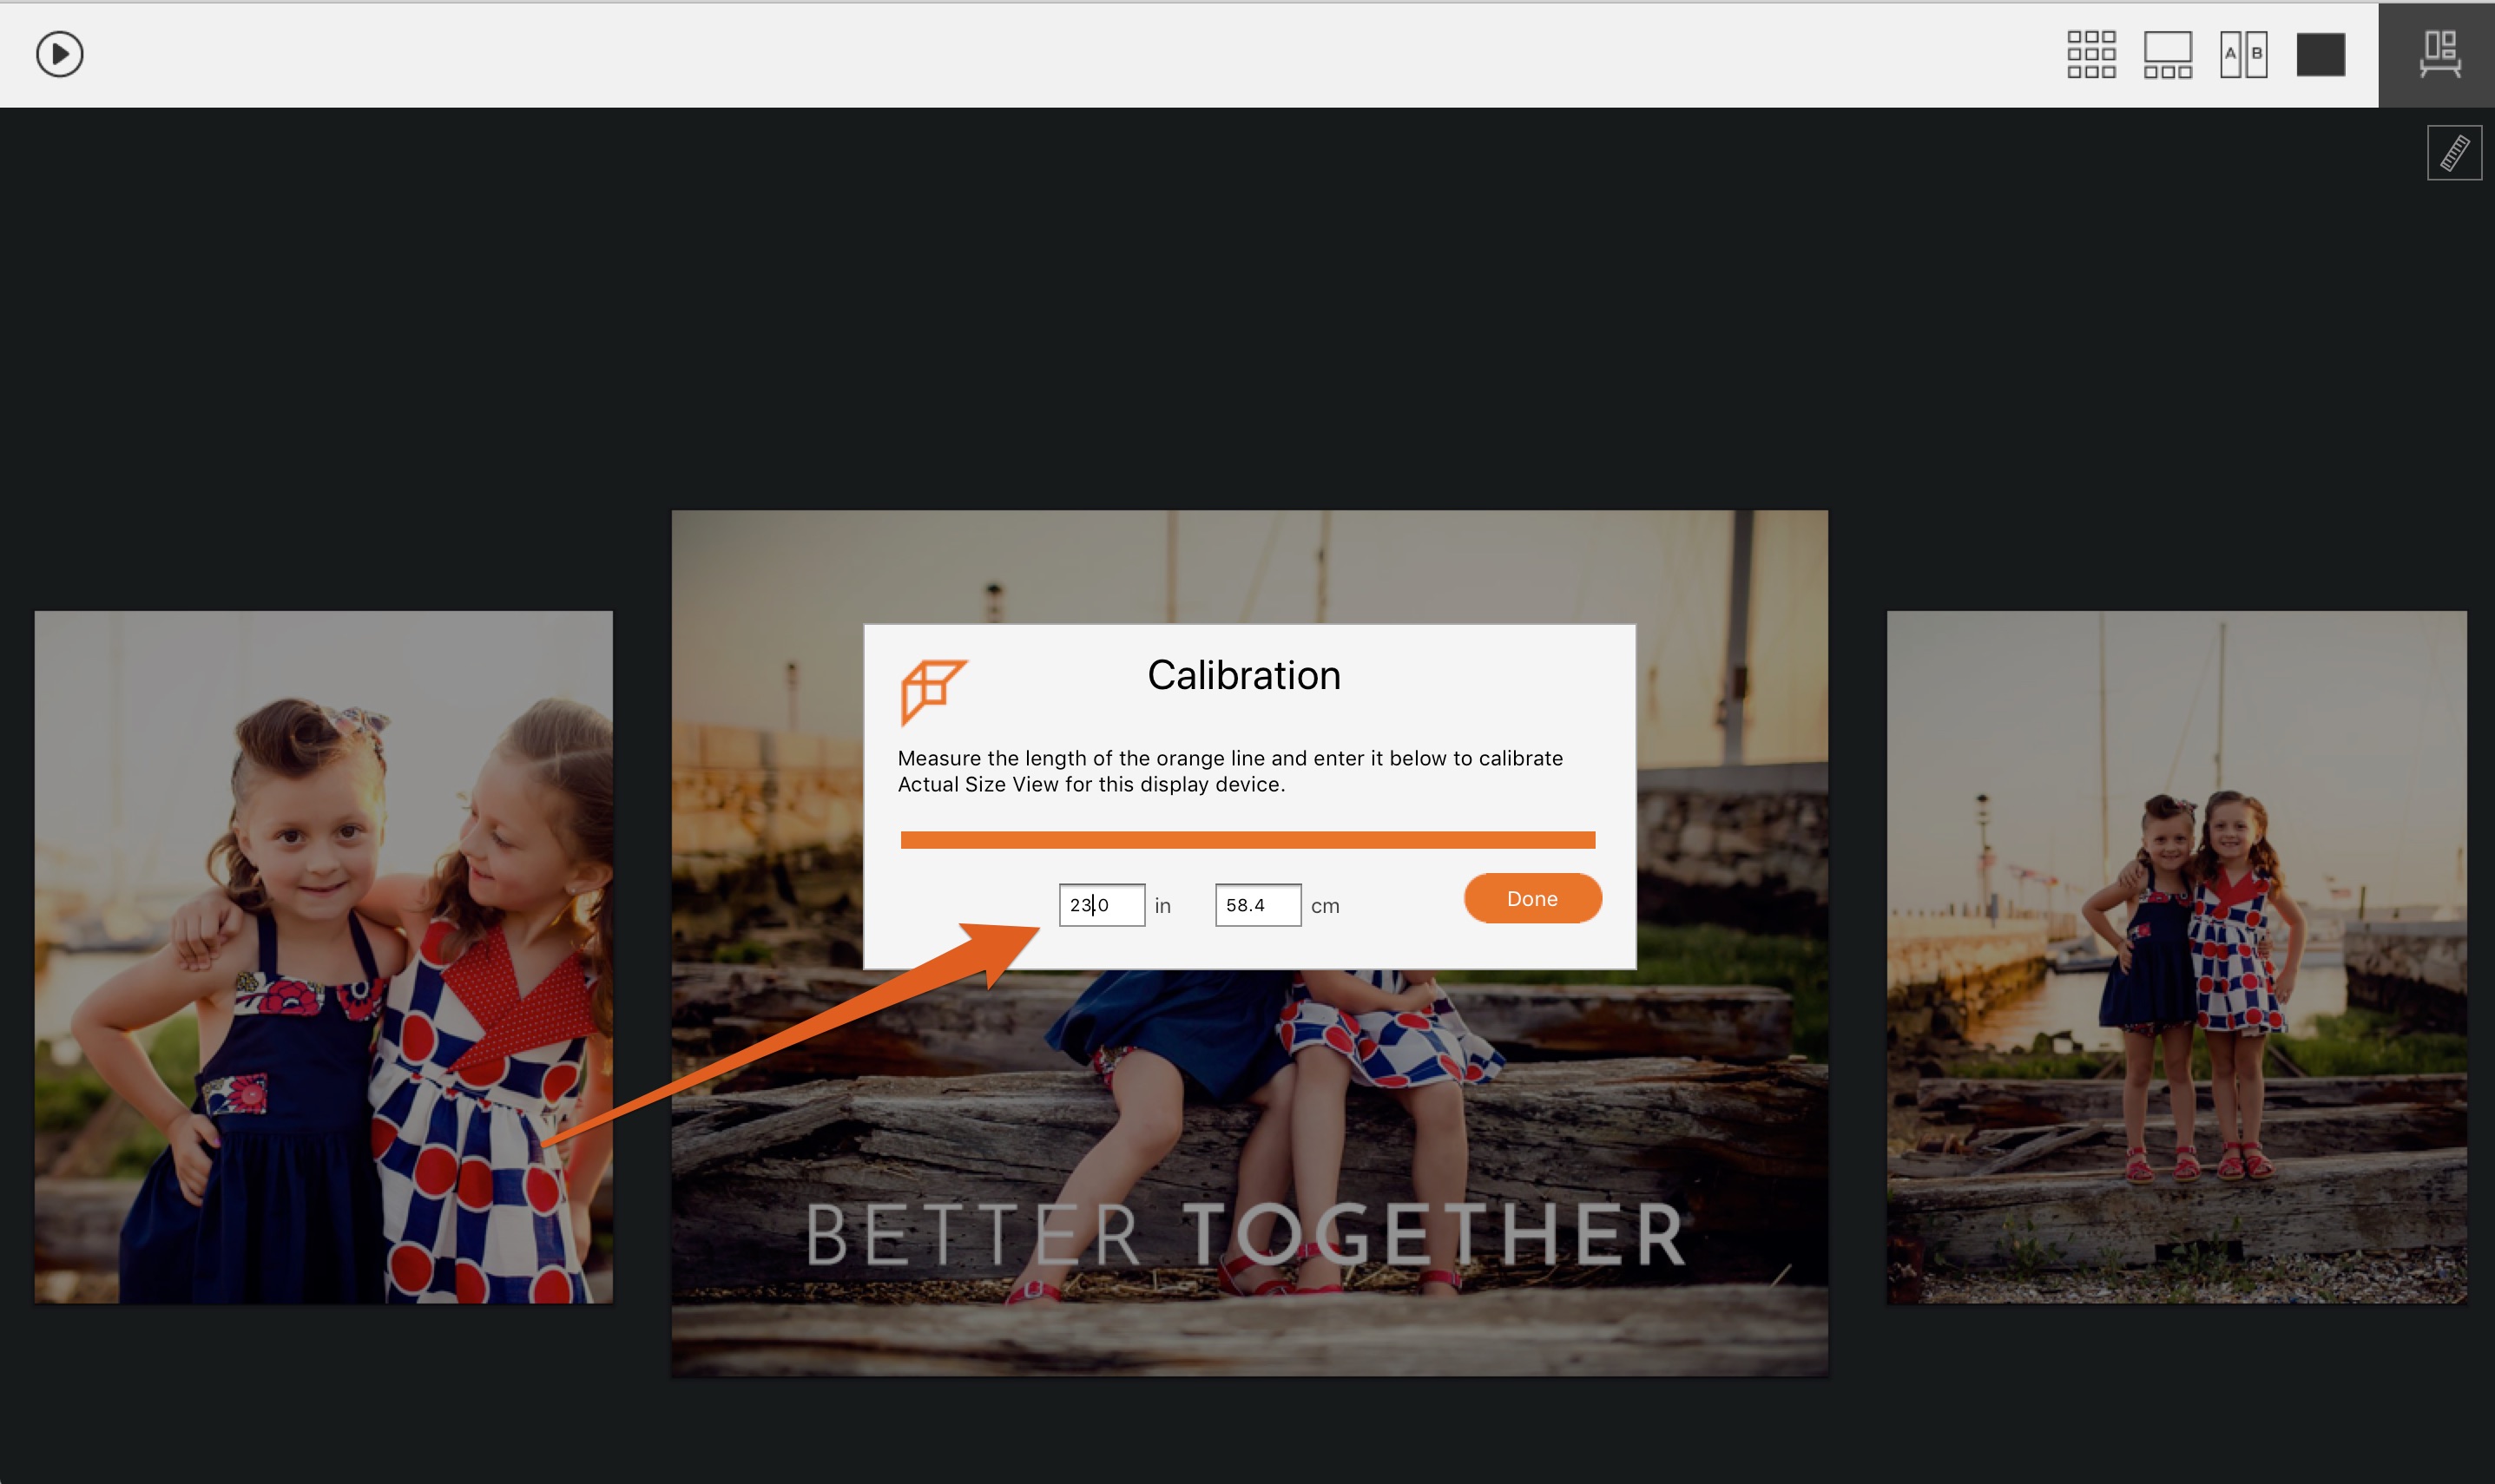
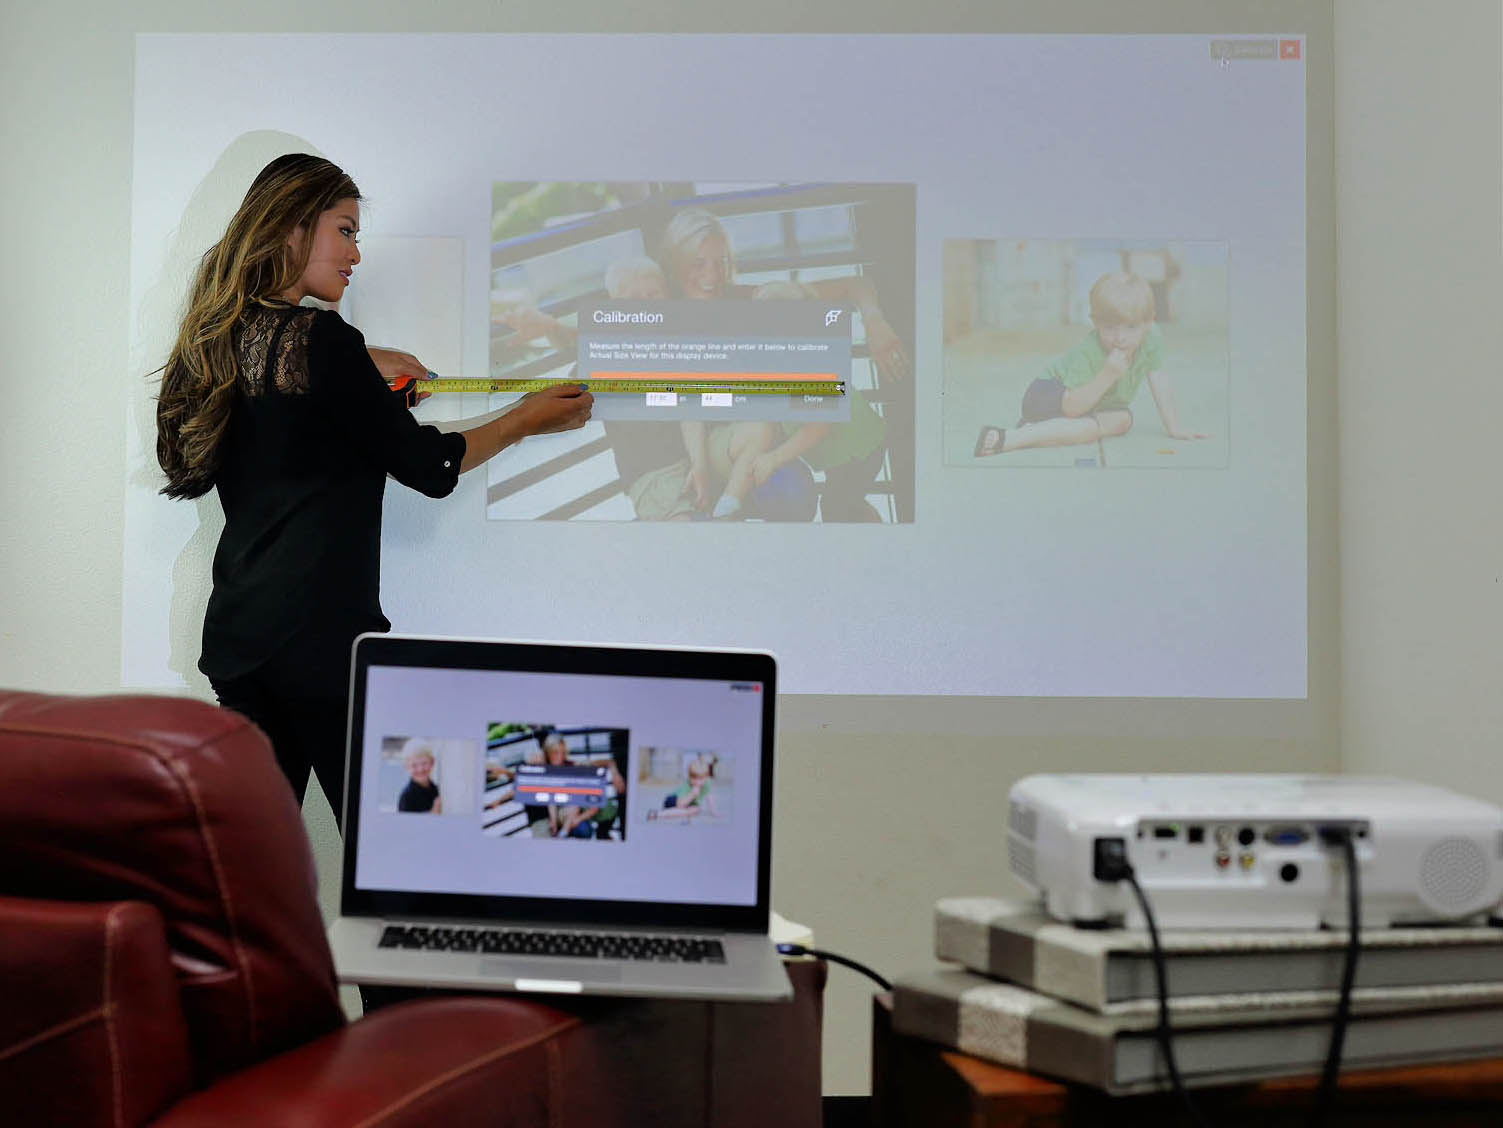
The first time you click on the Actual Size button, you’ll be asked to calibrate your projector (or your TV if it is large enough to display your largest print). Click the ruler icon to bring up the calibration screen.

You’ll simply need to measure how large this orange bar is when projected on your wall. Simply put in the size in inches or centimeters and you are done. If you always have your projector in the same place, then you’ll never need to do it again.
Then measure the orange bar on the projector (not your screen) or TV.
Bask in the Glory of Actual Size
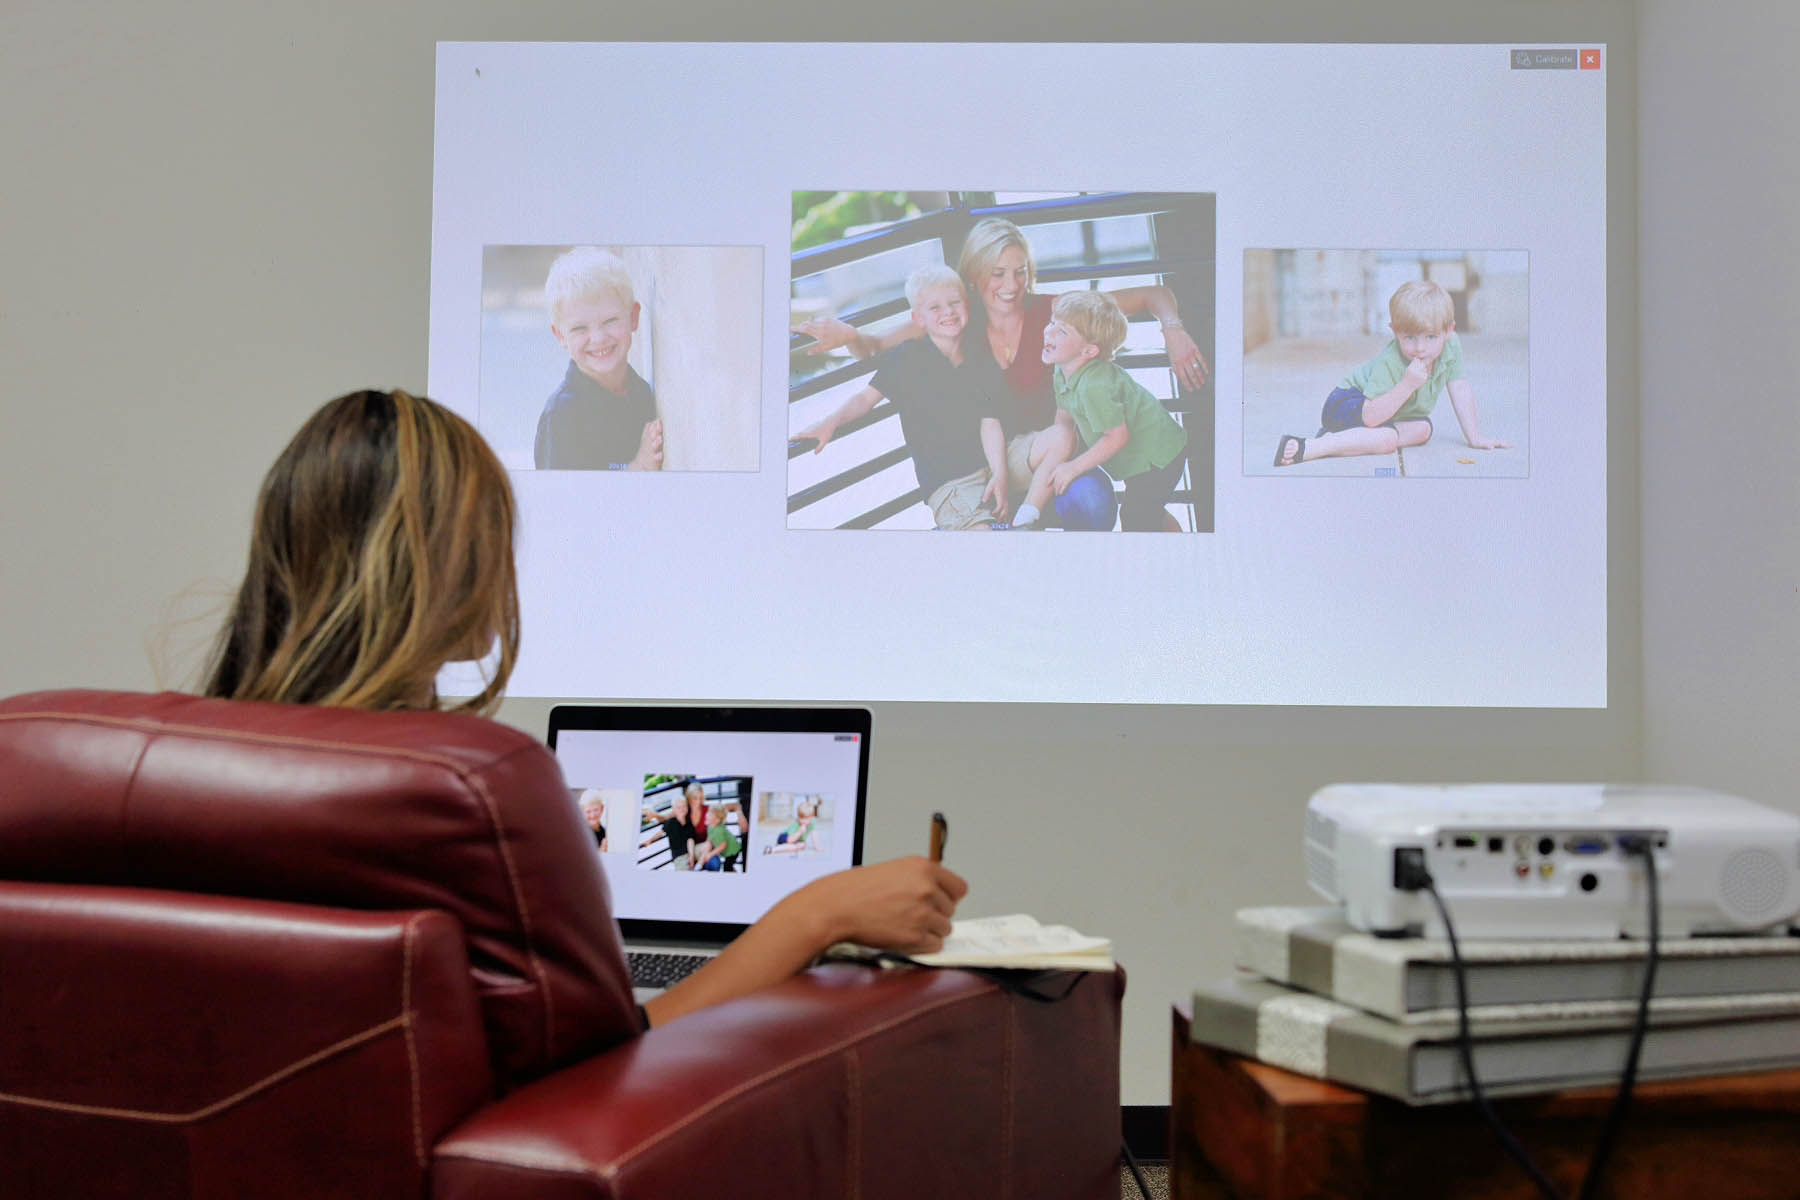
Images are now projected at actual size.
