
One of my personal favorite things in Album Builder v6 is diving into the advanced features of the Drop Zones™. The key to a good layout is always trying to create one with the least amount of individual Drop Zones. It’s kind of a zen thing.
Advanced Single Drop Zone
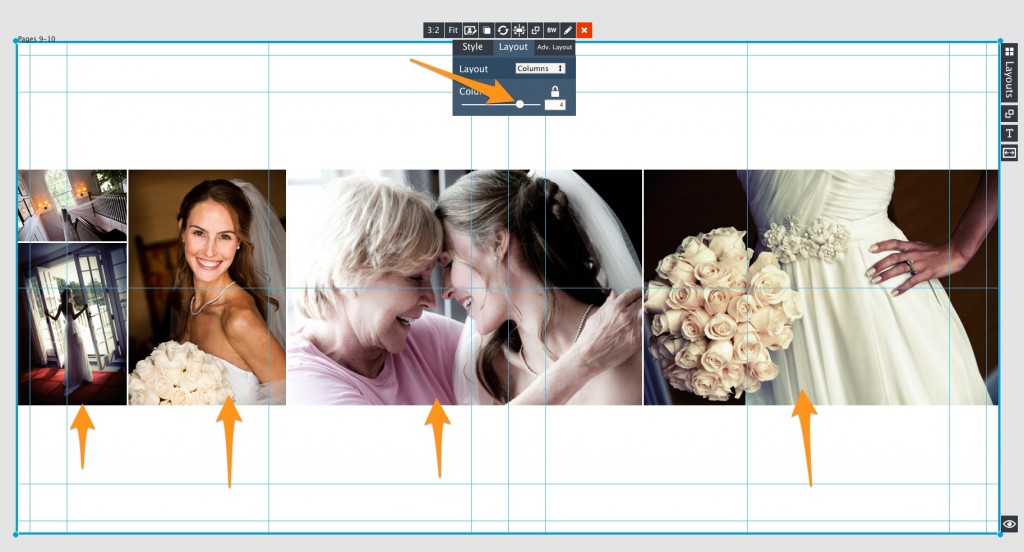
 Here is an example of a layout that was created with one Drop Zone using the layout and advanced layout sliders. Using the exact same images and placing the Drop Zone in the exact same manner, this is the layout you would automatically receive.

The first step is to go into the Layout slider and change the columns to 4, to make the layout “wider.”
Now you can see in the above image, the first column contains two images. I want to change this layout so that the last column has two images.
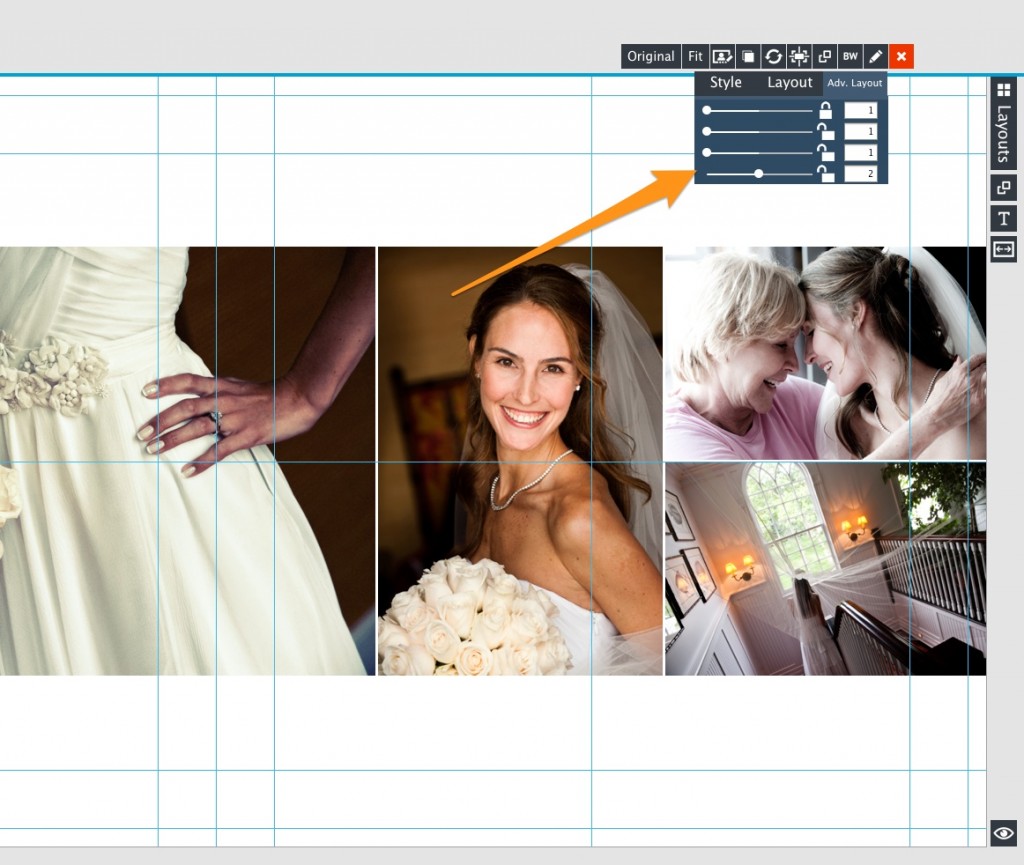
Then just move the images where you want them and done.
Multiple Drop Zone Magic
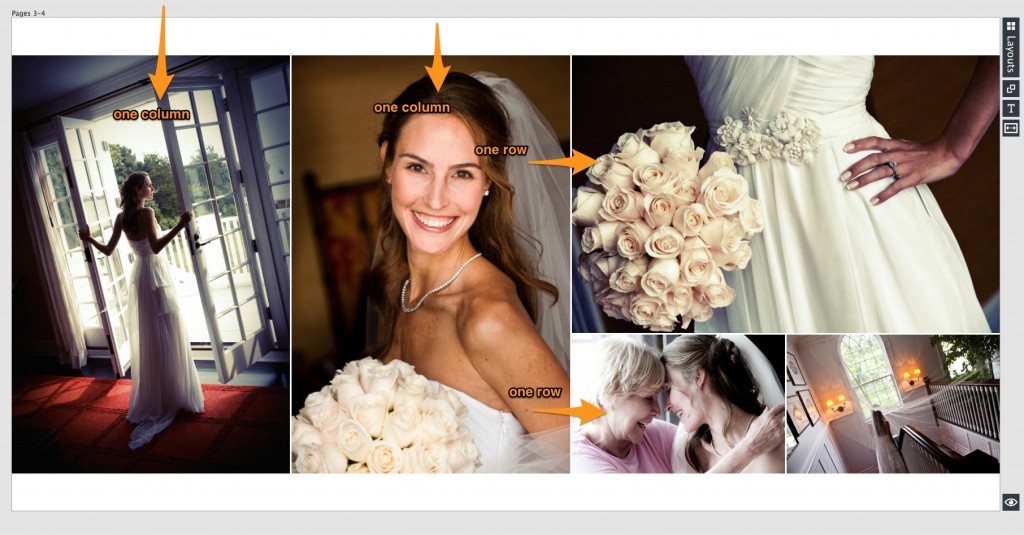
In the layout above, you can see that there is a Drop Zone on the left that has two columns, and a Drop Zone on the right that has two rows.
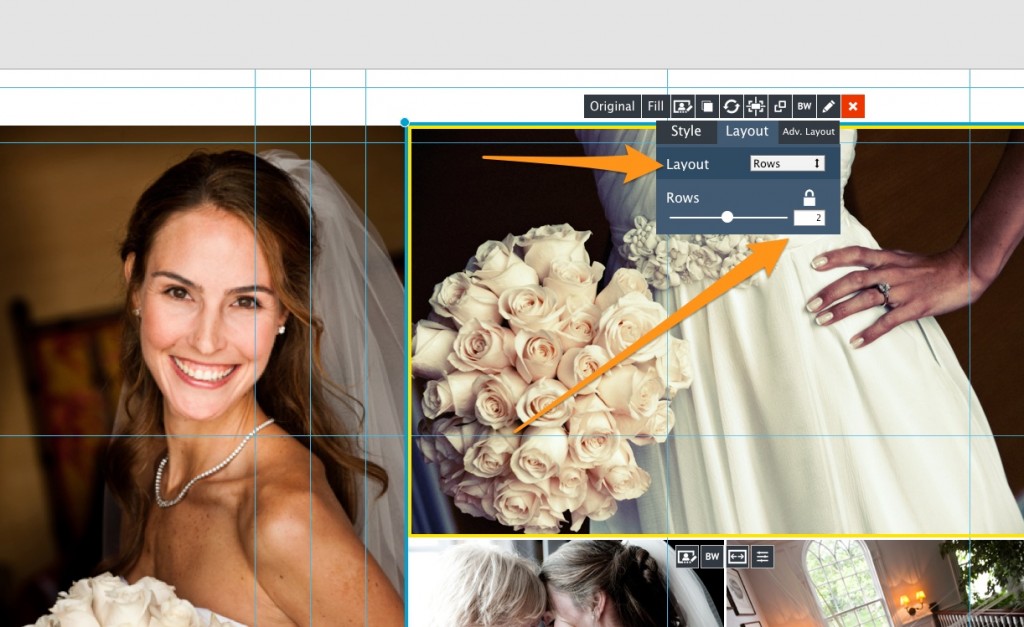
In order to create this layout, drag two images onto one side of the page, then two images onto the other side of the page. The next step would be to make any adjustments to the Drop Zones. You see above that I have changed one of the Drop Zones to rows. Then I size and place the Drop Zones. Watch the videos below for details on how to do this. The key is this: one of the Drop Zones needs to be set to FILL, so that all sides can line up correctly.
© All images copyright Fred Marcus Studios


