
We invented our patented Drop Zone® technology to make designing more fluid and more flexible. In this blog post we’ll show you how you can have more fun and control when you design.
What are Drop Zones®?
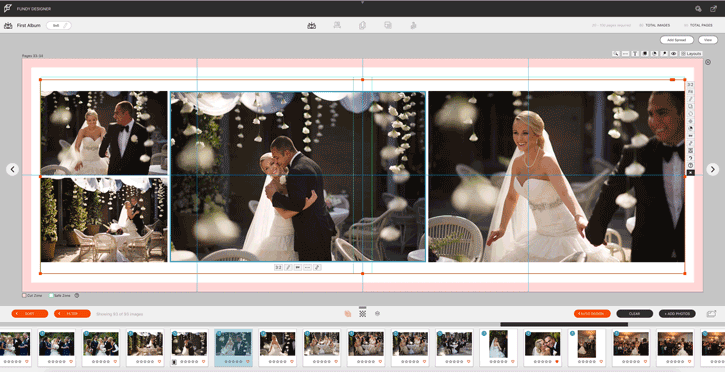
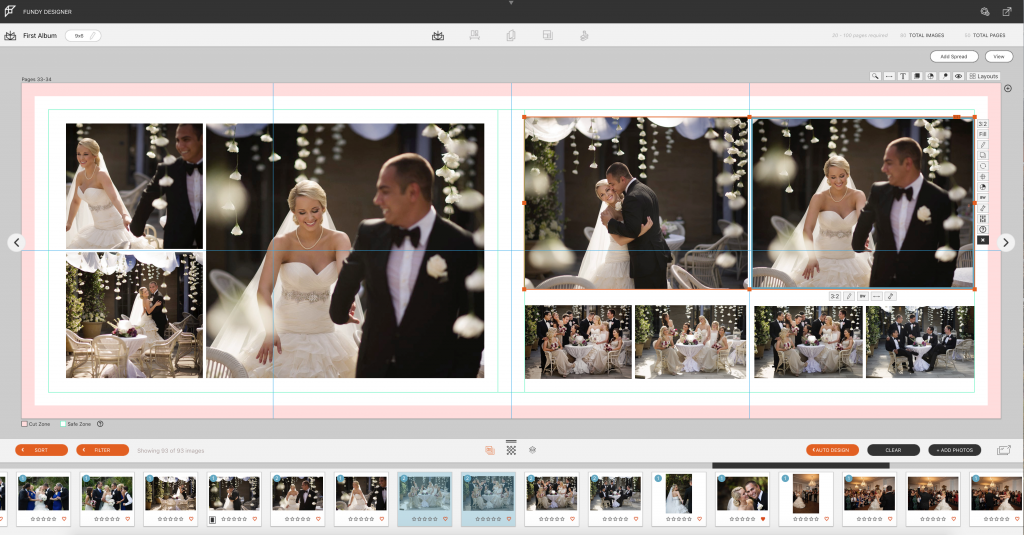
Drop Zones® are the orange boxes in Fundy Designer. You can add more photos to a Drop Zone or take photos out and Fundy Designer will always make the photos line up and look beautiful. Drag and drop photos anywhere within the layout, grab the space between photos to drag and make areas bigger or smaller and never have to worry about not being a professional graphic designer. Let’s show you what you can do.
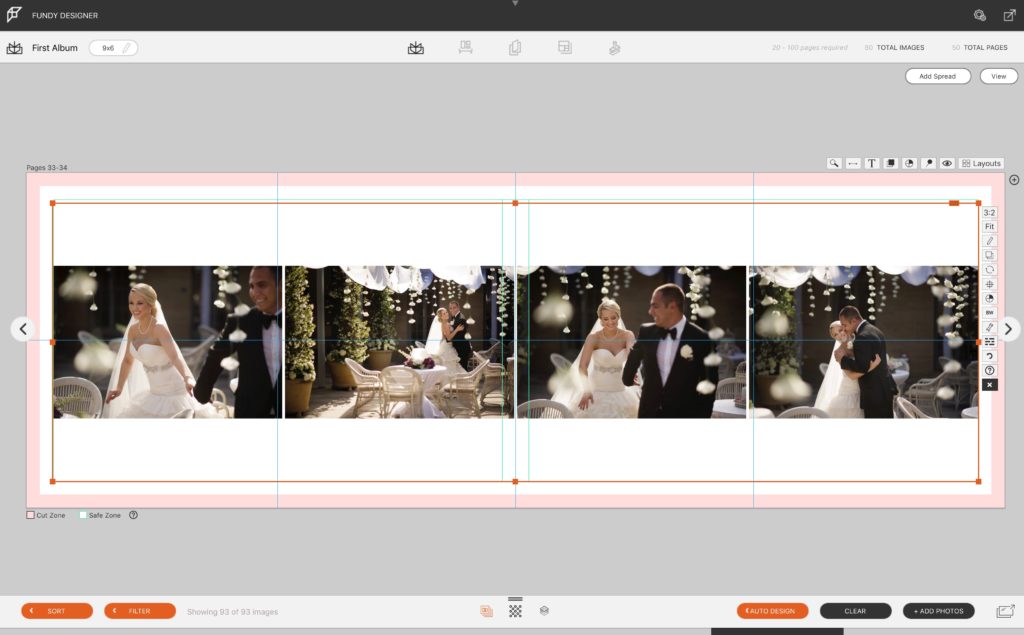
Image Resizing
We’ve given you the ability to do what no other design program on the entire planet can do – the ability to dynamically resize image openings.
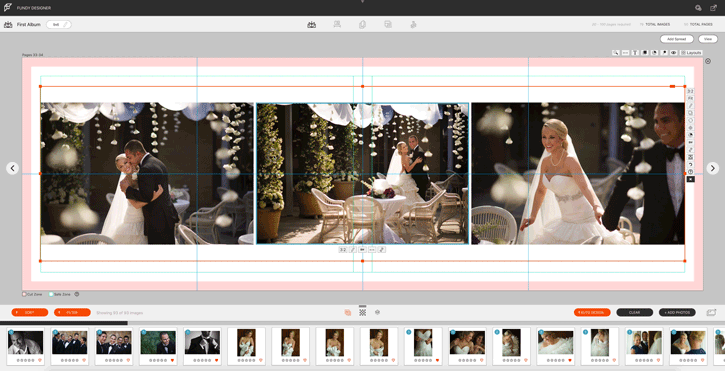
Grab any space between two images and slide it to change your layout however you want.
If you are grabbing and sliding the space between multiple images and want to adjust just one, use the option/alt key.
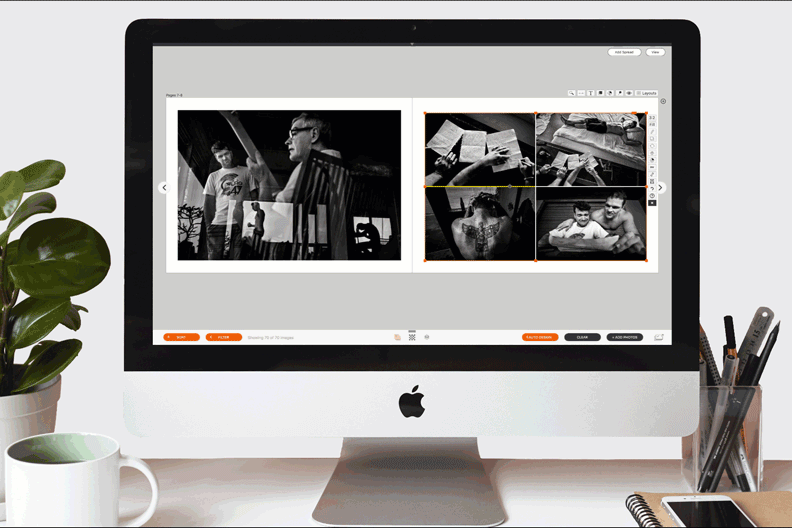
Image Placing
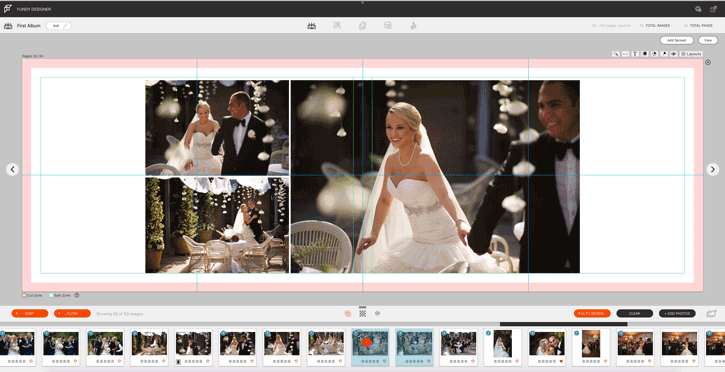
In Drop Zones 2.0 we added the ability to place images anywhere in the design. But you were restricted to dropping them within columns or rows.
Now you can literally drag images anywhere, creating a mix of columns and rows within just one Drop Zone.
Moving and Resizing Drop Zones
First of all, you can move and resize Drop Zones® wherever and however you want. This allows you to move photos in groups, saving you time. The easiest way to move a Drop Zone is to grab the orange handle top right and move it wherever you want. You can also use the command+arrows on your keyboard to nudge Drop Zones® (or any other item on the page).
Resizing Drop Zones® is really fun. Just grab any corner or mid-section and resize the Drop Zone and you can see the photos reshuffle magically.
Removing Photos
If you want to remove a photo from a Drop Zone® just select it and hit the delete key. The photos will auto re-align. This is especially helpful when making changes for a client. You don’t need to go searching for another template or hope that one exists in the software.
Swapping Photos
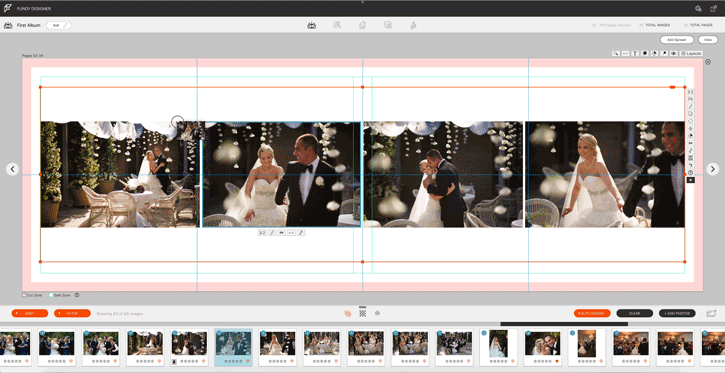
You can swap photos within Drop Zones® between Drop Zones® or between the image well and Drop Zones®. Just drag a photo over another photo until it is highlighted with the big yellow square.
Adding Photos
You can add photos to Drop Zones® one at a time or in groups. To add one photo, drag the photo from the image well, another Drop Zone® or another spread. Before releasing the photo, choose where you want the photo to go by targeting the thin yellow box.
To add multiple photos to a Drop Zone® select multiple photos from the image well using the shift key or the command key (just like in Lightroom). And drag them into any Drop Zone®. Note that you cannot drag multiple photos between Drop Zones or pages.
Moving Photos In a Drop Zone®
This is probably the most powerful feature in Drop Zones® – the ability to place photos exactly where you want and create the layout that you want.
Remember that you can always reset a Drop Zone by clicking the reset icon.
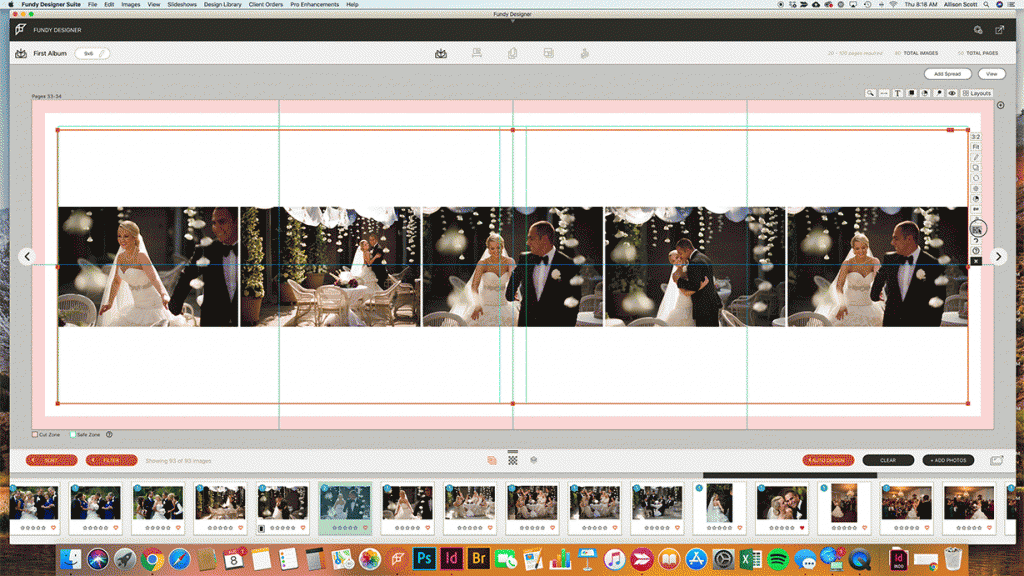
Rows and Columns
Drop Zones® are either set as rows of images or columns of images. That is why you sometimes can’t put a photo exactly where you want.
But you can always switch a Drop Zone from rows to Columns using this icon.
Multiple Drop Zones
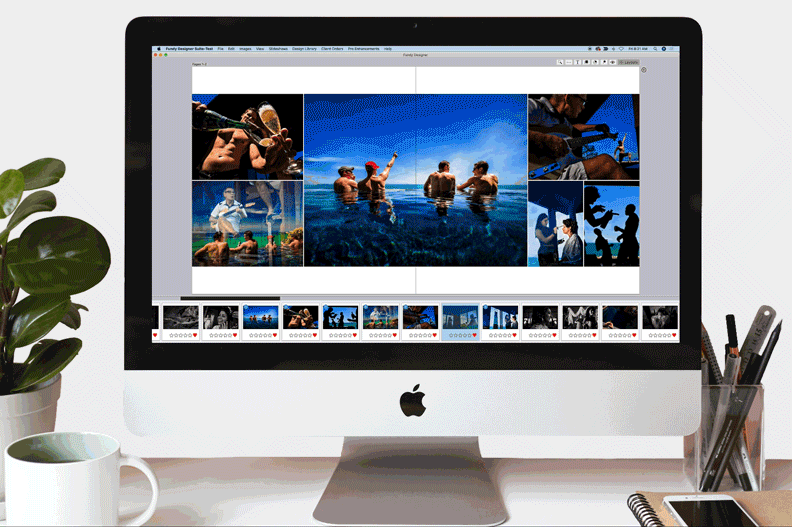
Sometimes you want to attain a layout that can’t be done with ROWS or COLUMNS. In that case, putting multiple Drop Zones® together is a great option.
First you want to collapse a Drop Zone® on the images by double clicking on it. Then resize and move it into position (hint, hold the shift key while resizing to maintain ratios).
Next drag one or more images onto a spread to create a new Drop Zone®. Now you can place a Drop Zone® set as columns next to one set as rows.
This technique will give you the ability to create something like this.
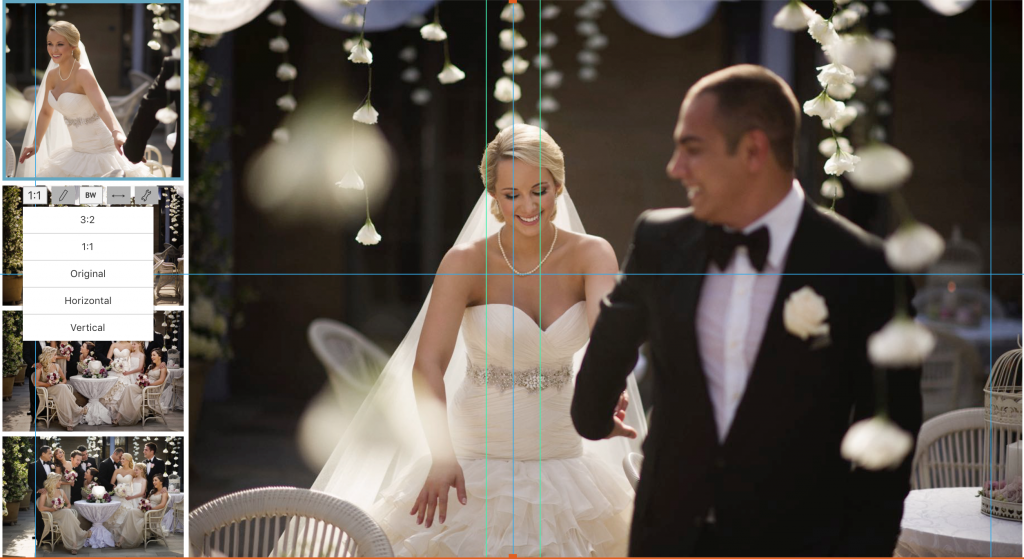
Ratios
Changing ratios on photos in within Drop Zones® is one of the best ways to add a dynamic look. You can change the ratio of one photo by clicking on the ratio icon and choosing a new one.
You can change the ratio of one row or column of images by holding down the SHIFT key while doing the same.
You can change all of the ratios in a Drop Zone® by using the ratio setting on the right of the Drop Zone.
More Fun
Drop Zones have a lot more fun in them. You can play with the spacing.
You can add keylines and drop shadows.
You can layer Drop Zones® with graphics, text and color blocks.
You can bulk changes photos to black and white.
Summary
Armed with the knowledge of how Drop Zones® work, you can go beyond the automated designs found in the Quick Design Picker® and create something unique to you.
And always remember, you can save individual designs with the pin icon.
And you can save entire designs with the Export or Save as Design Set.


