There is always a lot of confusion around dpi, ppi, pixels and printing. This short blog post will hopefully clear of some confusion and also show how Fundy Designer helps you get the best printing possible no matter what camera you use. If you are confused as to why a 3000px x 2000px image at 300dpi and 72dpi are exactly the same size, or why Fundy Designer has to up-res your a7Riii files, read on.
What is DPI/PPI?
Dots per inch (DPI) or pixels per inch (PPI) refers to how well a digital image will be printed. The confusion really arises because we are taking pixels which display on screens and then printing those pixels on paper, canvas, metals, etc. which all print differently.
DPI or PPI simply refers to the density of printing. In most cases, modern printers will use about 300 pixels per square inch on a print. Some newer HD printers will place anywhere from 600 to 1200 pixels per square inch.

So What Does It Mean?
So what does it mean when a lab says that they print at 300dpi? This means that this is the density that a lab will print your photos natively.
Let’s start with a modern 42mp camera. These will output an image at approximately 7952 x 5304 pixels.
If we divide those numbers by 300 then we get 26.5 inches x 17.7 inches.
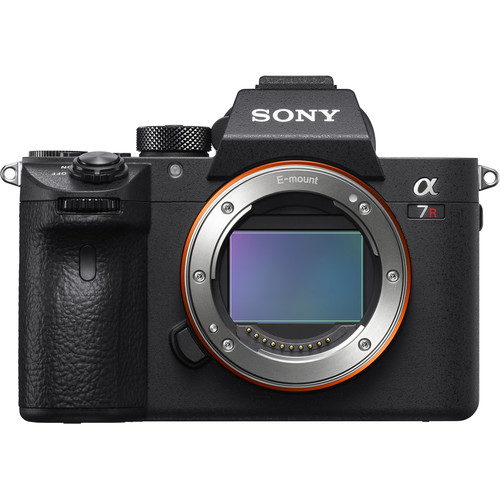
So this camera can print natively up to this size. So even if we just print a 20×30, the file will be upsized. And that’s ok, we’ll get to upsizing later.
And we can do the inverse. An 8×10 inch image at 300 dpi is 2400 x 3000 pixels in size.
What DPI is NOT
DPI is not a fixed part of a digital file. I’ve heard people say, “Image Brander is exporting my files at 2000px wide at 300dpi, it needs to be 72dpi.” This is just not a thing. When you measure in pixels, DPI doesn’t matter.
DPI is only relevant when you are measuring an image in inches or centimeters (mm, feet, etc), because it tells us what the actual size is. An 8×10 at 300dpi tells us that the actual size of the image is 2100x3000px.
DPI will not affect print quality or print resolution, it simply gives us the information on how big a file really is in pixels. If you open a a 10 inch album spread in Photoshop and it says the size is 6000px x 3000px at 72dpi, that file is exactly the same size if it said 6000px x 3000px at 300dpi, because pixels don’t change, pixels are finite.
Always Talk in Pixels
When sending something for print or talking about how big a file is, always talk in pixels. If you need to know if something is big enough to print, just divide by 300.
Also know that all professional labs use resizing software that is much better than anything you have on your computer. And if you are doing wall art or album designs, let Fundy Designer do the work for you, we’ve got it figured out.
If you have to talk in DPI or inches, remember that you always have to talk in both DPI AND inches (or CM etc). One has no meaning without the other.
So What Do I Do Lightroom and Fundy Designer?
The most important thing is to not try to over think dpi and pixels. Here in support we see 99% of printing mistakes make by people trying to outsmart or overthink the system. Let Lightroom and Fundy Designer deal with upsizing and sizing for print.
When exporting from Lightroom do not check the resize button. This will ensure that any lab or software has access to the full resolution of your photos. When exporting in pixels, the resolution literally does not matter (more on that later), just leave it at 72ppi.
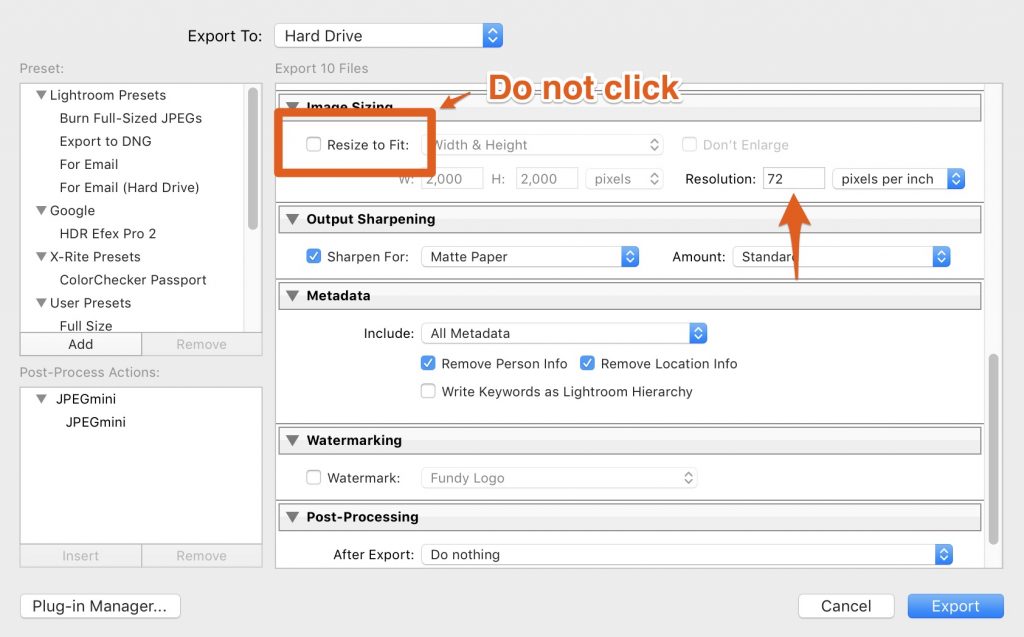
(If you are using Lightroom for resizing, just remember keep it at 72 for web or 300 for print. )
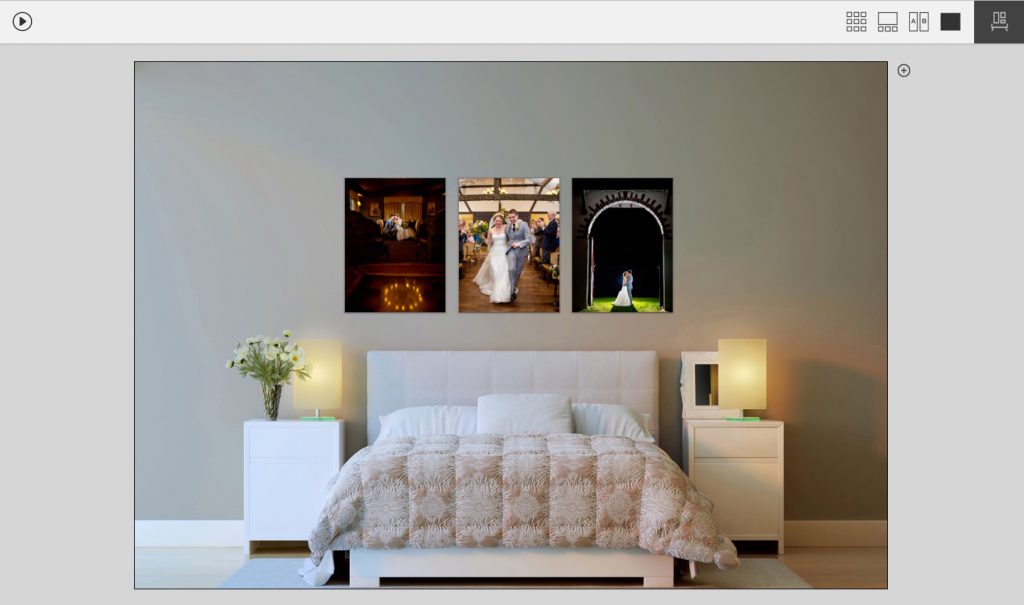
What do I do in Fundy Designer?
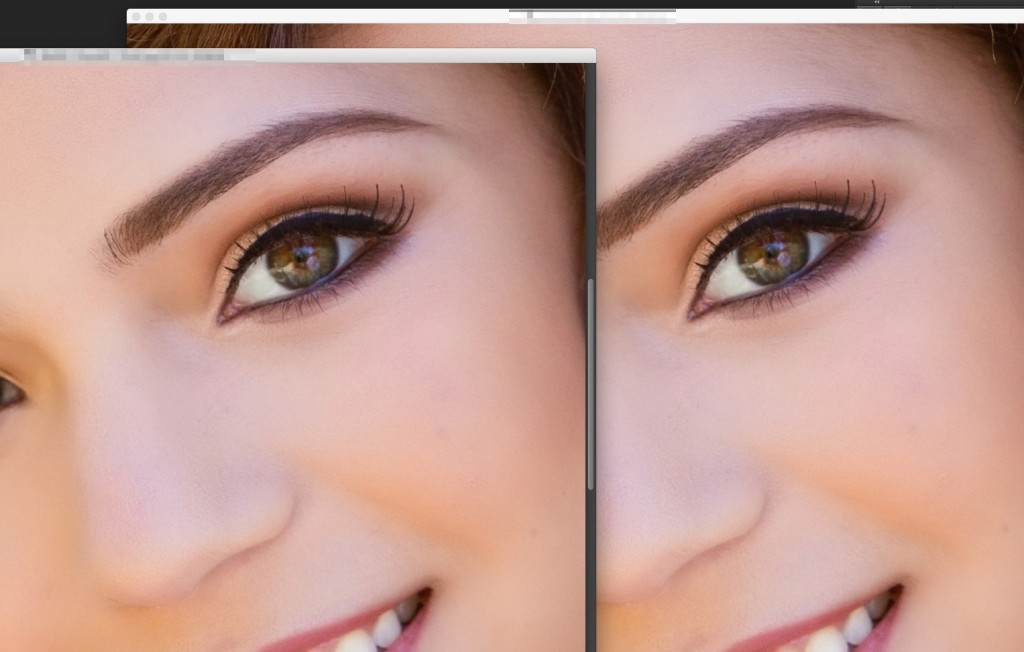
The main thing to do, is to just let Fundy Designer do the work for you. We use a similar bicubic upsizing and downsizing when exporting for both print and the web. We also do all of the cropping for you. Just be sure to use export for print when printing. Here is a side by side comparison of a 400% upsize from Fundy Designer and Photoshop (shown in Photoshop). Which is which?
What if I get the yellow triangle of death?
First of all the yellow triangle isn’t death, it’s just letting you know that we are going to upsize it. It’s also a safety measure as we’ve had some clients accidentally import web sized images into Fundy Designer and go to print.
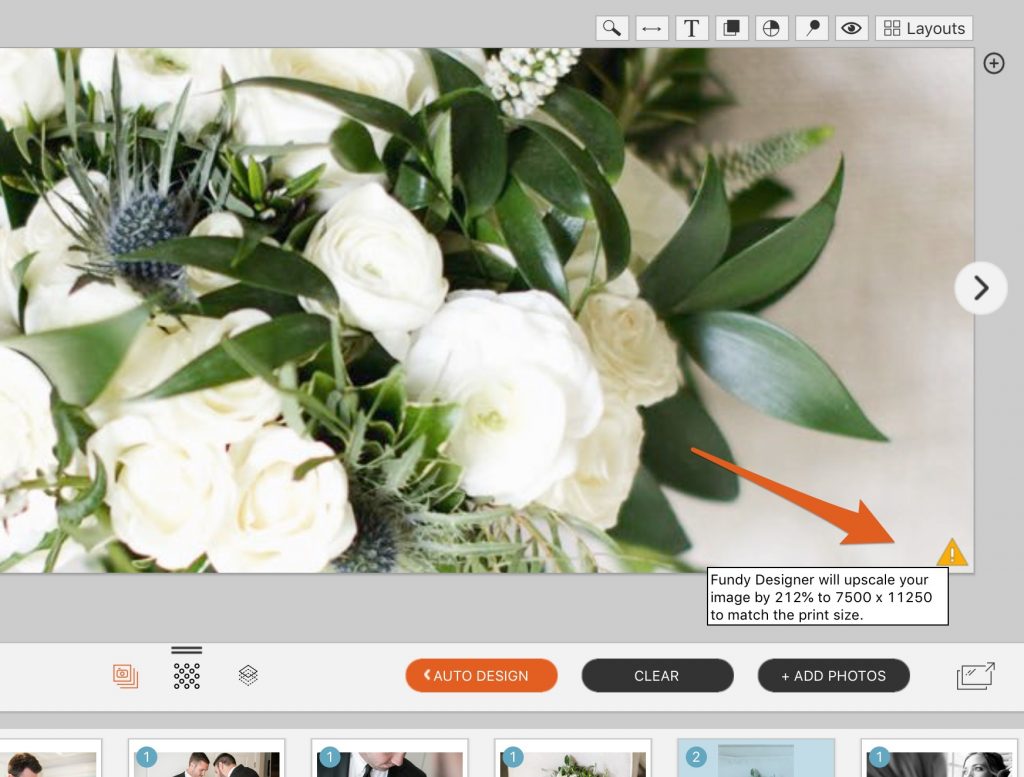
If you see a yellow triangle, hover your mouse over it and see how much Fundy Designer is going to upsize it. If it is under 250% just ignore it and go ahead and order. If it’s between 250% and 400% we recommend doing a test export and viewing it in Photoshop at print size (not actual size), just to make sure you are ok with it. We regularly print wall art with 300-400% upsized photos and we think they look great.
How do I check in Photoshop?
This is very important. Open the file in Photoshop after you’ve exported from Fundy Designer. And then under the View menu, choose View at Print Size. When you do this, Photoshop detects your monitor resolution and the file size at print resolution (this is the one time that DPI is important in your file, but Fundy Designer takes care of that).
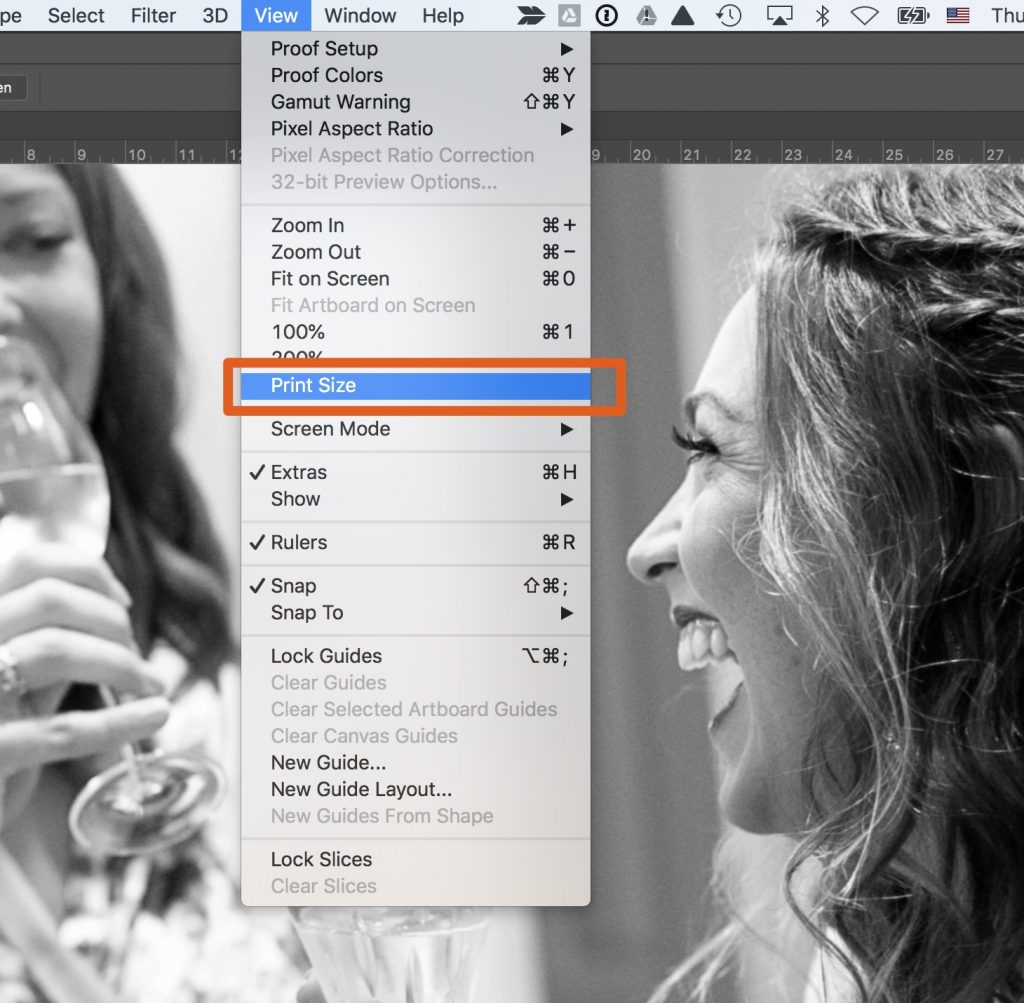
If you view at actual size, which most people do, you’ll see a mess of noisy pixels. This is like using a giant magnifying glass to view a wall print – all you’ll see is flaws. So, just view it at Print Size.
Summary
So to sum up: always export at full pixel size from Lightroom, always let Fundy Designer do the hard work of sizing for print and always talk in pixels. And if you need to check anything in Photoshop, always view at Print Size, not actual size.