
Designing can be difficult. We work so hard learning to create a great photograph that visualizing our photos as a design while shooting or culling can be challenging. I have good news for you – there are fundamentally only three design structures that you need to remember and after that, it’s making tweaks for you aesthetic. I’m going to share these three design structures with you and how to use them to fit your photography, no matter your style. In the end, this will help you sell more albums and wall art galleries.
The Structures
There are three basic design structures in photography. Pick up any magazine or walk into any store and you’ll see these three structures are used over and over in photo design. If we shoot and cull for these layouts, design becomes a snap and opens us up to an entire world of additional creativity.
There are only three fundamental structures in photo layout. Master these and master storytelling.
The Pano (i.e., The Wow Shot)
Every scene we shoot starts as the “wow” or “hero” shot in mind. No matter if we are shooting weddings, boudoir, high school seniors or family portraits, we always go after this shot. We do this because these shots are not only what our clients are most attracted to, but they are the least amount of work for the highest return. Process and re-touch one “wow” shot, and it can span two pages in an album or be printed as a large piece for the wall.
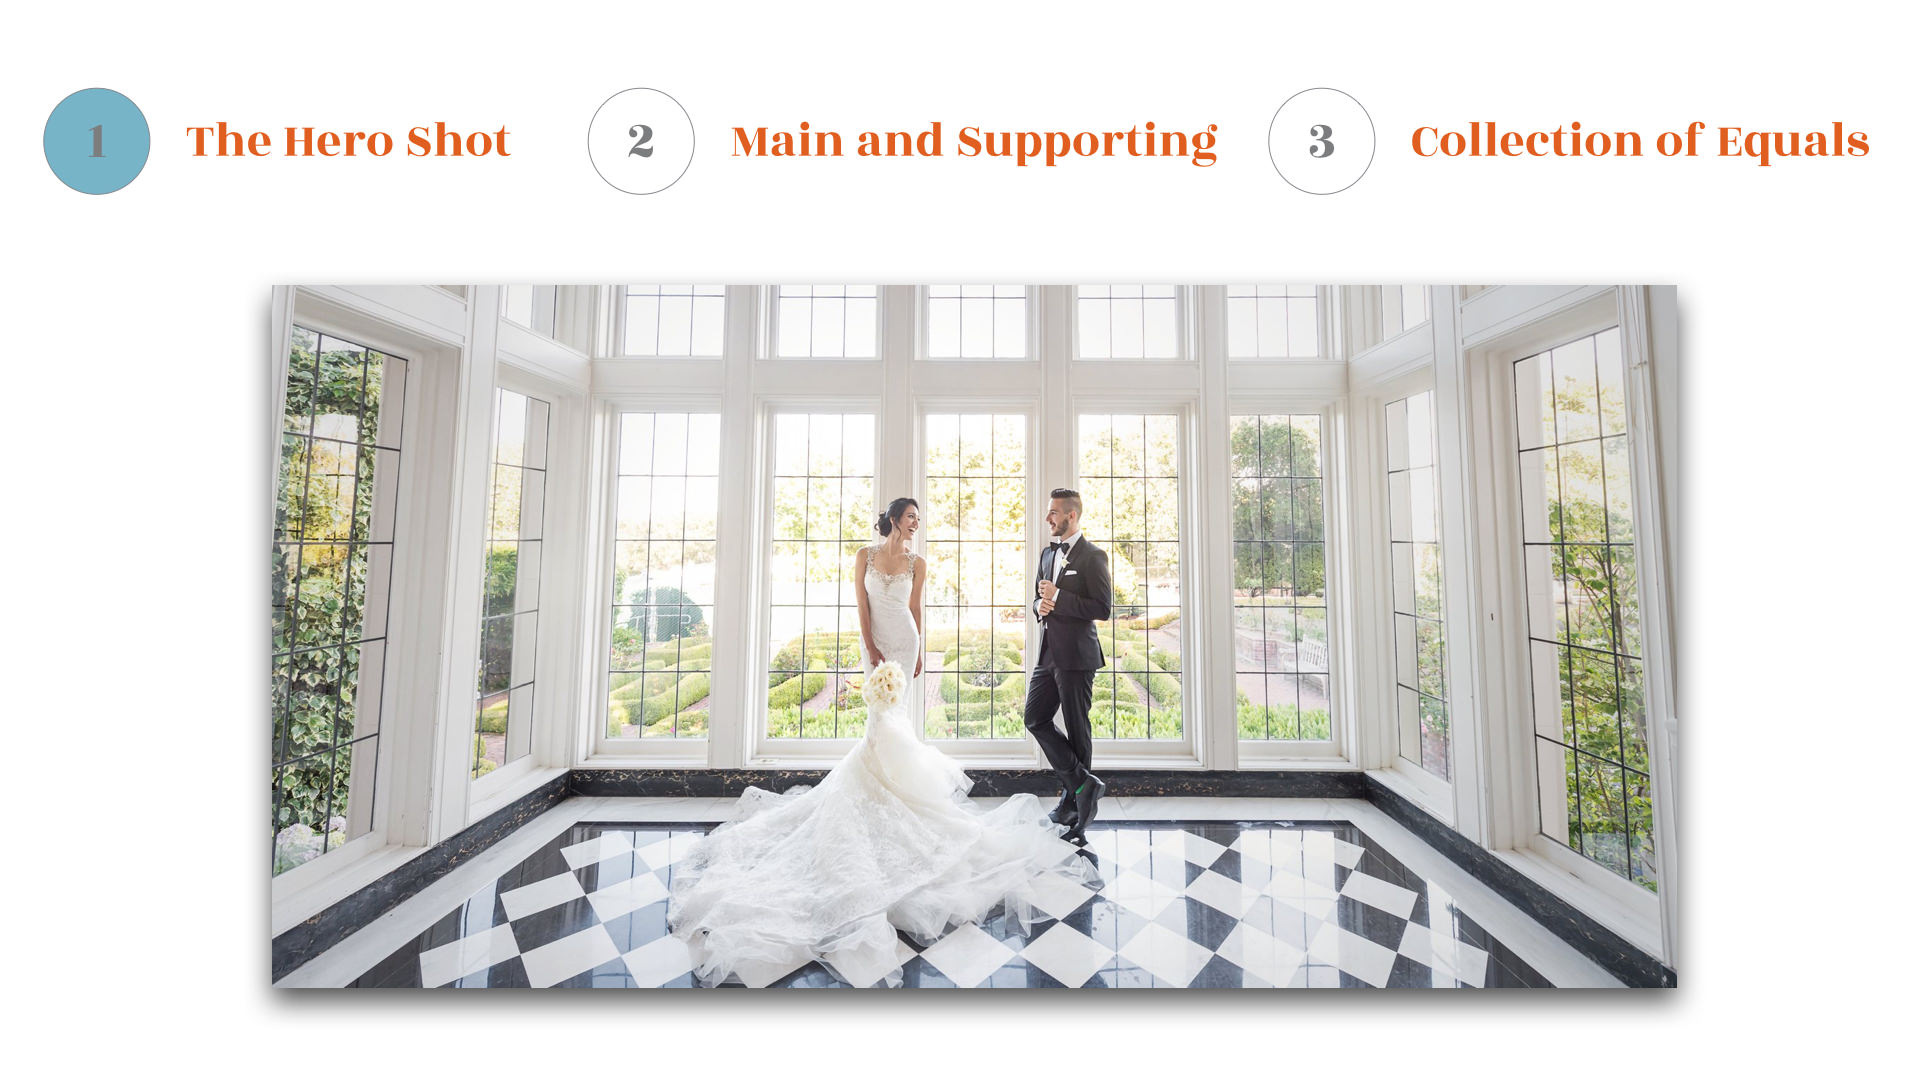
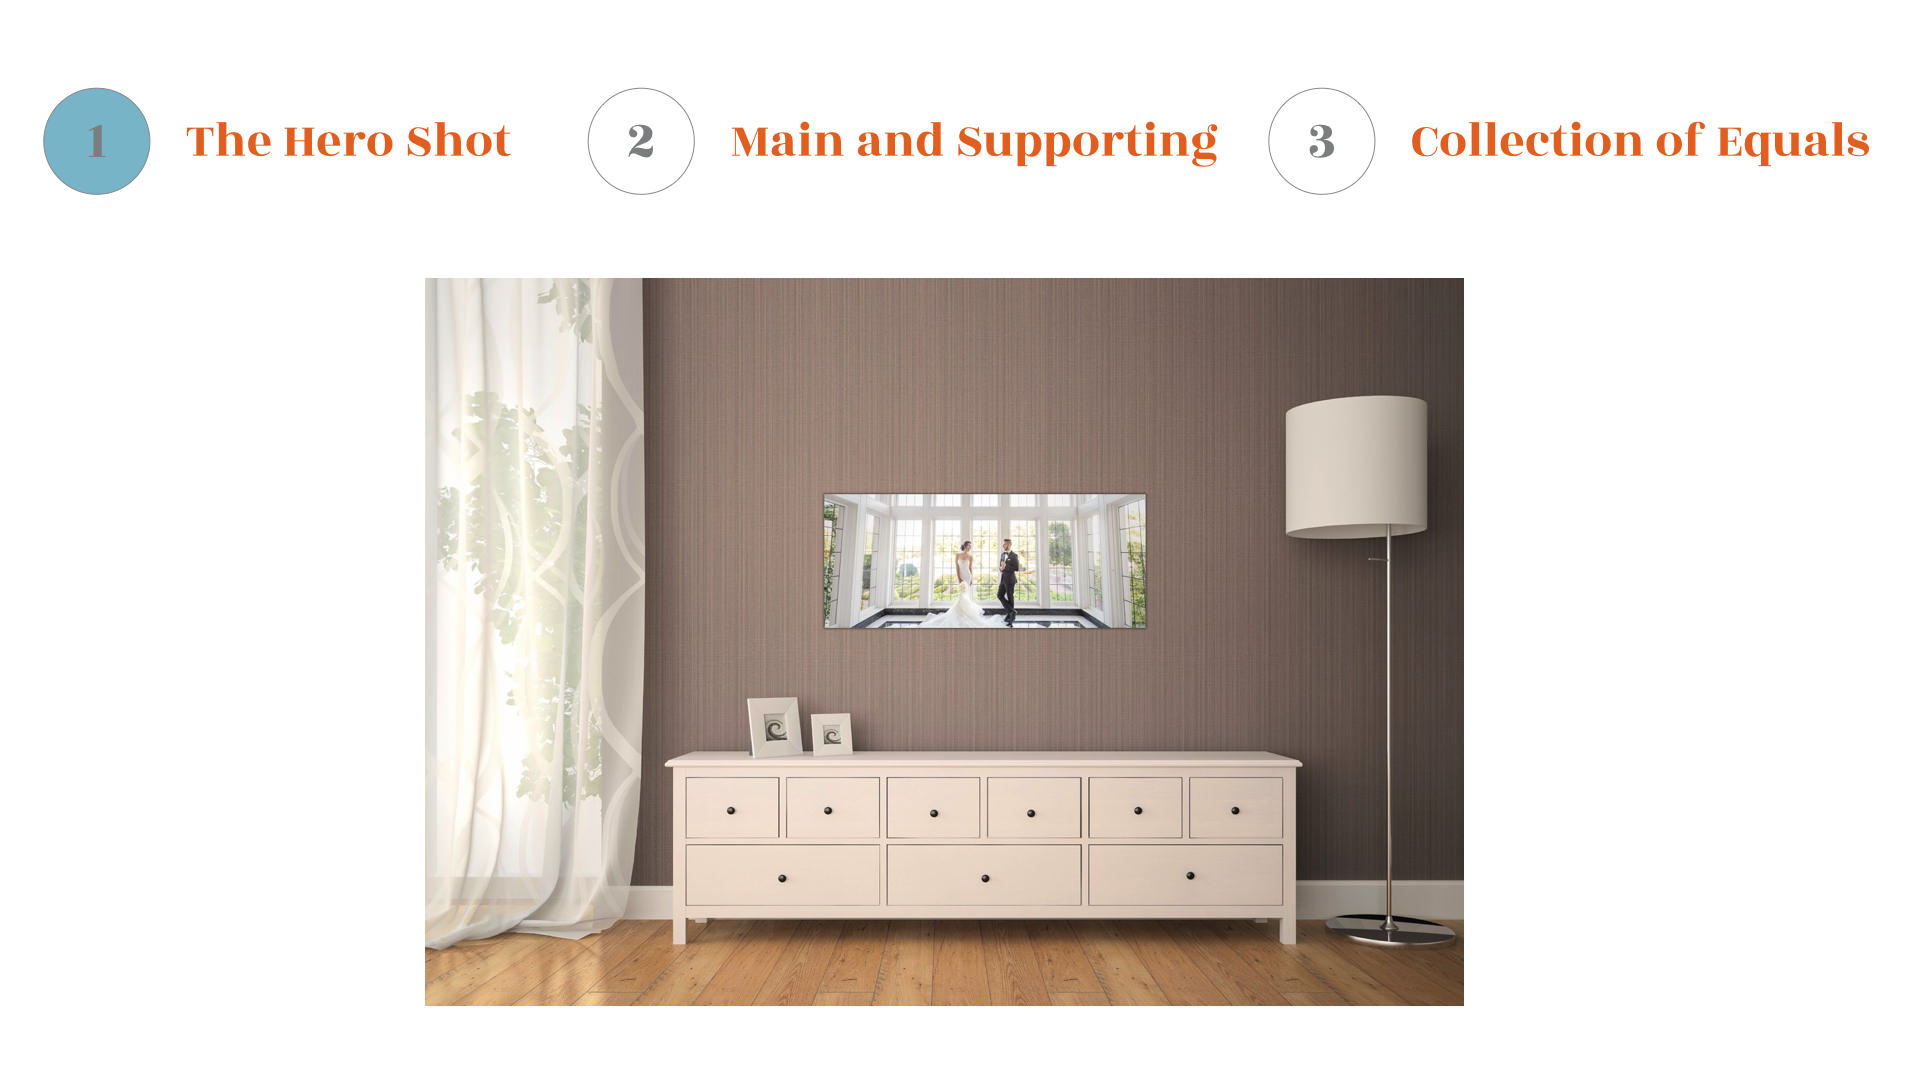
When shooting the hero shot take into consideration what products you offer. If you sell vertical albums and standard wall sizes, you are set because a 3:2 ratio image (that our camera outputs) fits perfectly on a two page spread or on a big 60×40. But if we offer square or horizontal albums and long pano wall art, we need to make sure we shoot loose, so the top and the bottom of the image can be cropped off. When shooting and culling make sure to include a few full pano images for those double page spreads and huge wall prints.
Pano shots are gold, but they cannot tell a story all by themselves.
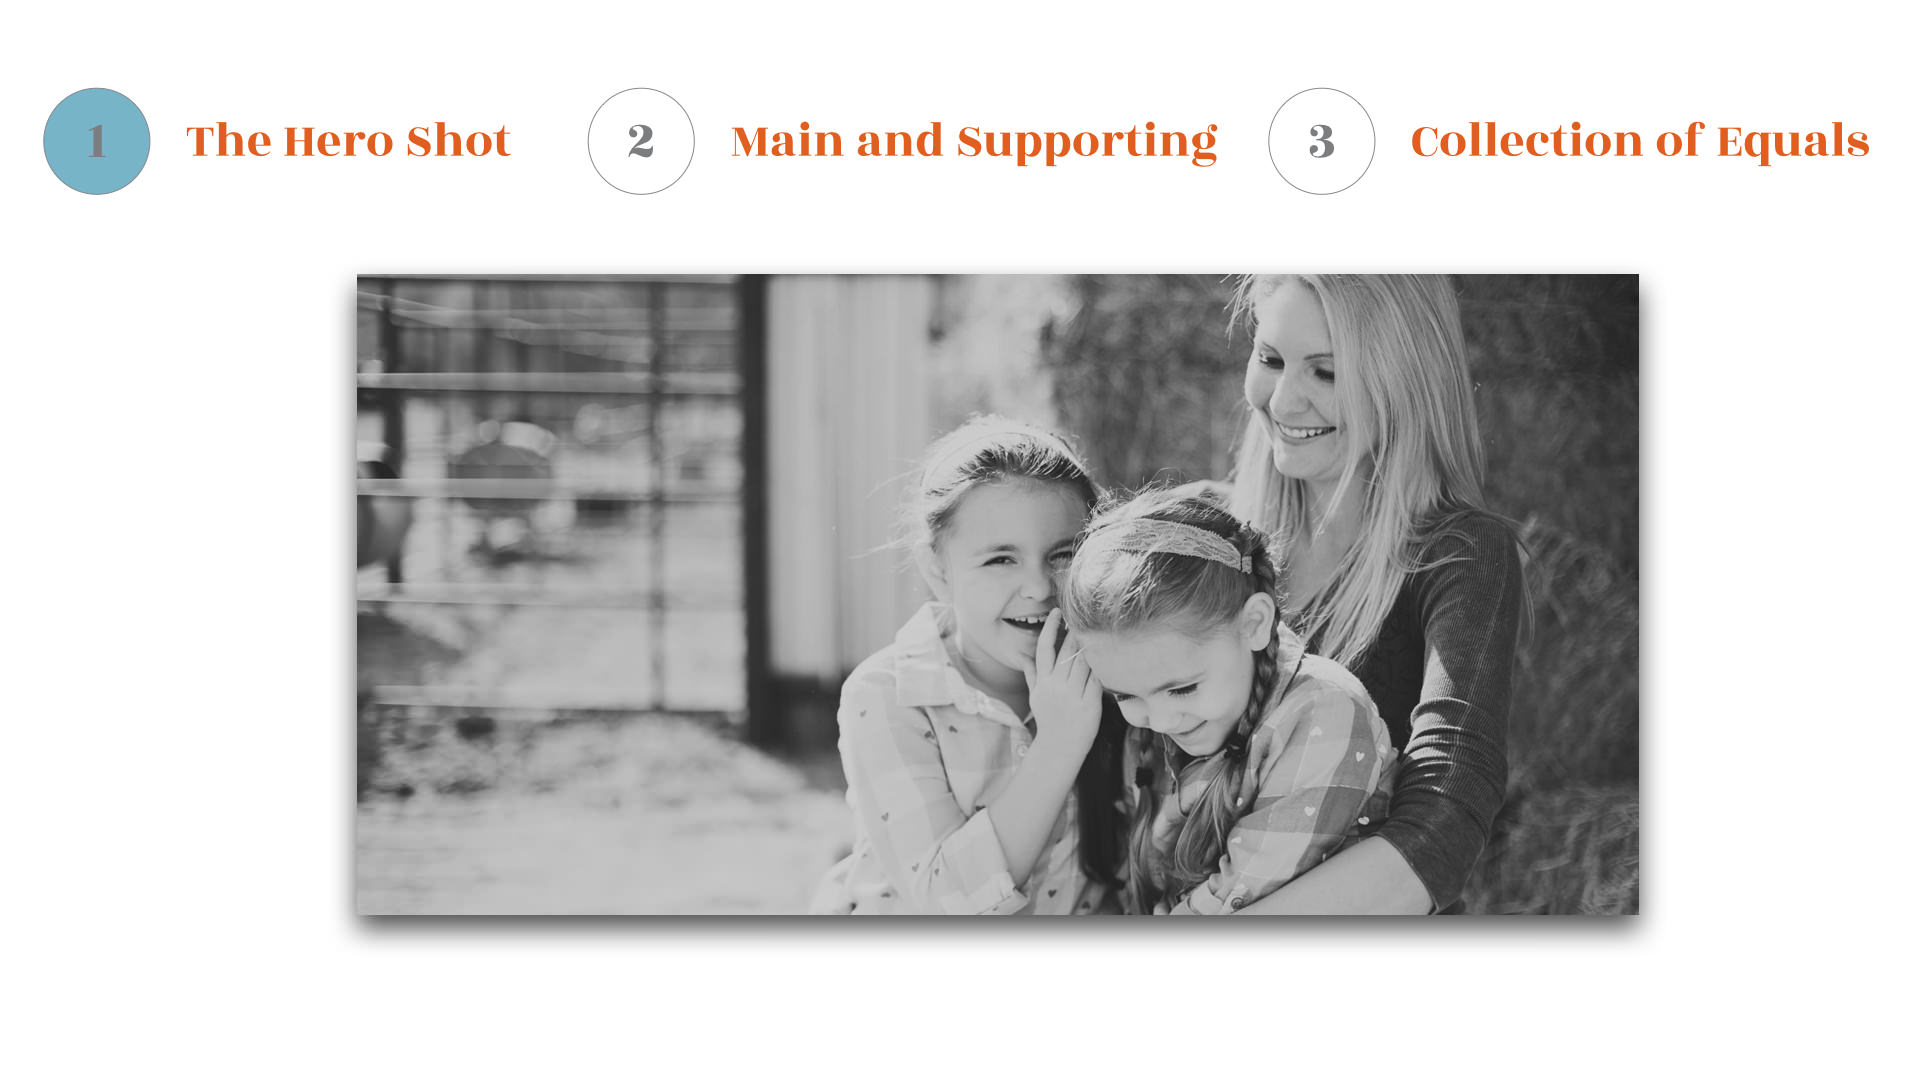
Main and Supporting Images
Not every image can be the hero shot and stand on its own. When shooting, be sure to capture those supporting images because you’ll need them later. Shoot the main image and then follow that up by shooting the supporting images. Images shot in the same place, with the same lighting and same processing will lend themselves to better designs. Also, when culling be sure to select images that will support the main image in a scene and process all those images the same.
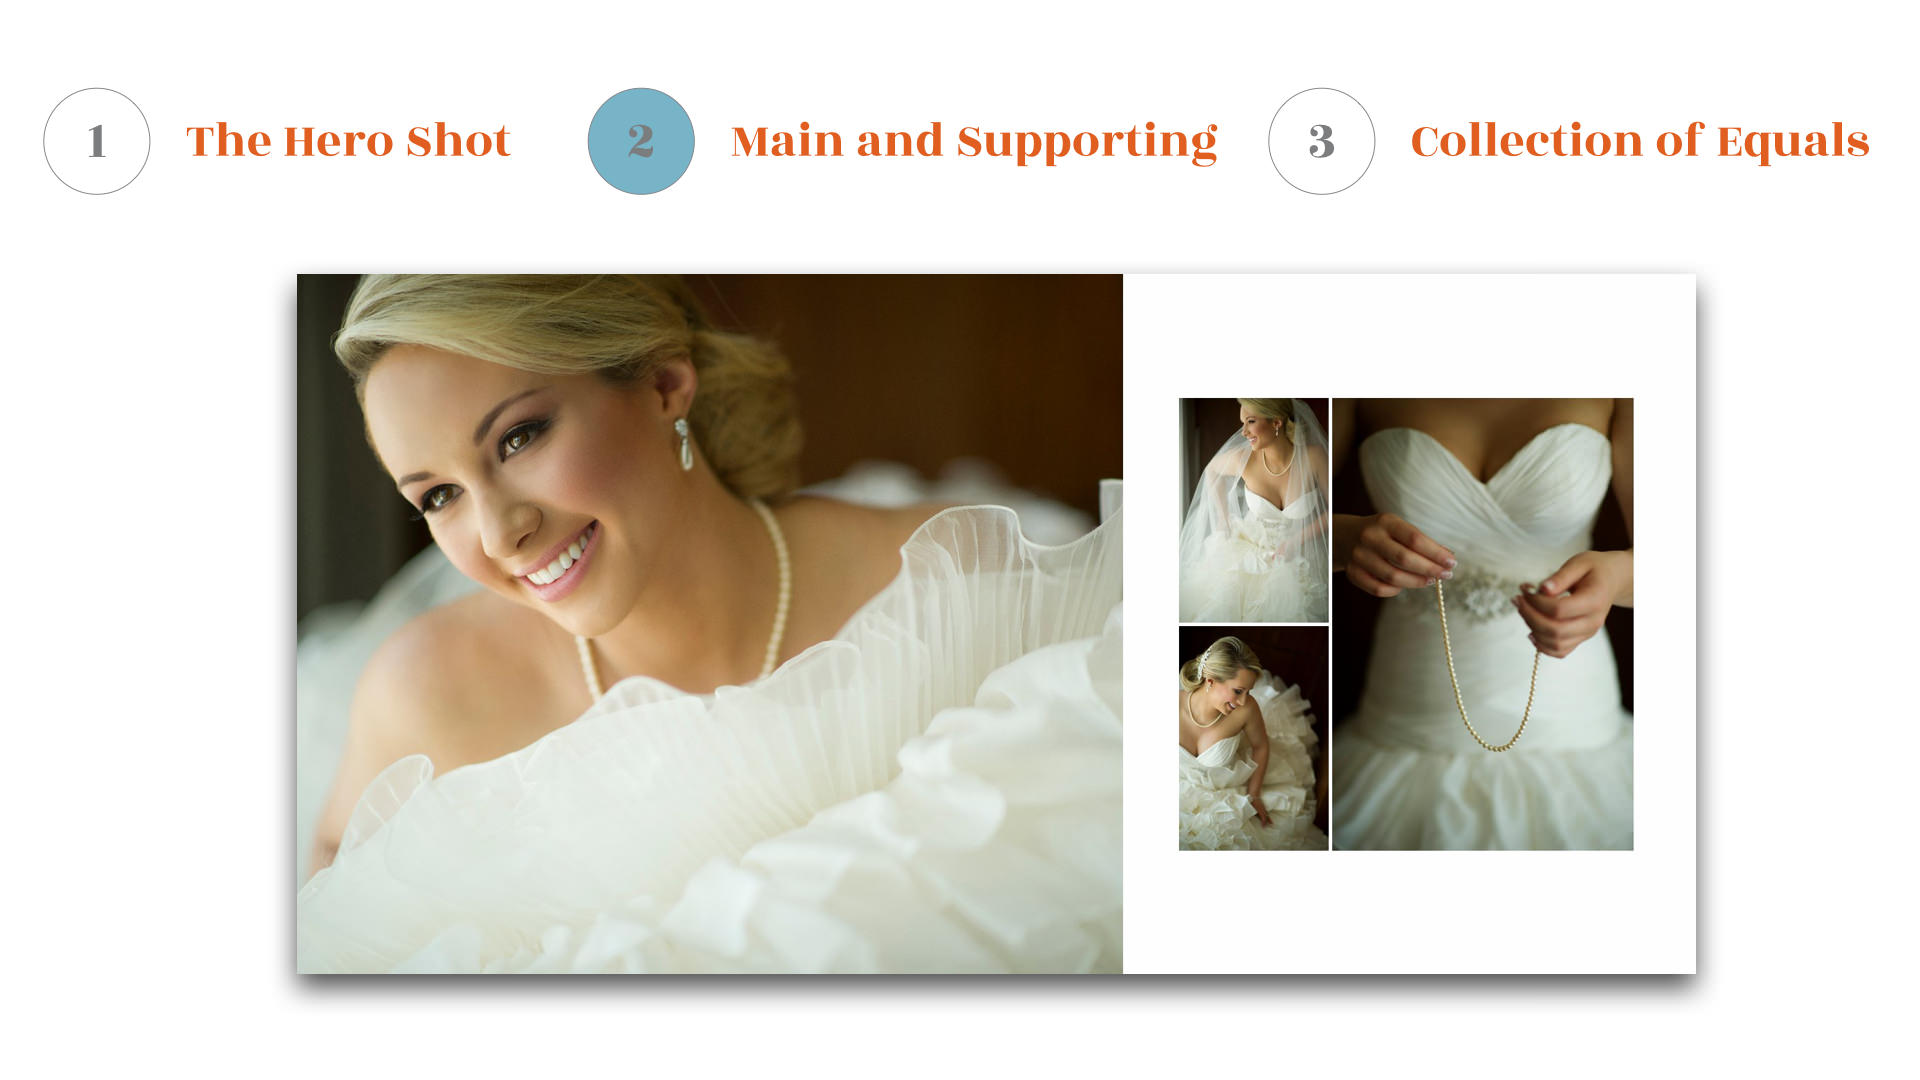
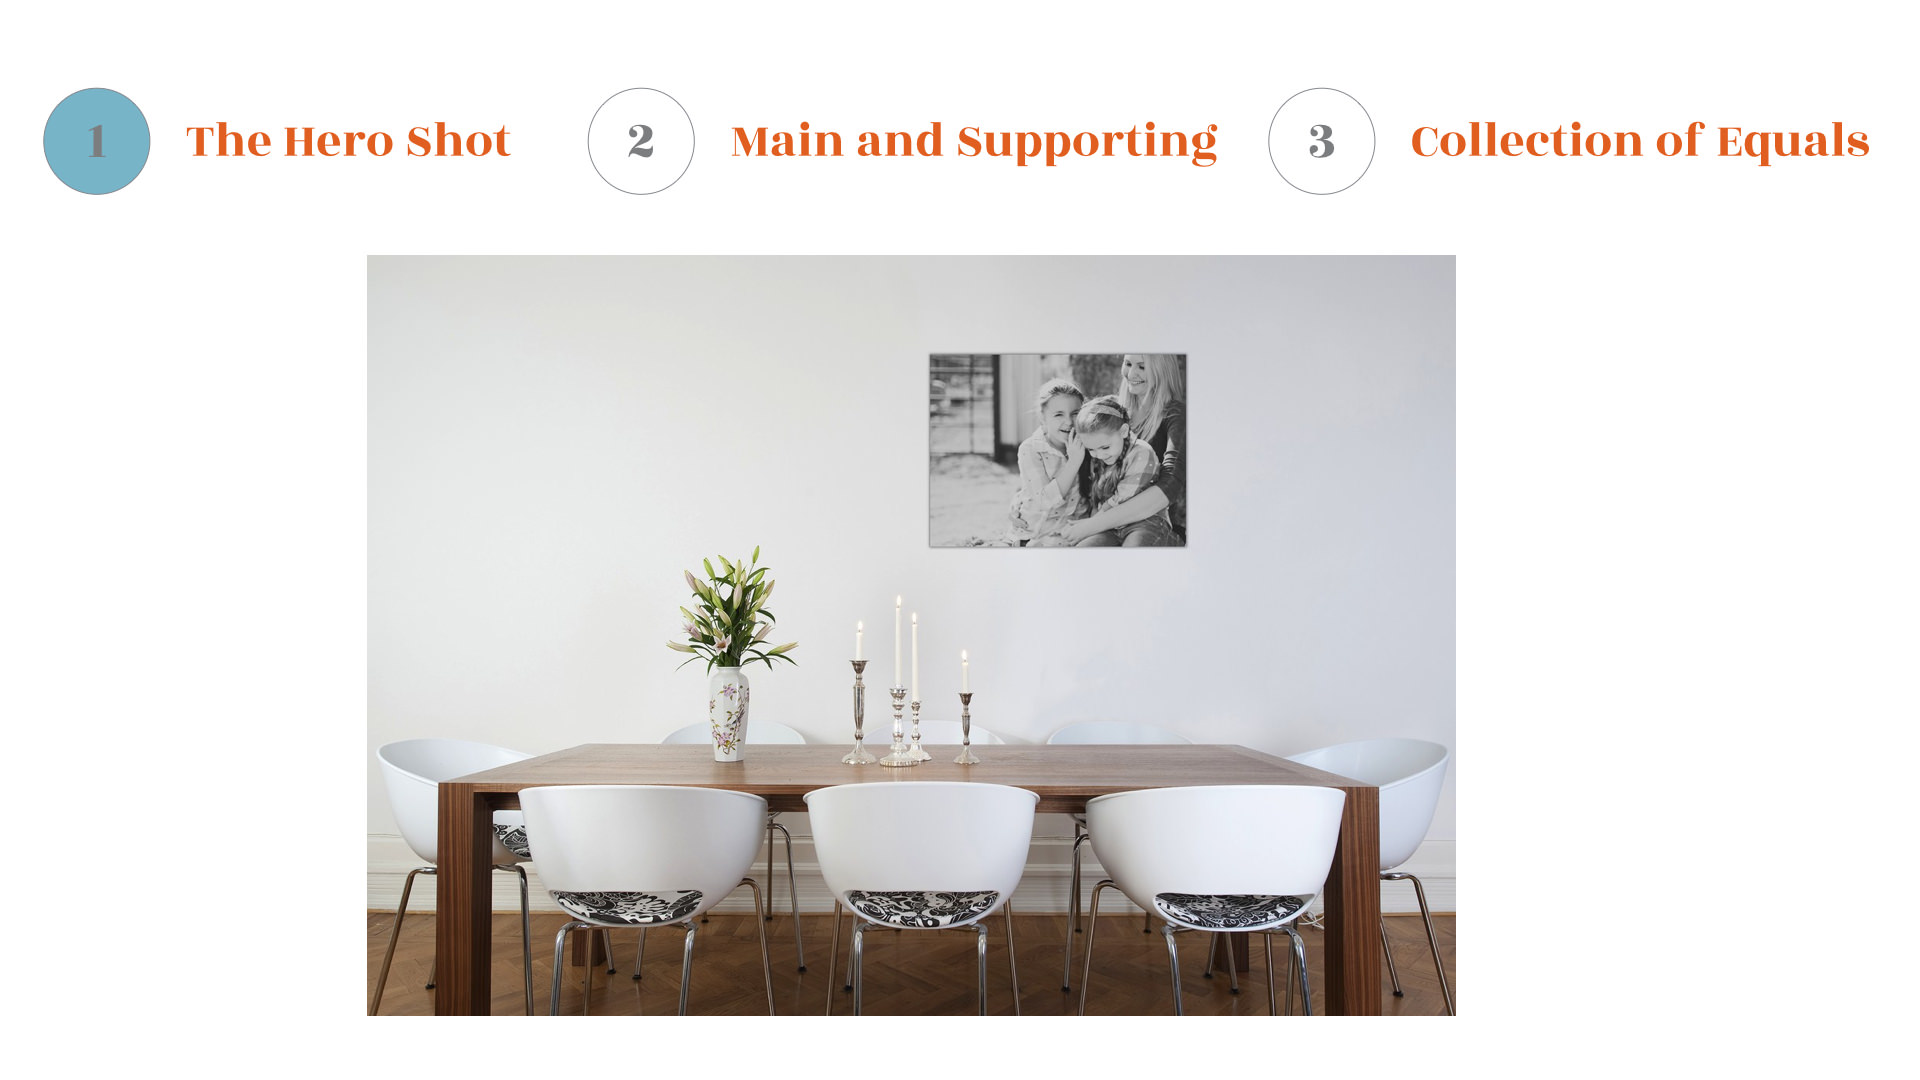
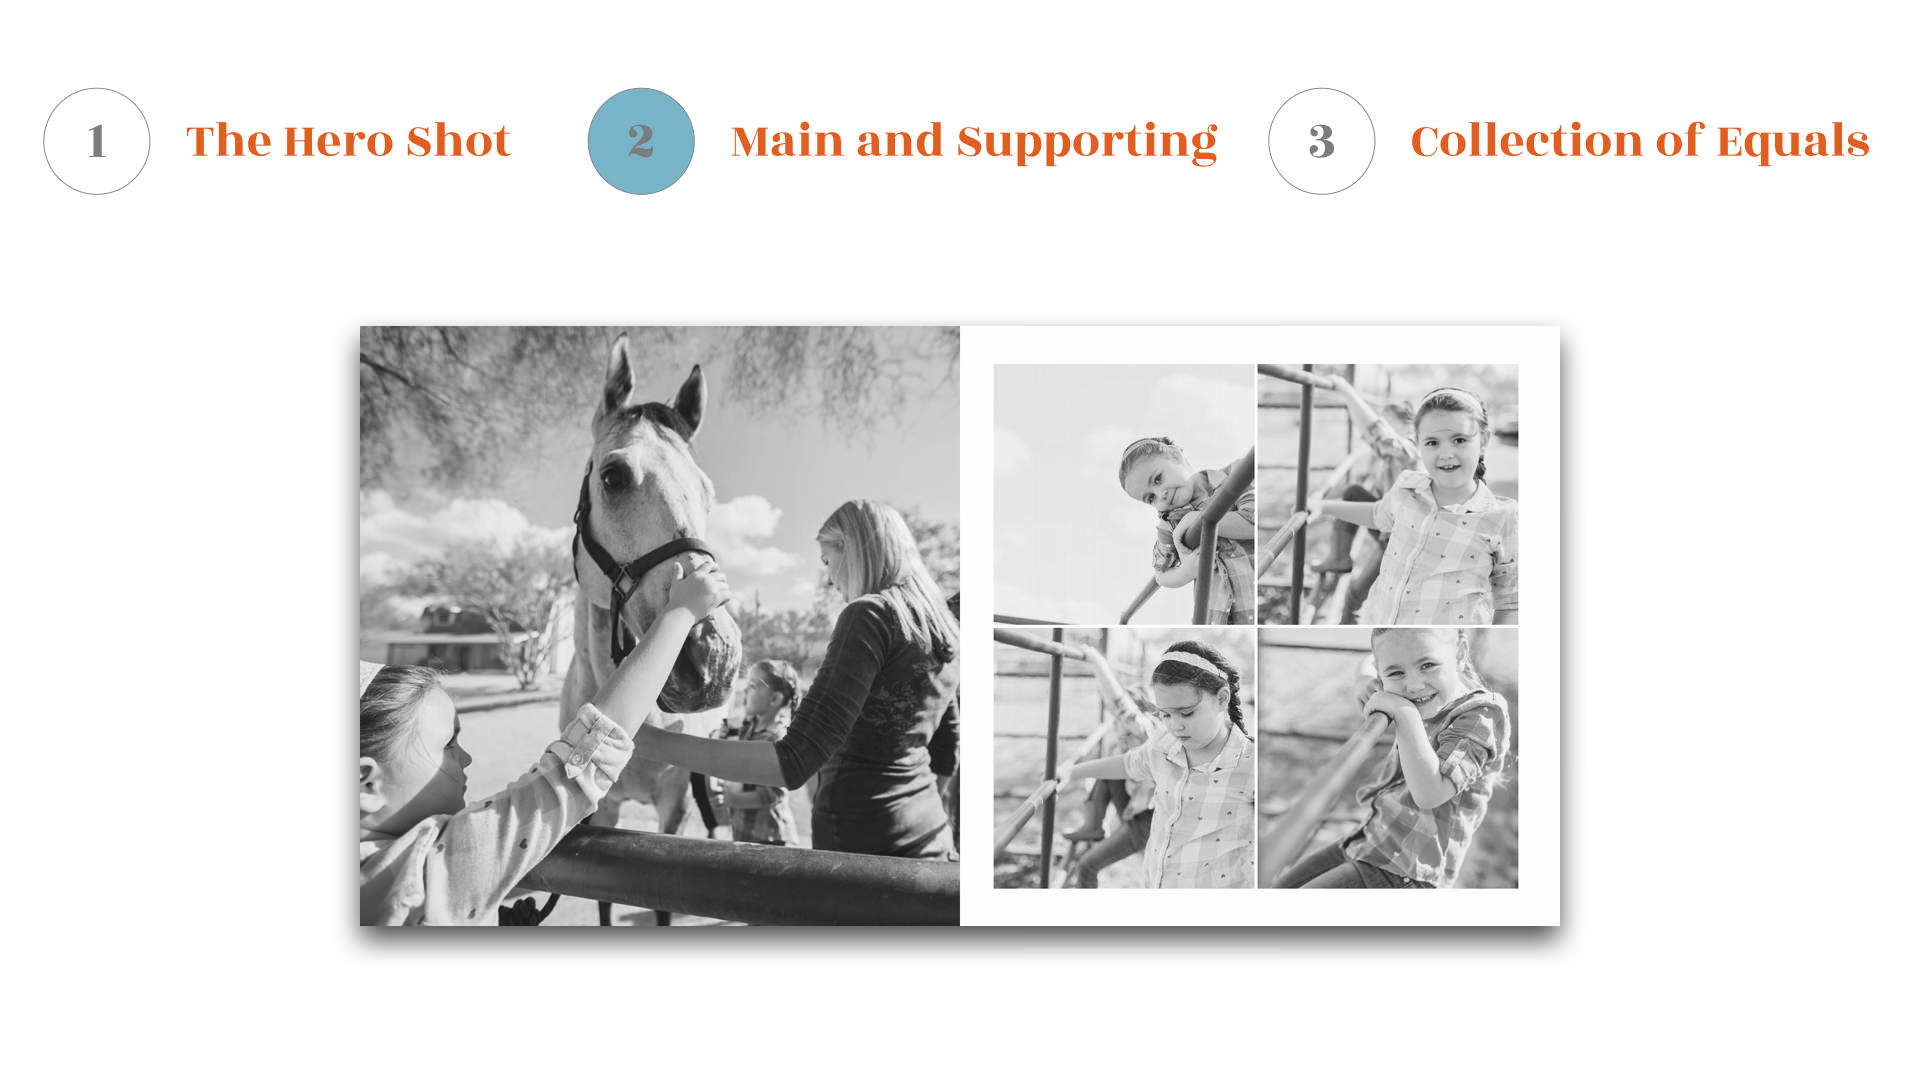
If you are comfortable shooting for the main and supporting image, you can take your photography skills a step further and shoot for the actual design. For example, if you are shooting for a horizontal album, a horizontal main image followed by three vertical images designs works well. However, a horizontal main image with three horizontal images does not sit well on the page.
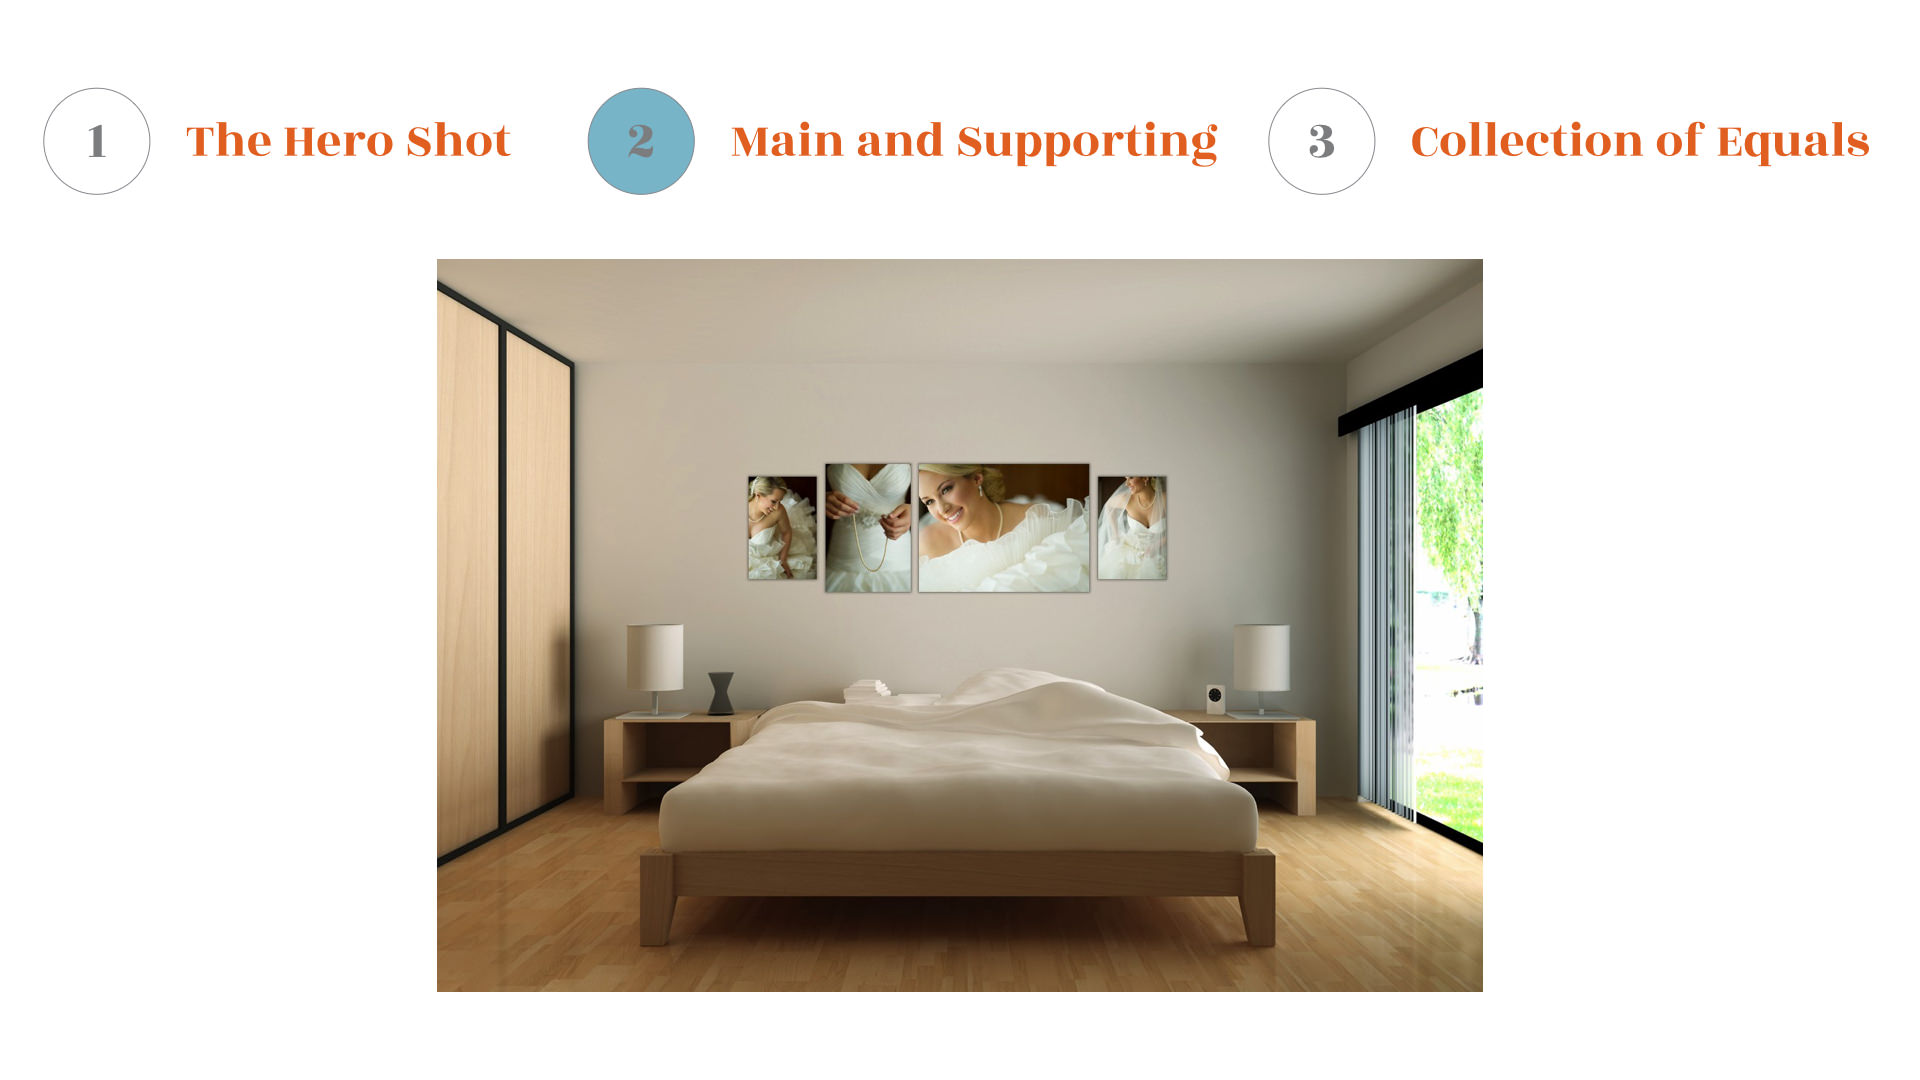
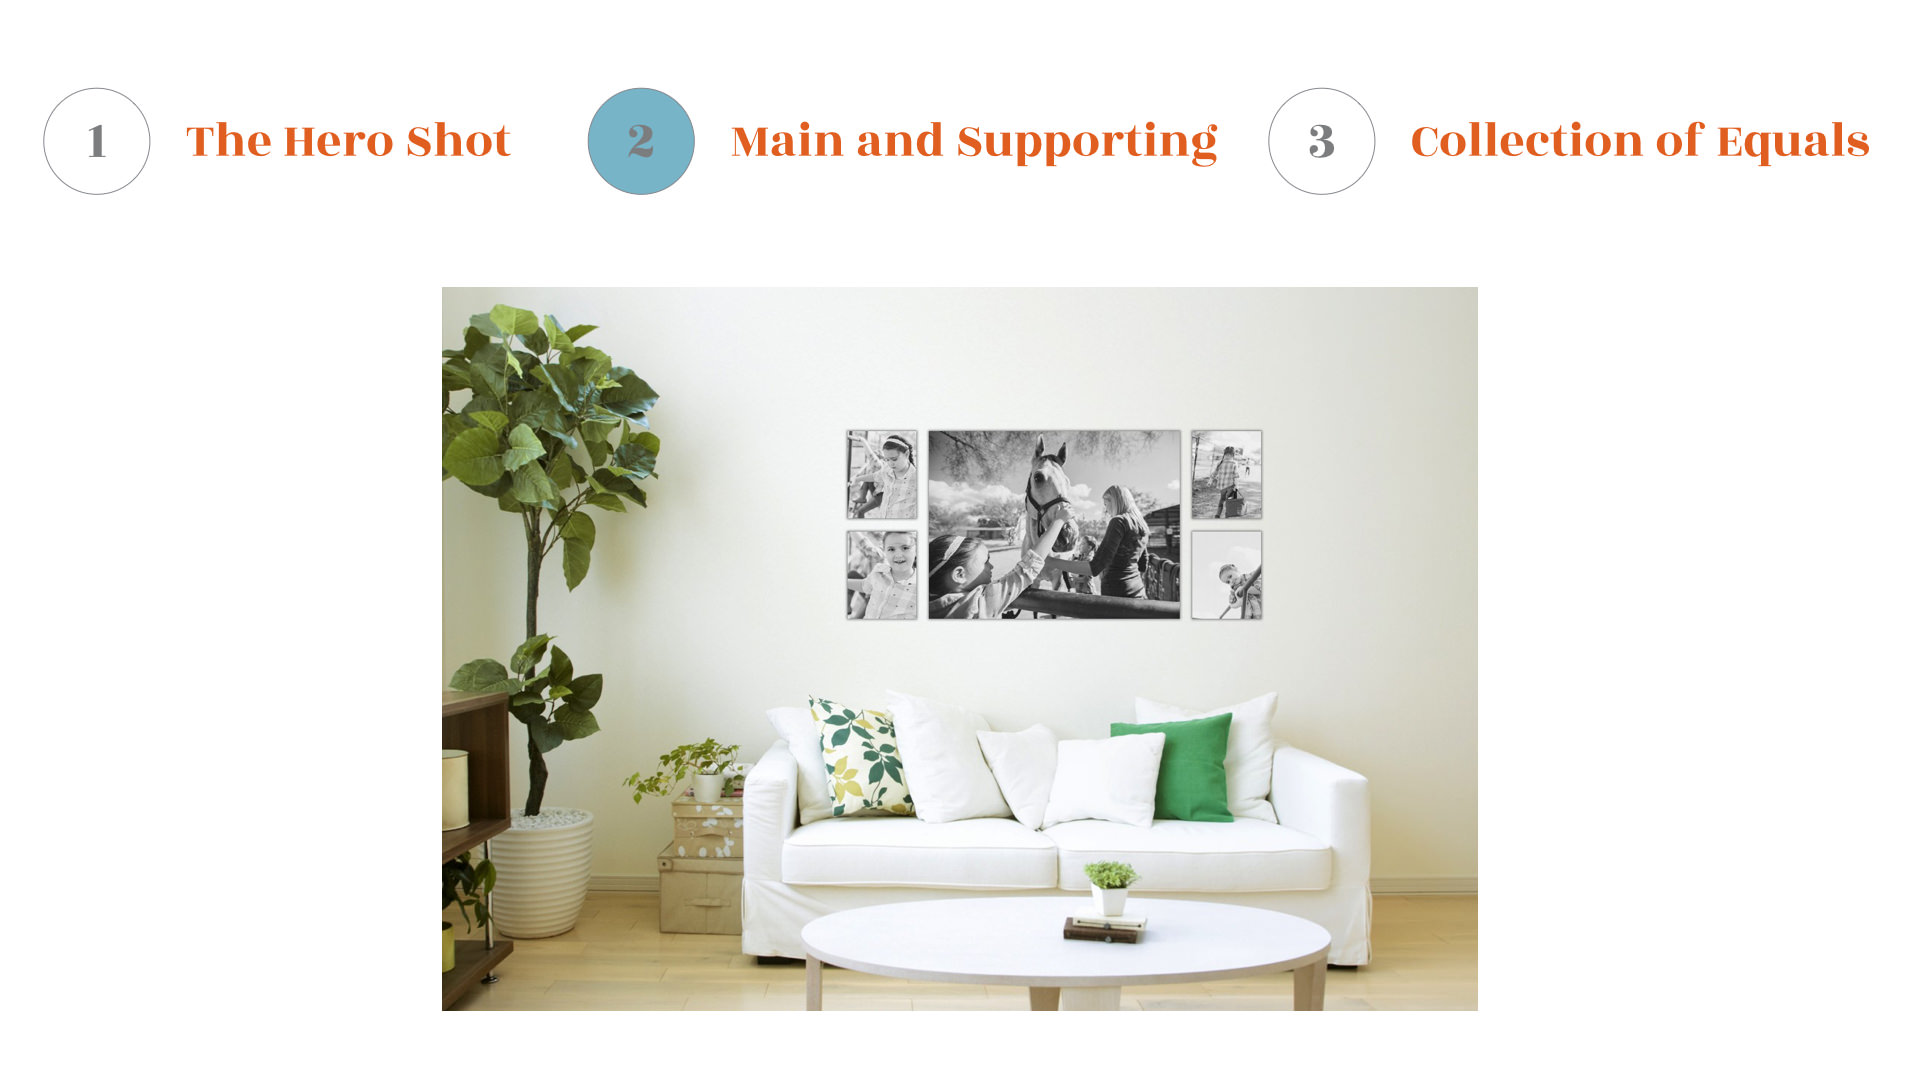
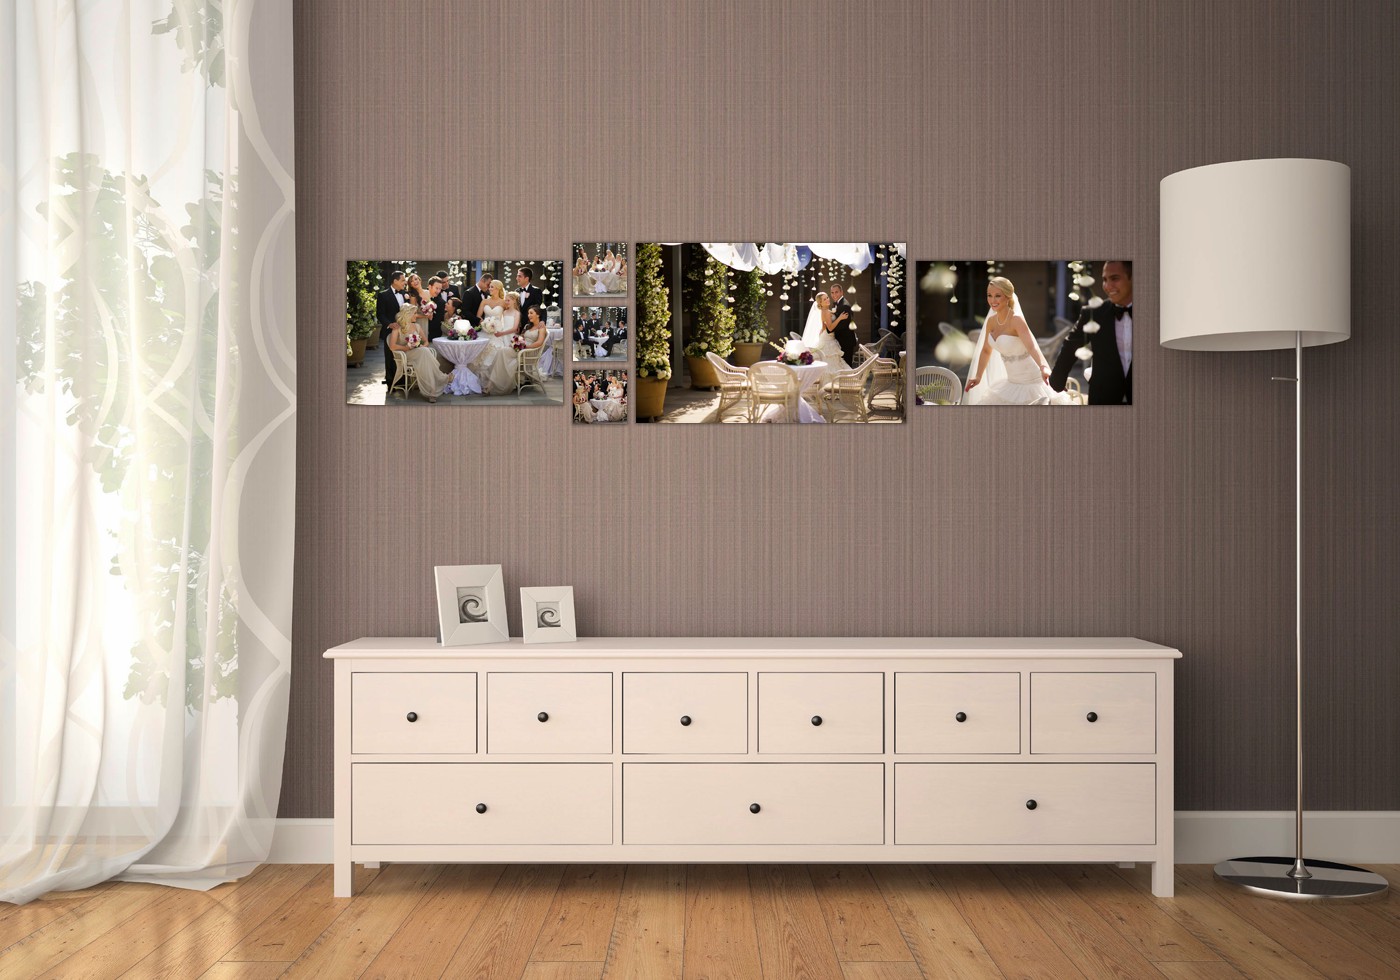
For a wall, one horizontal with four verticals or squares is a nice design. By pre-visualizing our designs, we can shoot images that lend themselves to that design.
There are infinite possibilities when designing with these three basic structures.
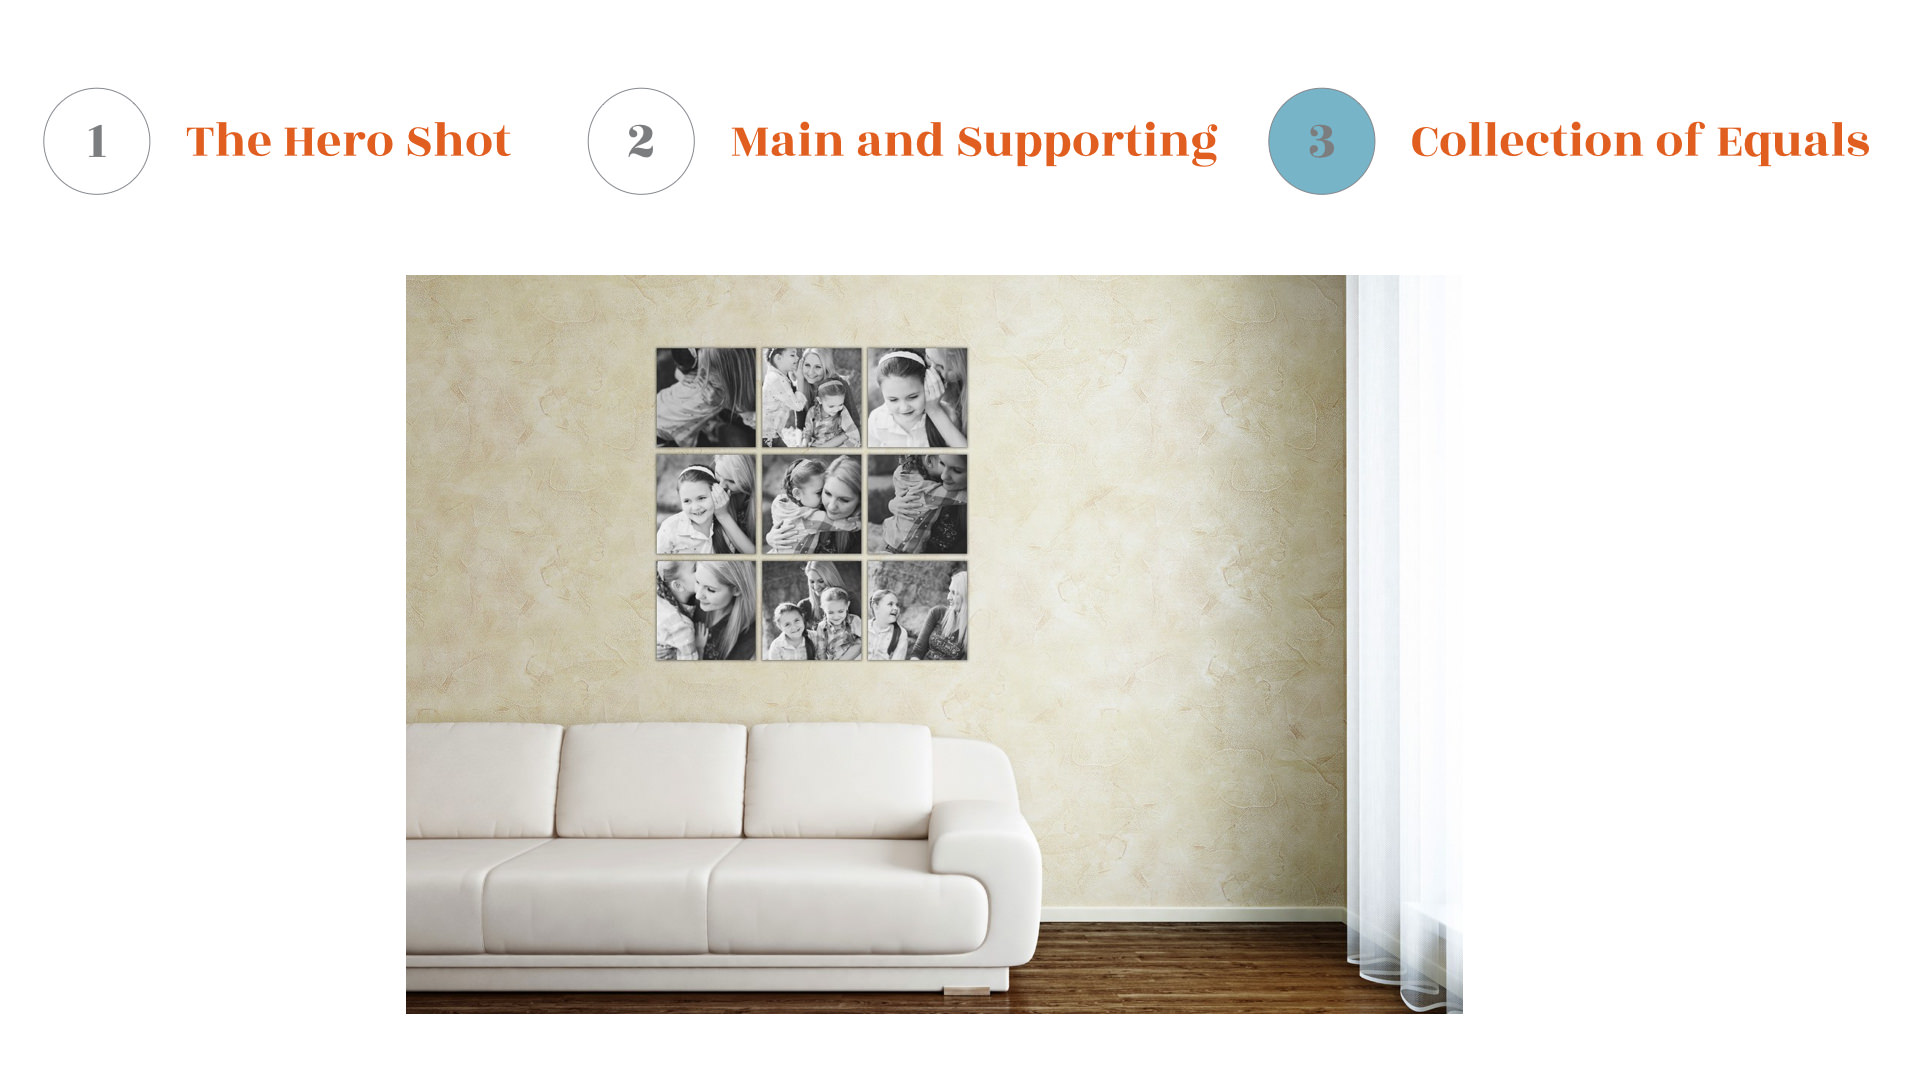
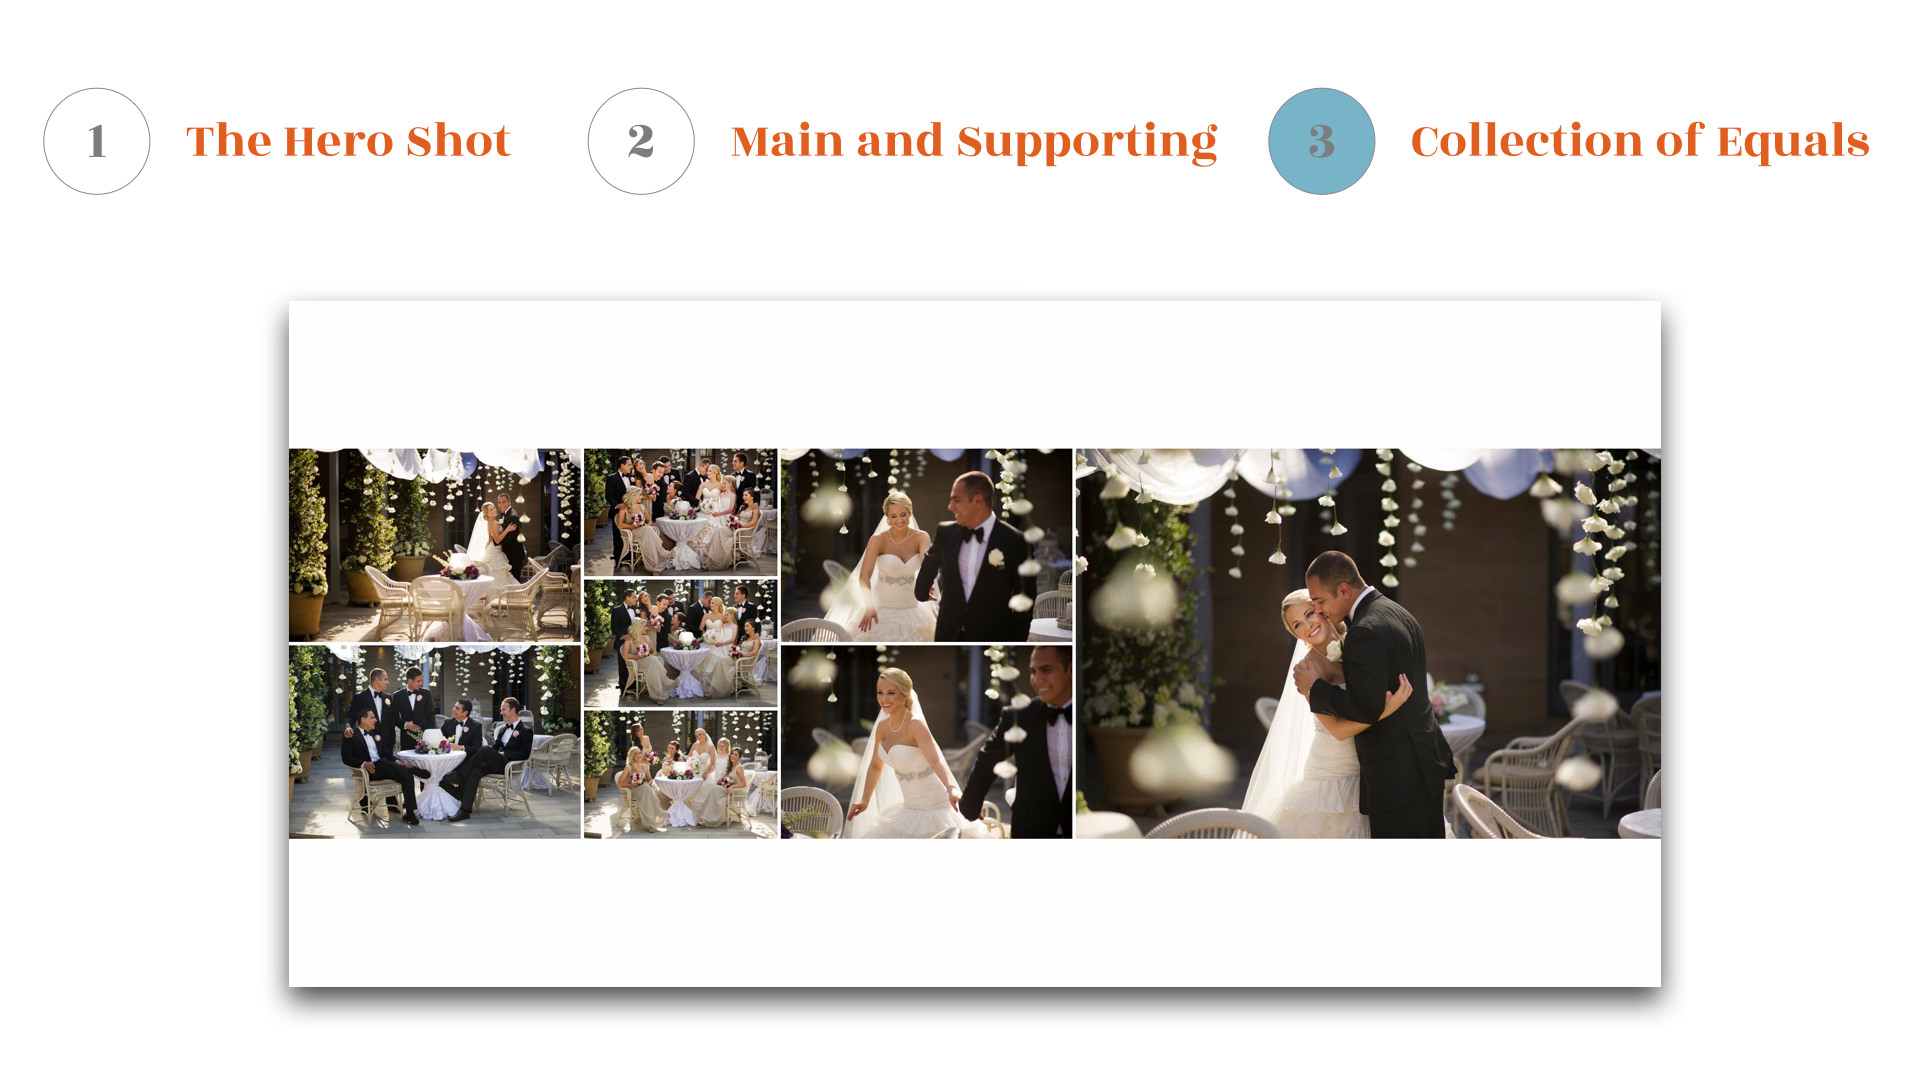
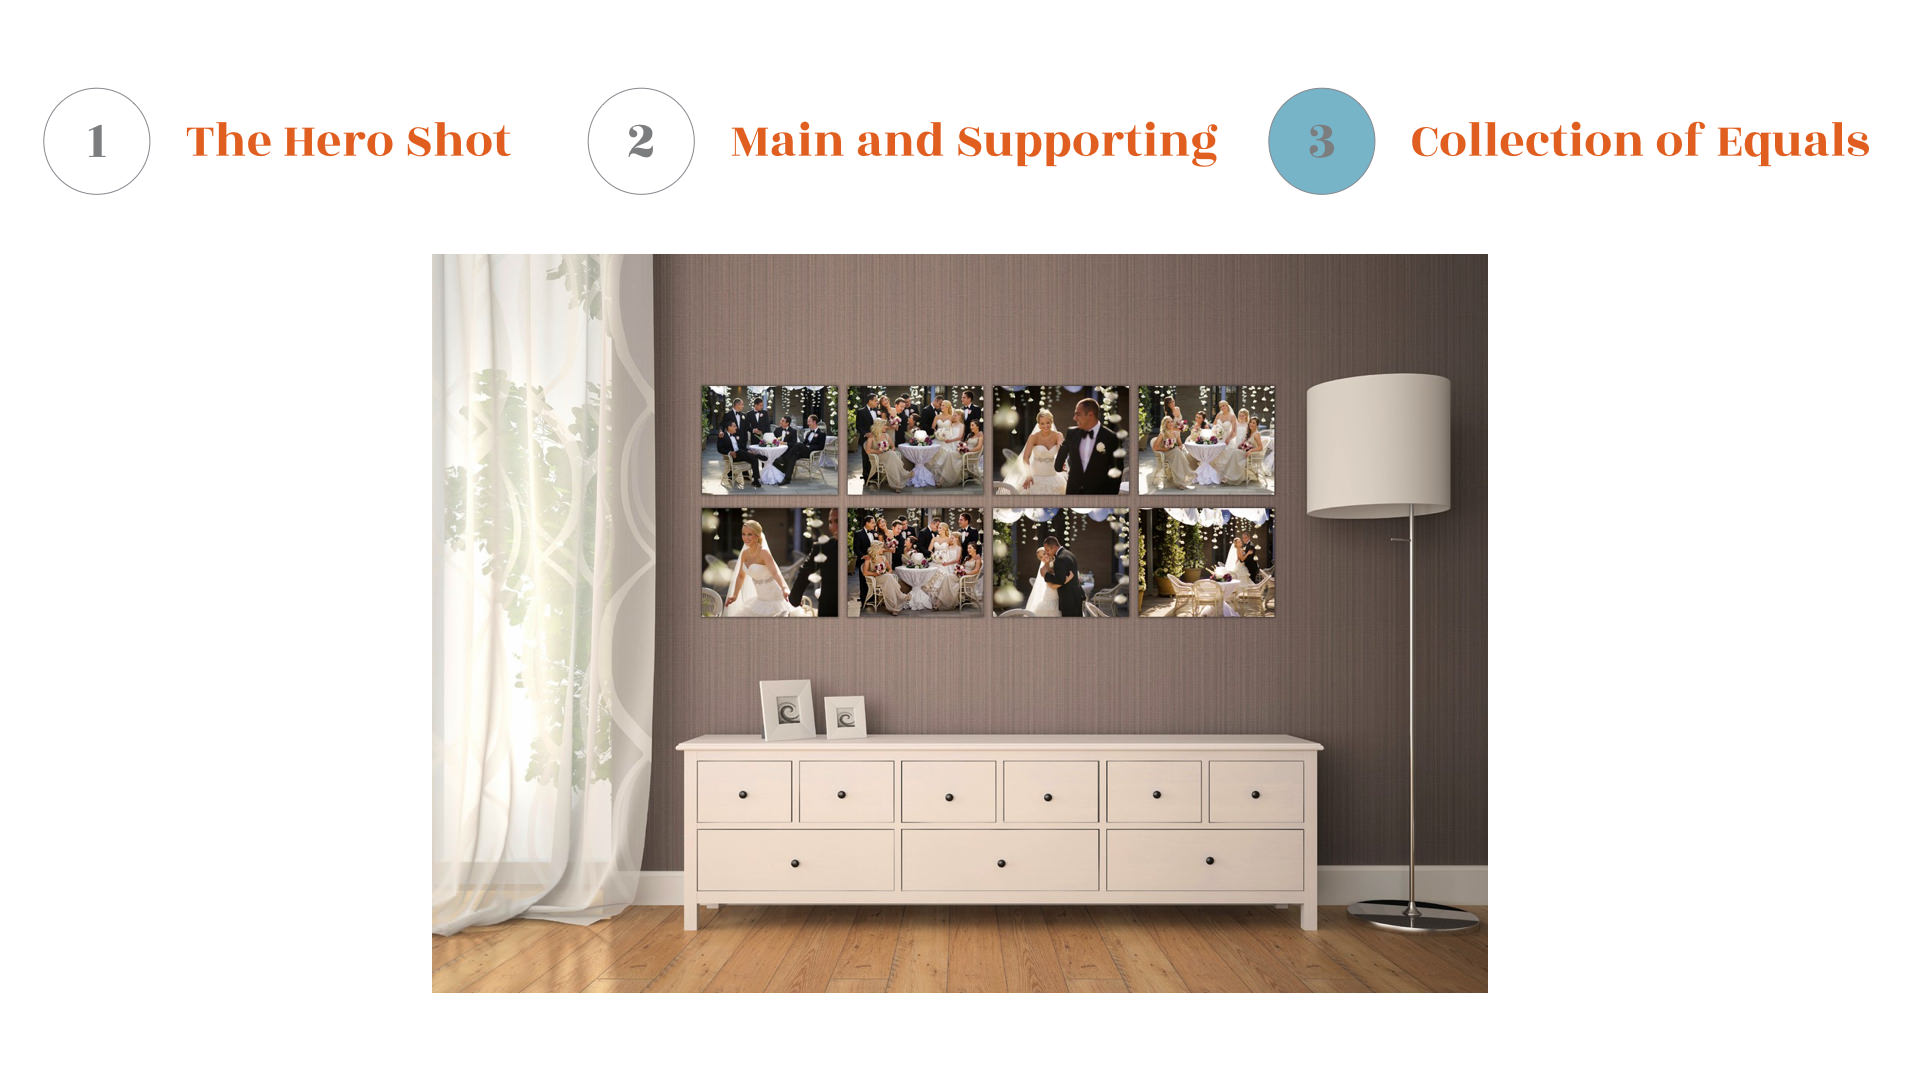
The Collection of Equals
The collection of equals is basically a “collage” of images. Some images may be a bit larger than others and some may be slightly more important than other, but they all come together to replay one scene. There is an infinite number of design combinations with this style of design, so feel free to experiment.
Presenting images as equals creates a calming effect.
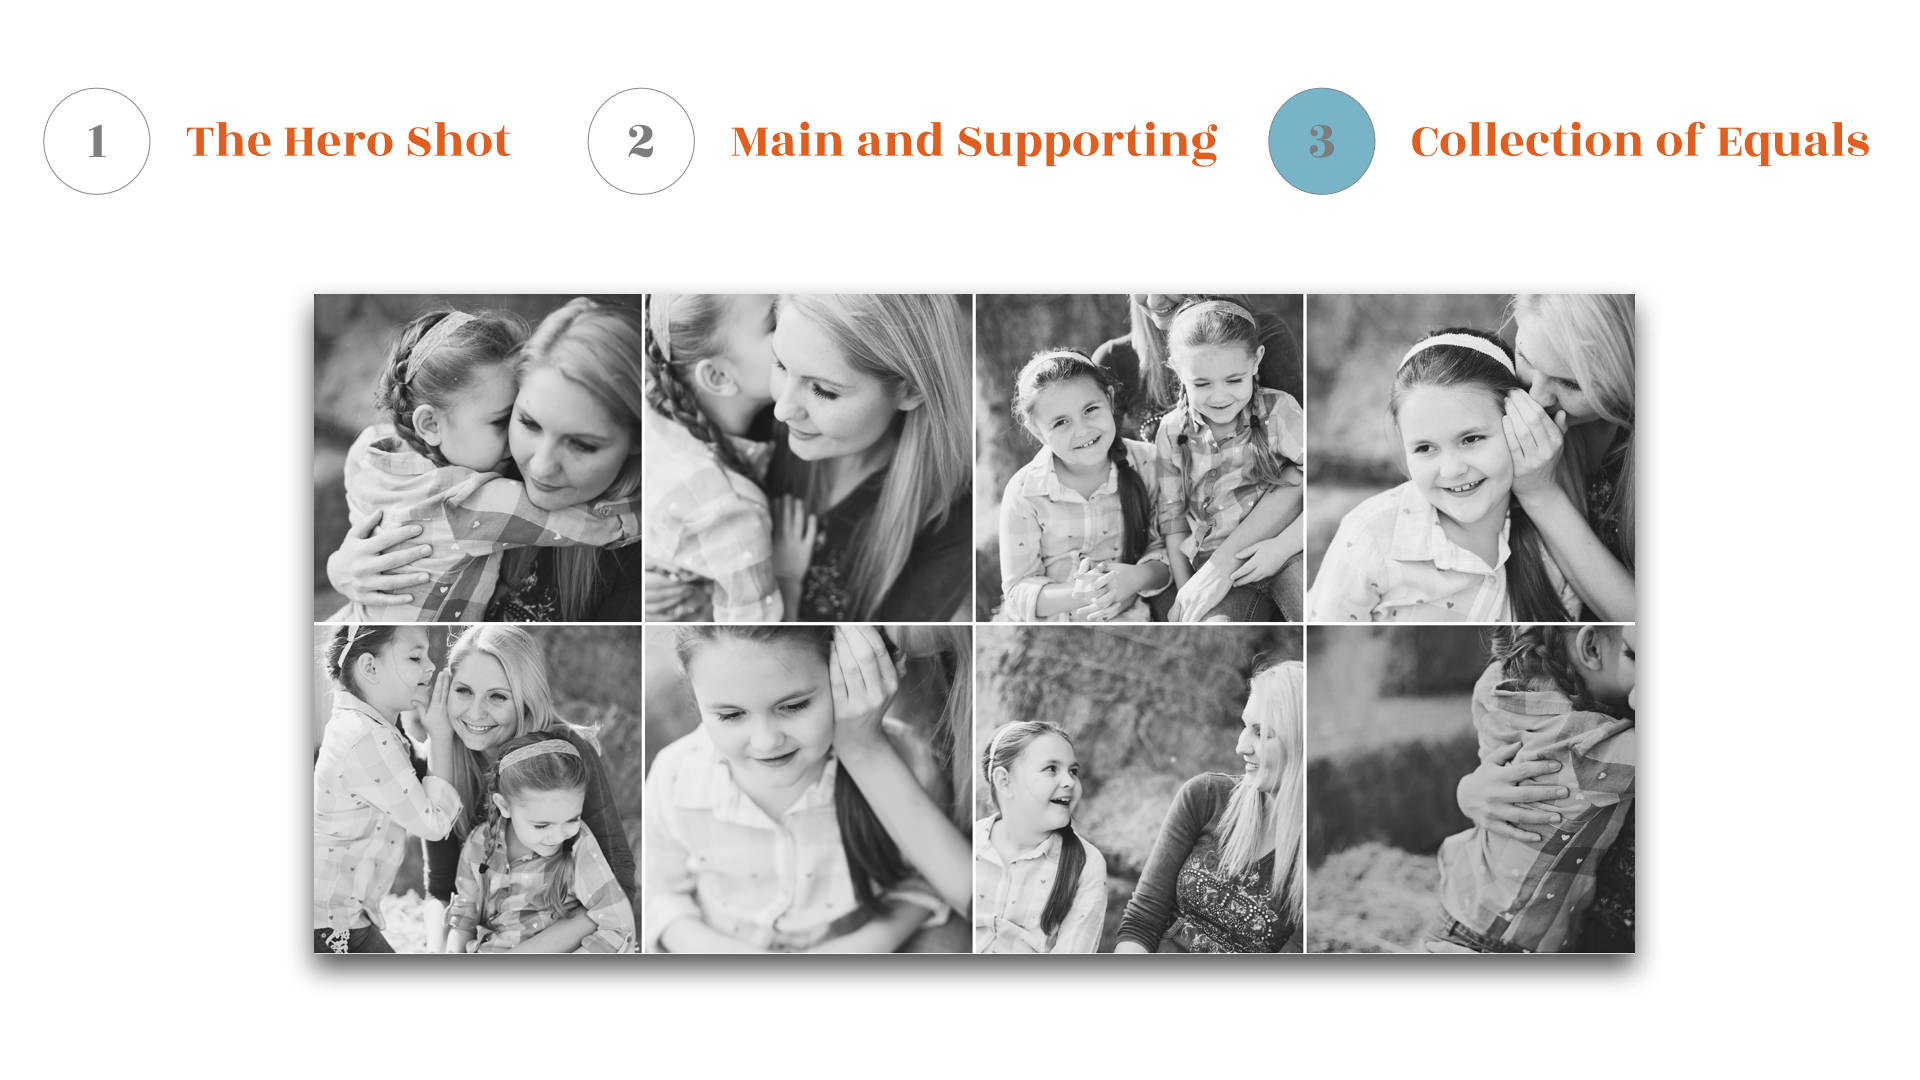
The key to shooting for the “Collection of Equals” is subject size and position in the frame. The more consistent you can shoot, the better the images will translate into the design. An easy example would be detail shots from a wedding. If the details can all be shot in similar light with the same exposure, and be the same size within the frame, the design will come together more cohesively.
Get Started
With Fundy Designer we’ve created our Quick Design Picker® to give you millions of options within these three design structures. You are in full control to modify the options the Quick Design Picker gives you. And after applying your design, you are still in control. Let me take you through two designs to show how you can move from automatic to manual.
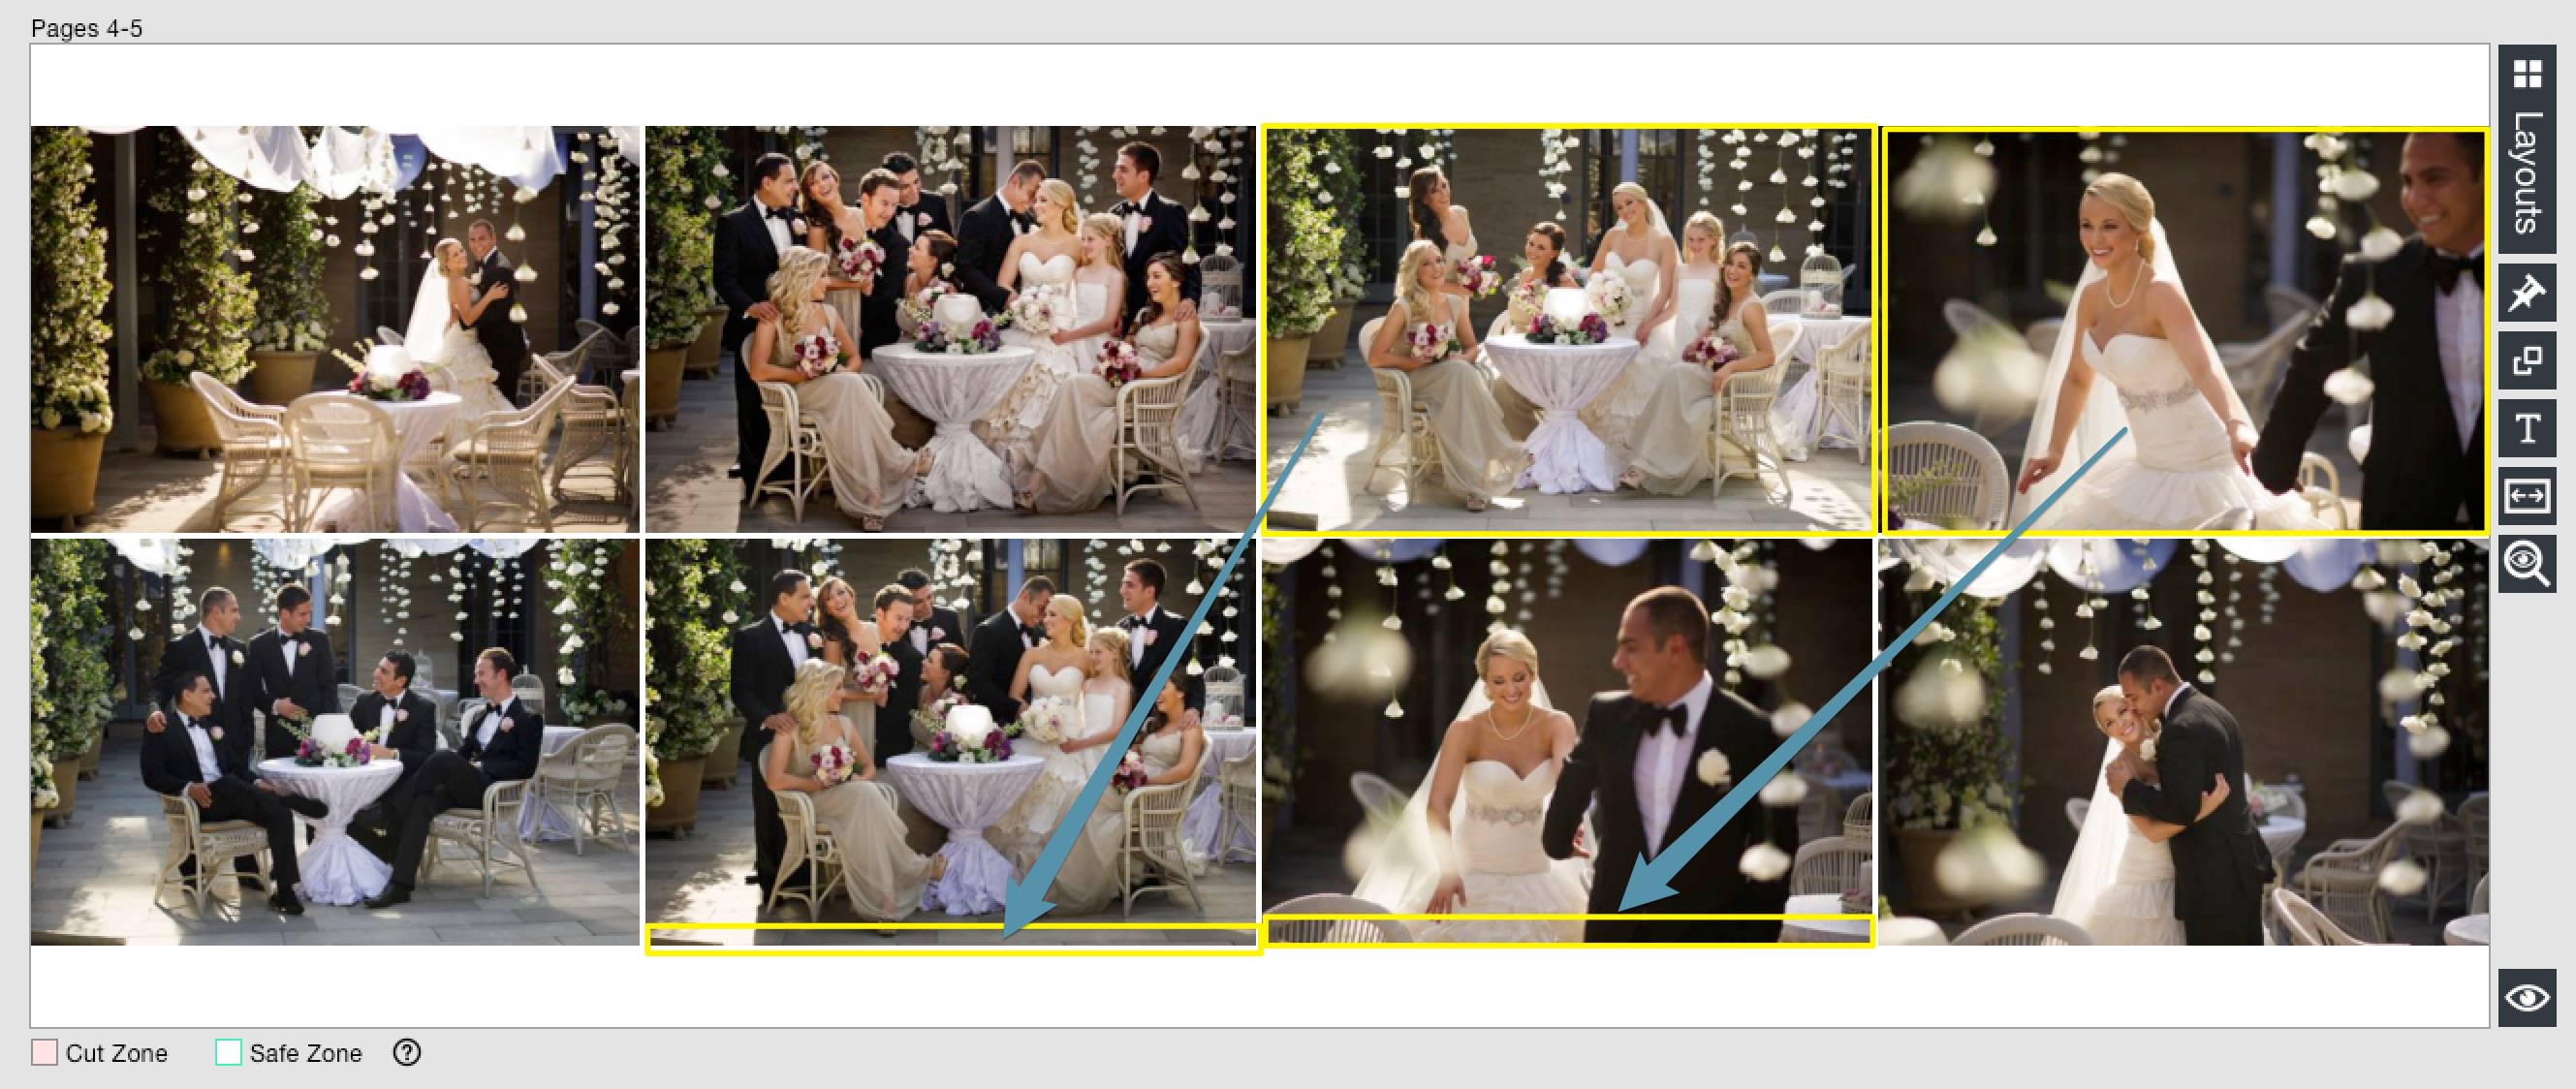
The Quick Design Picker® will give you a balanced design. If you take the two top left images and move them down to the bottom of the image of the adjacent row, you’ll have a completely different design in a matter of two seconds. Remember, if you can’t move to the photo to the exact place you want, you may need to toggle the icon on the top left of the Drop Zone®.
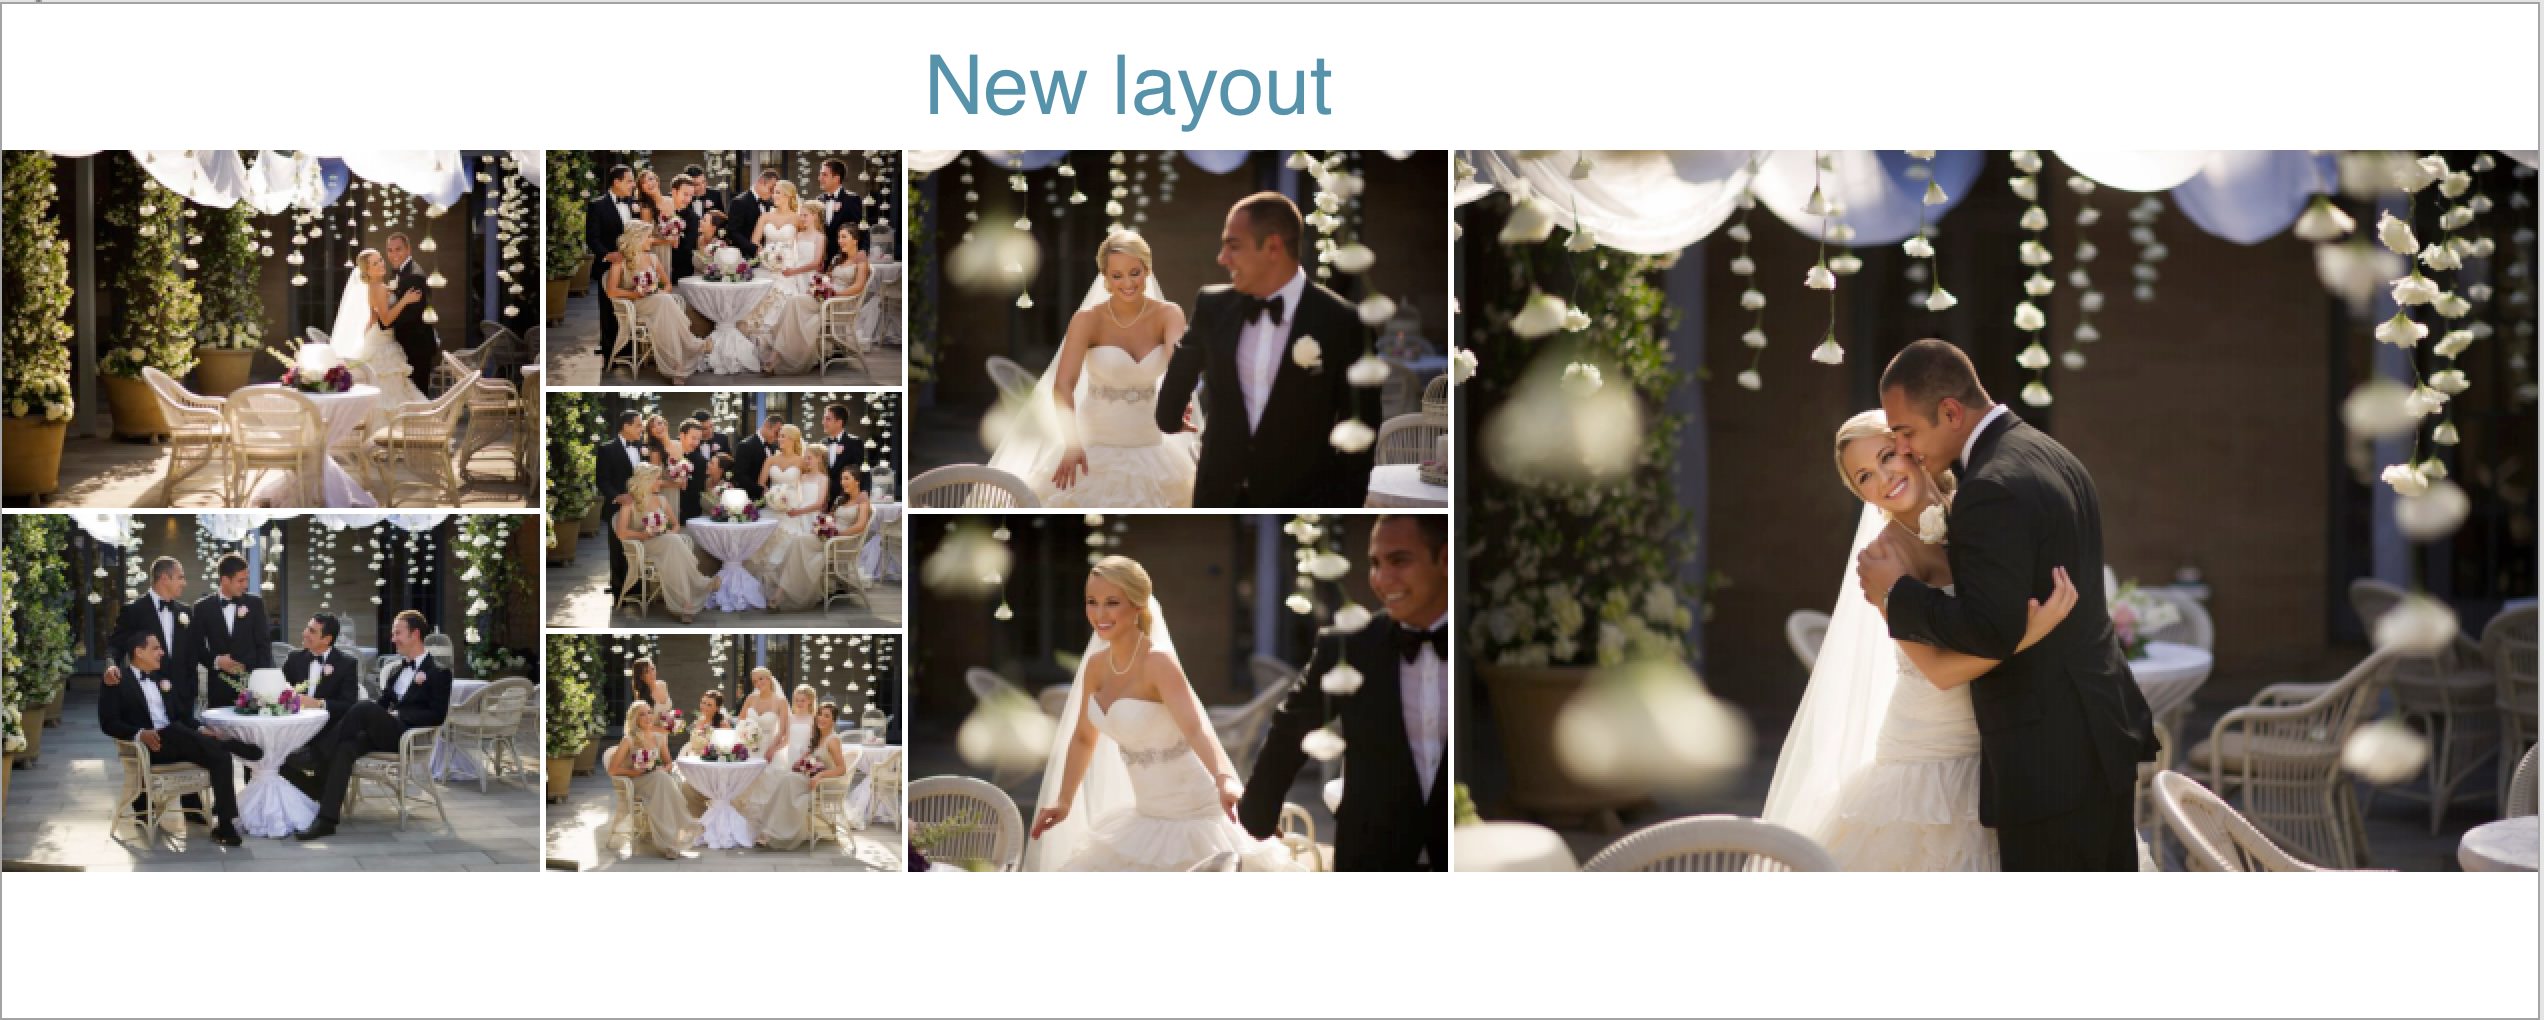
And, unlike any other photo design program, you are in complete control.
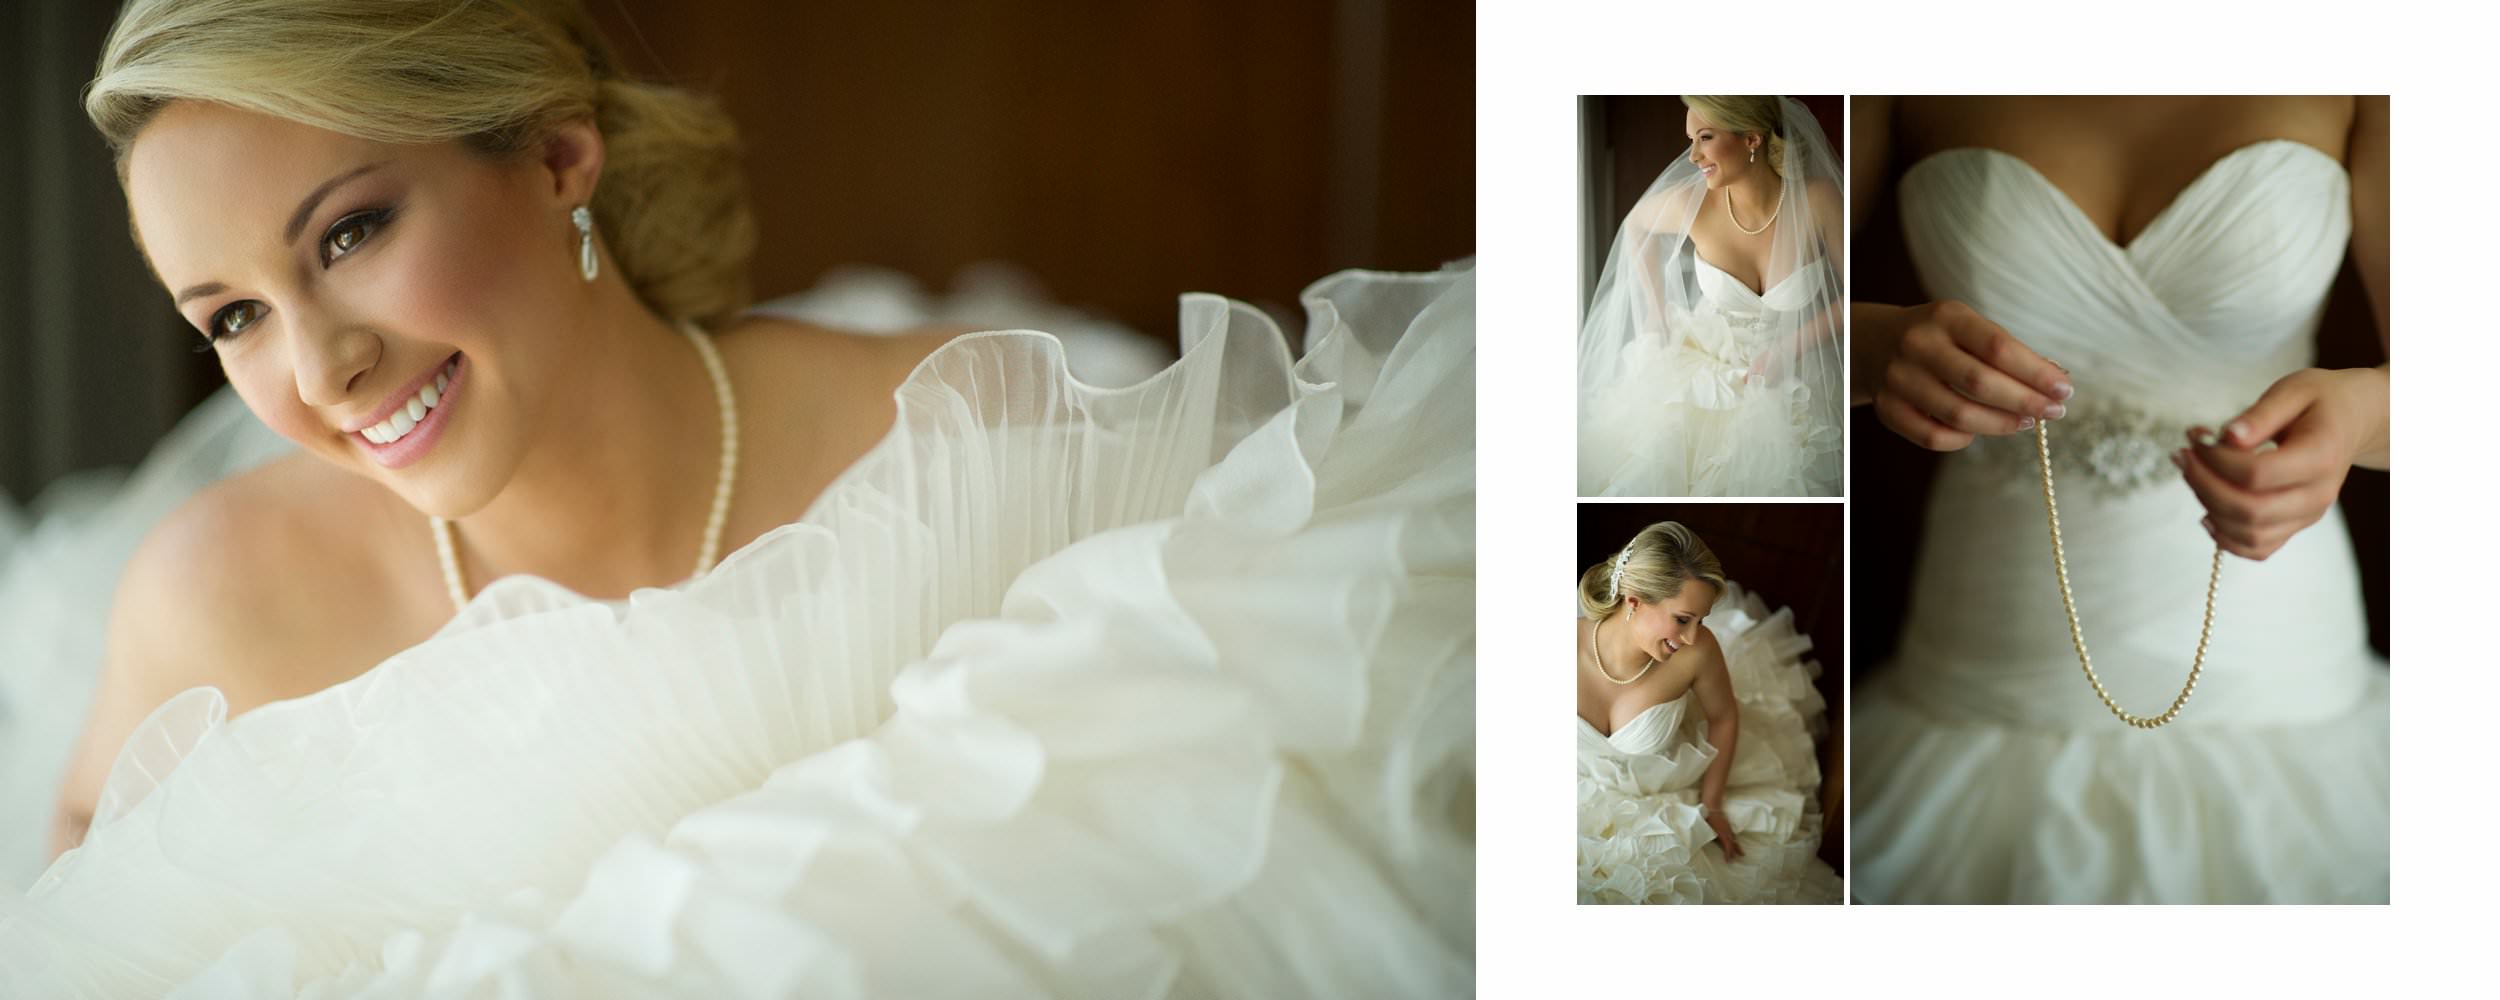
In this second layout, we have a fantastic layout directly from Quick Design Picker. I would rather see the large vertical on the right.
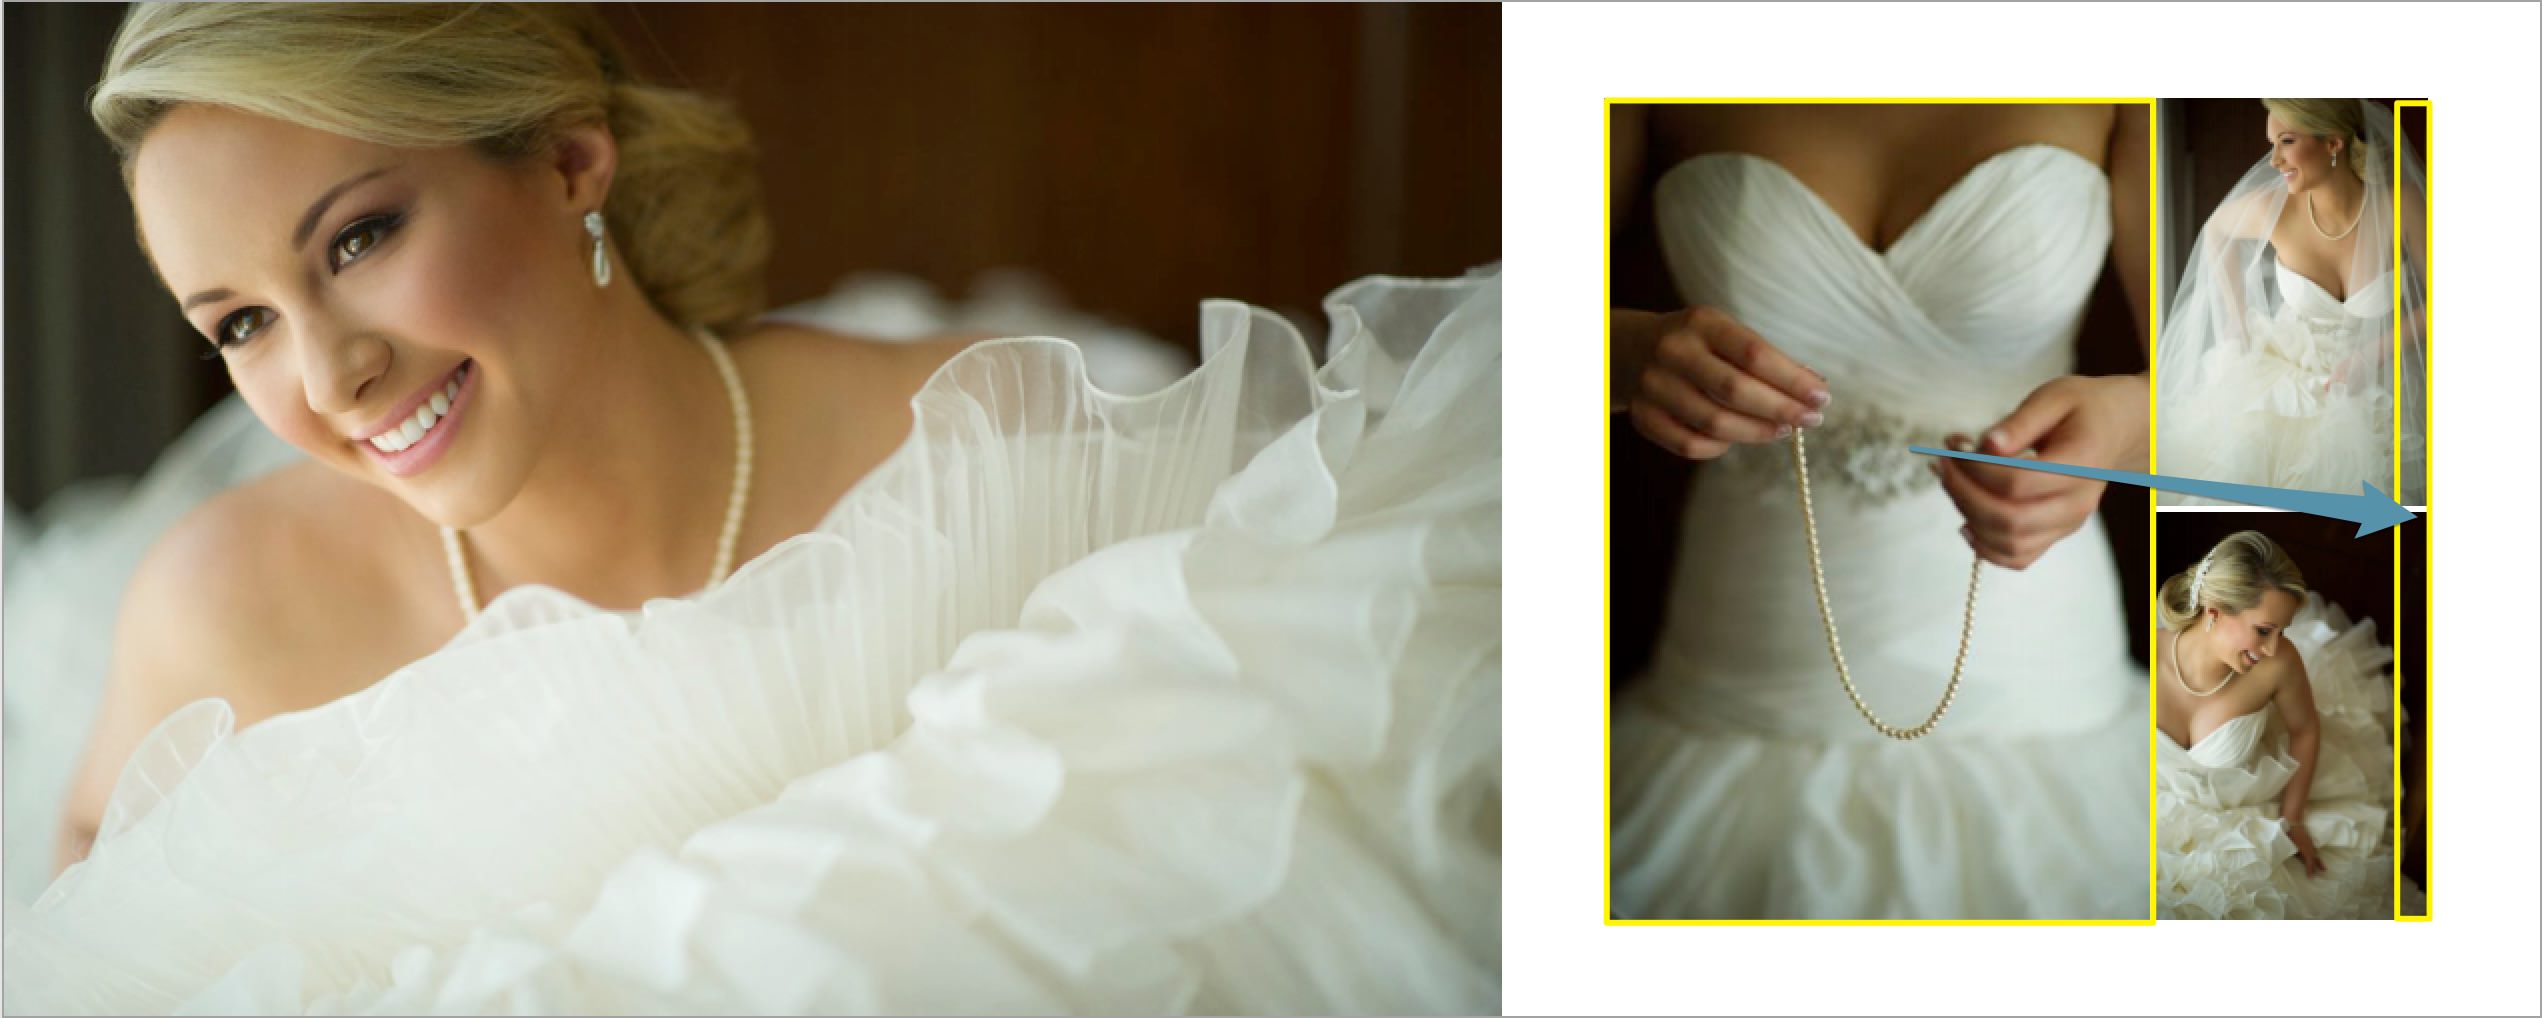
So, simply move it into position.
The Quick Design Picker® in Gallery Designer, is designed to give you options right out of the box. You can also resize on the fly both on individual wall pieces or on groups.

Have Some Fun
If you are currently using Fundy Designer, make sure you are updated to v6.5 for the latest functionality and access to Gallery Designer. If you’ve never experienced the full creative freedom of our organic design process, download the trial and become a storyteller.


