
Many photographers have begun adding their logo to wall art they sell to their clients. This can be an incredible marketing tool as all of your clients’ friends and family will see their wall art and see your logo. It can also make the artwork feel more authentic and valuable.
Adding your logo to your wall art has become even easier in Fundy Designer with the addition of grid lines and design sets. Now you can make sure your logo is exactly the same size and in exactly the same location on all of your wall art pieces. Plus, you can save it to your collages so it is automatically added.
Just the Right Size
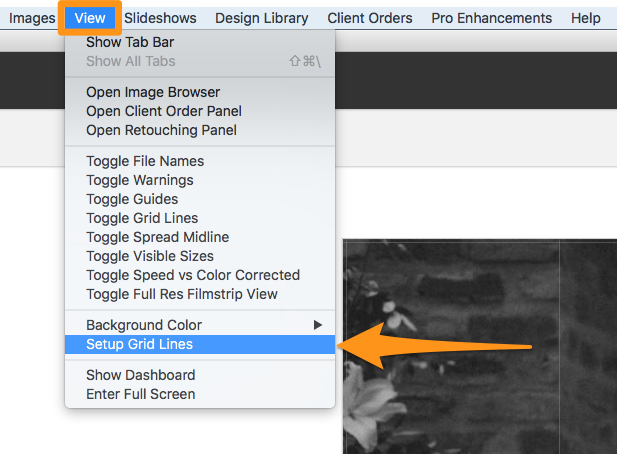
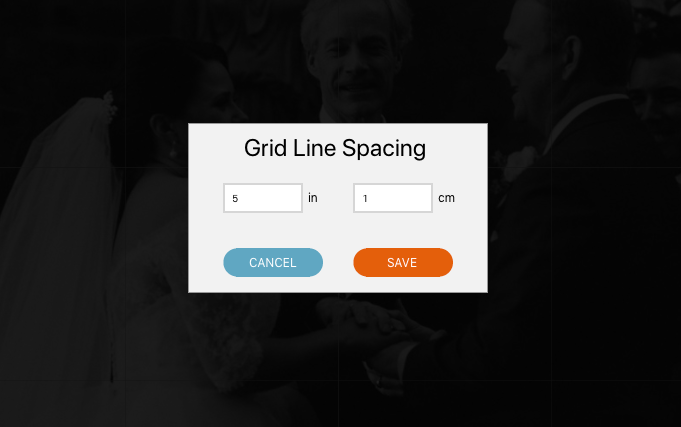
Let’s look at how we can add our logo to our wall art at the same size all of the time. First decide how big you want your logo to appear and set your grid lines to be that size. If you want your logo to be 5 inches across, go to View>Setup Grid Lines and change it to 5 inches.
Then we’ll bring your logo into the image well. First click on the PNG icon above your image well.
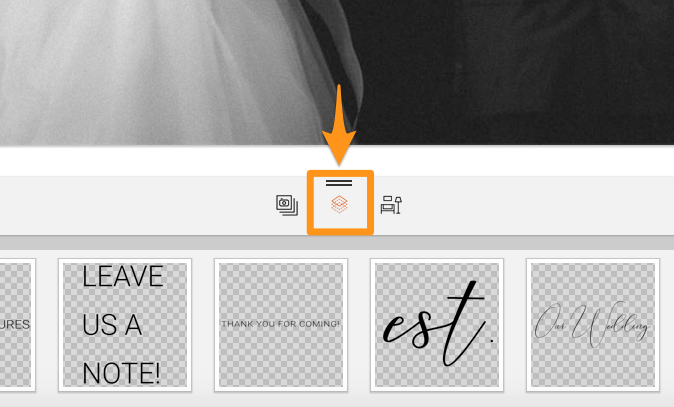
Next drag your logo into this well. It will permanently live here, so you don’t need to bring it in every time you start a new project. A quick reminder, that any time you bring in a PNG it will automatically go into this well (not the photos one). So if you are looking for your logo in the image well with your photos and can’t find it, that’s why.
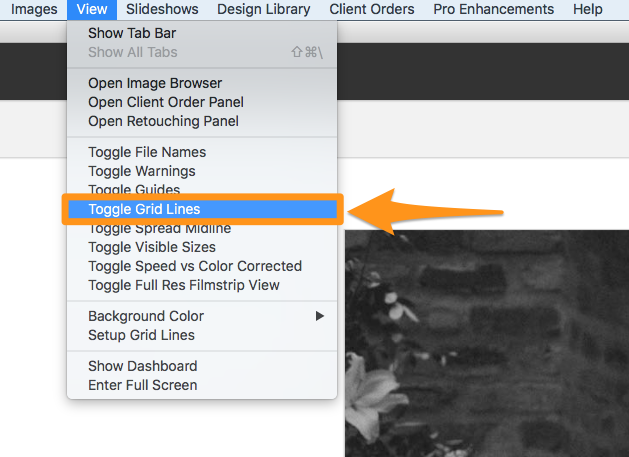
Next turn on Grid Lines from the view menu, or hit the “g” key until the grid lines show up. If you do not see the grid lines, you may still be in “room view.” Be sure to double click on a single canvas, metal, etc to go into “canvas view.”
Now simply size and rotate your logo into position. When you export for print, the logo will be sized accordingly.
Save Your Collection
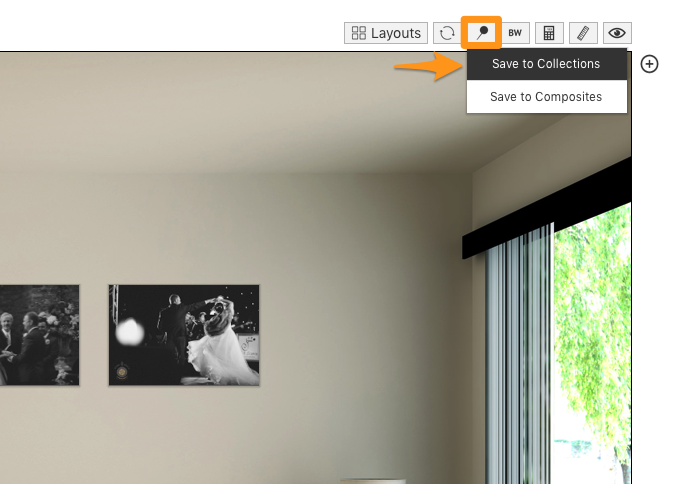
Now, how do you save your collection so that your logo is always there and always the same size? Simply click the “pin” icon to save it to your collections. Here you also have the ability to name and price the collection. If you’ve already saved your collections, you’ll need to delete your old one after saving this new version.
Applying the Collection
Applying the collection with your logo is as simple as selecting it and dropping in your photos.
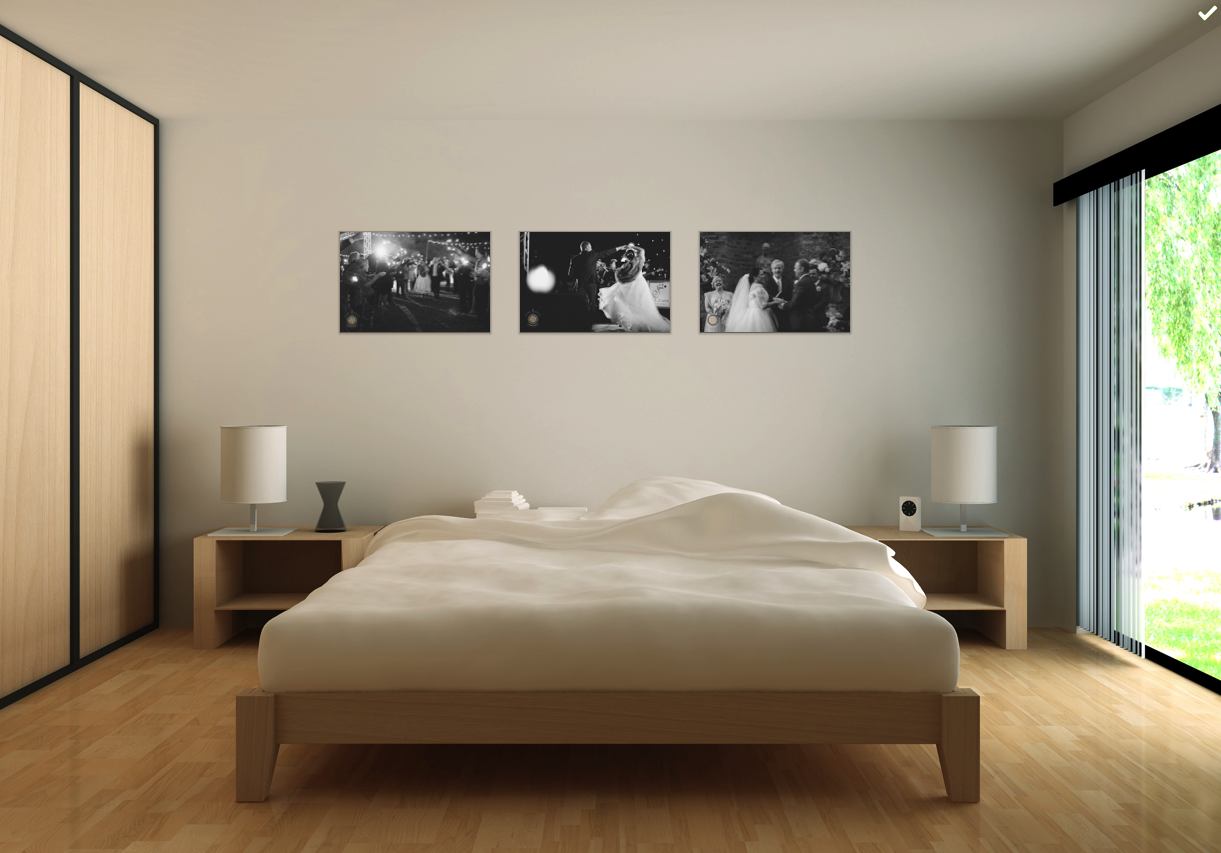
When you export for print or order direct through Fundy Designer, the logo will be embedded on the printed file.
Be sure your Fundy Designer is up to date to get the fullest of this new functionality. You can download the latest version here.
Photos by © Dark Roux


