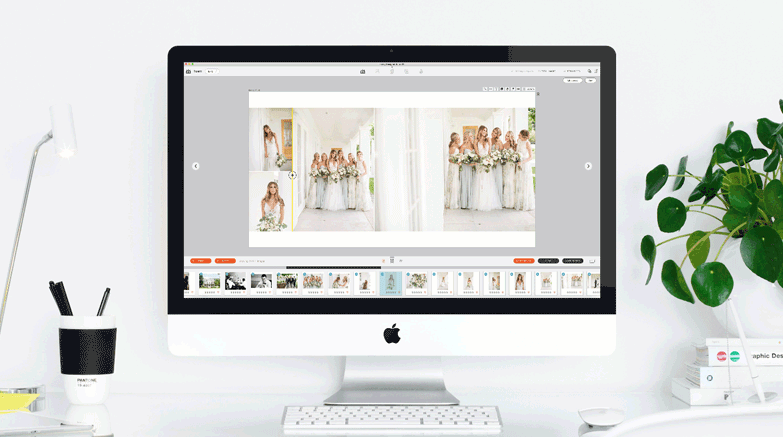
Top 5 Fundy Designer tricks and tips to wow clients with amazing albums and sell more!
1. New Drop Zone 3.0 Sliding Spaces
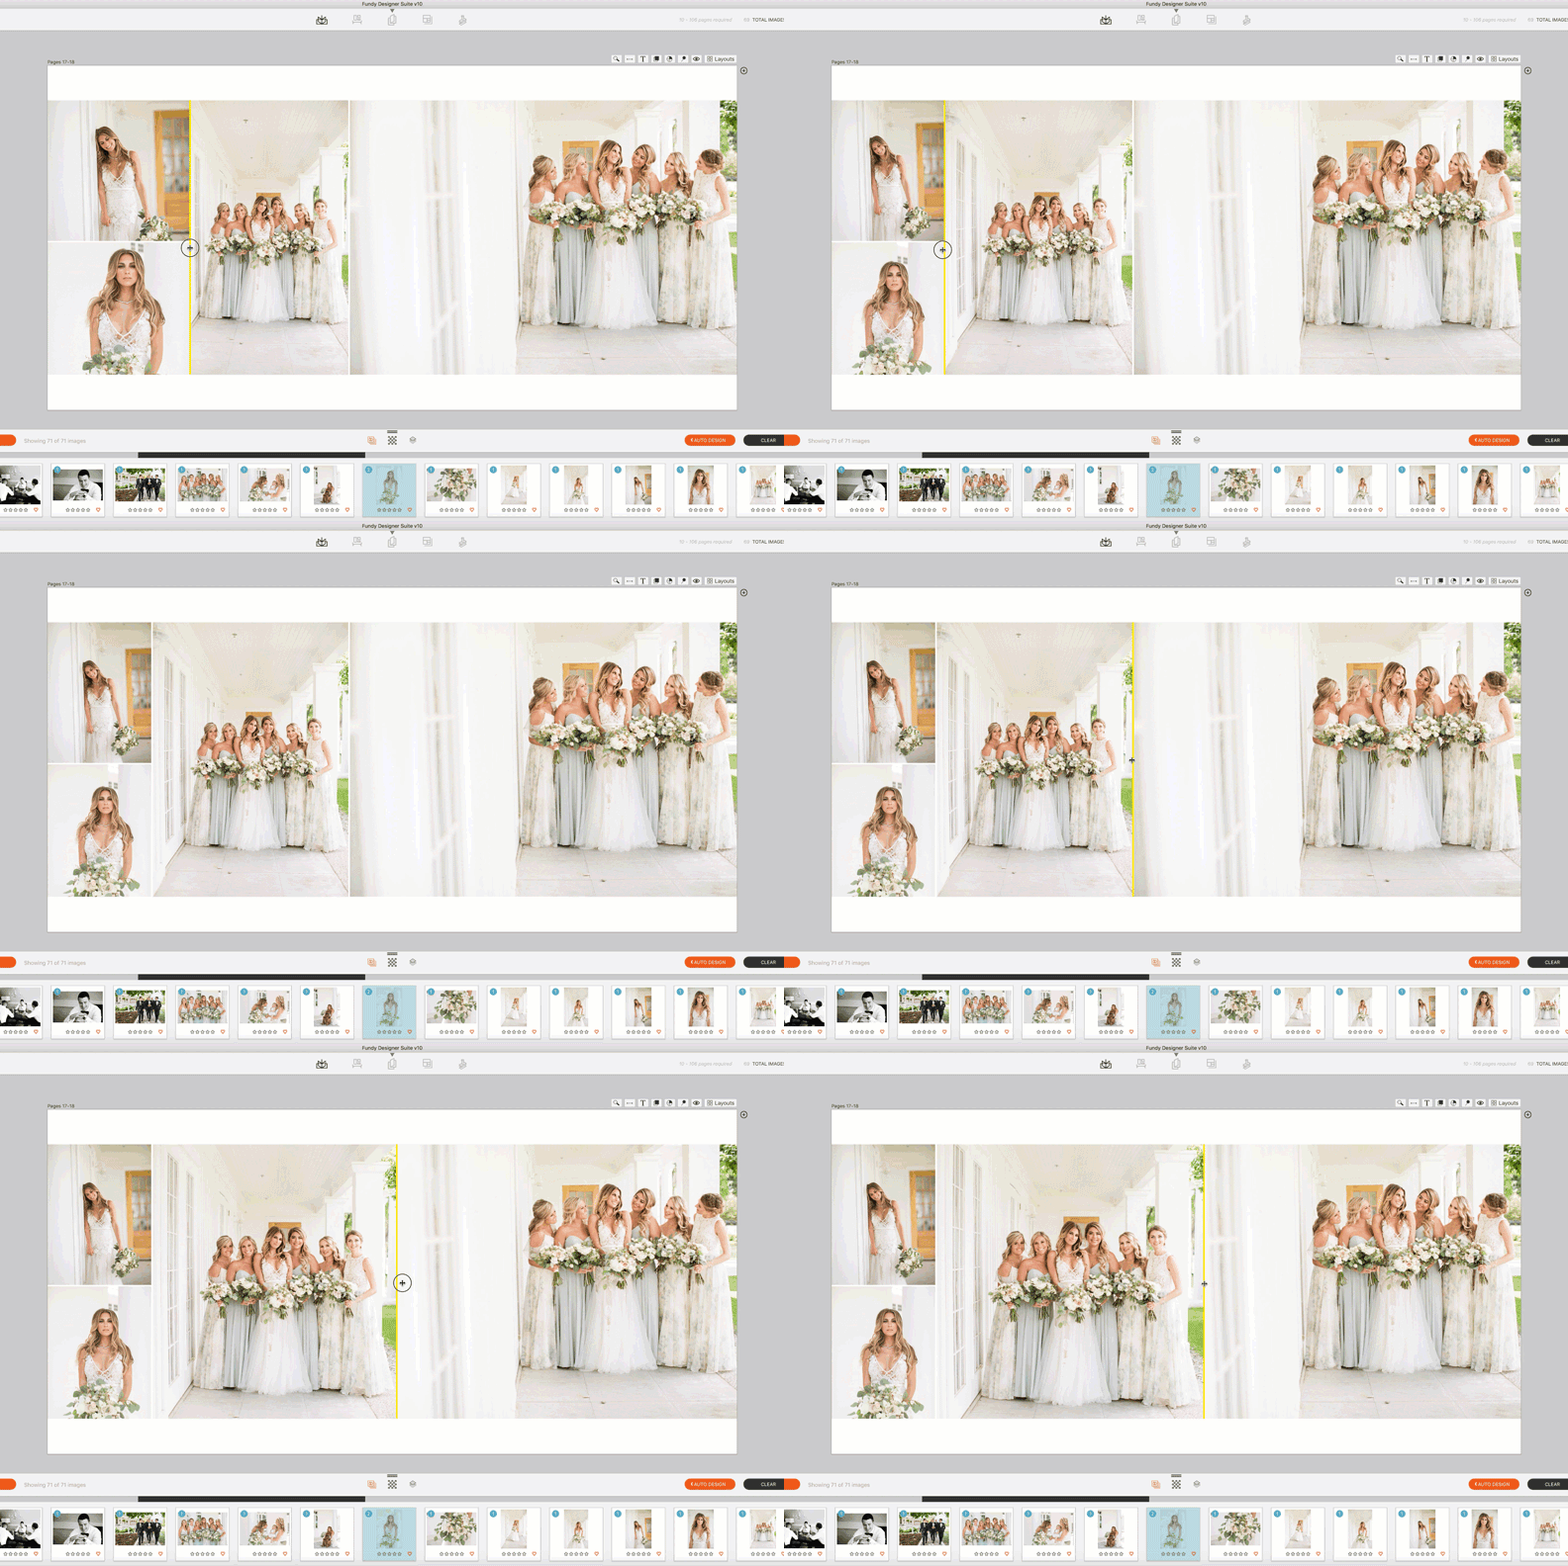
If you haven’t heard the news yet, Fundy Designer wowed the industry with their new Drop Zone patent.
Now, you can grab any side of an image and simply slide it to make the image larger or smaller while the other images on the layout auto adjust to balance the space.
2. New “Drop Anywhere” Functionality
We’ve re-calculated our patent and you can now drop images anywhere within the drop zone.
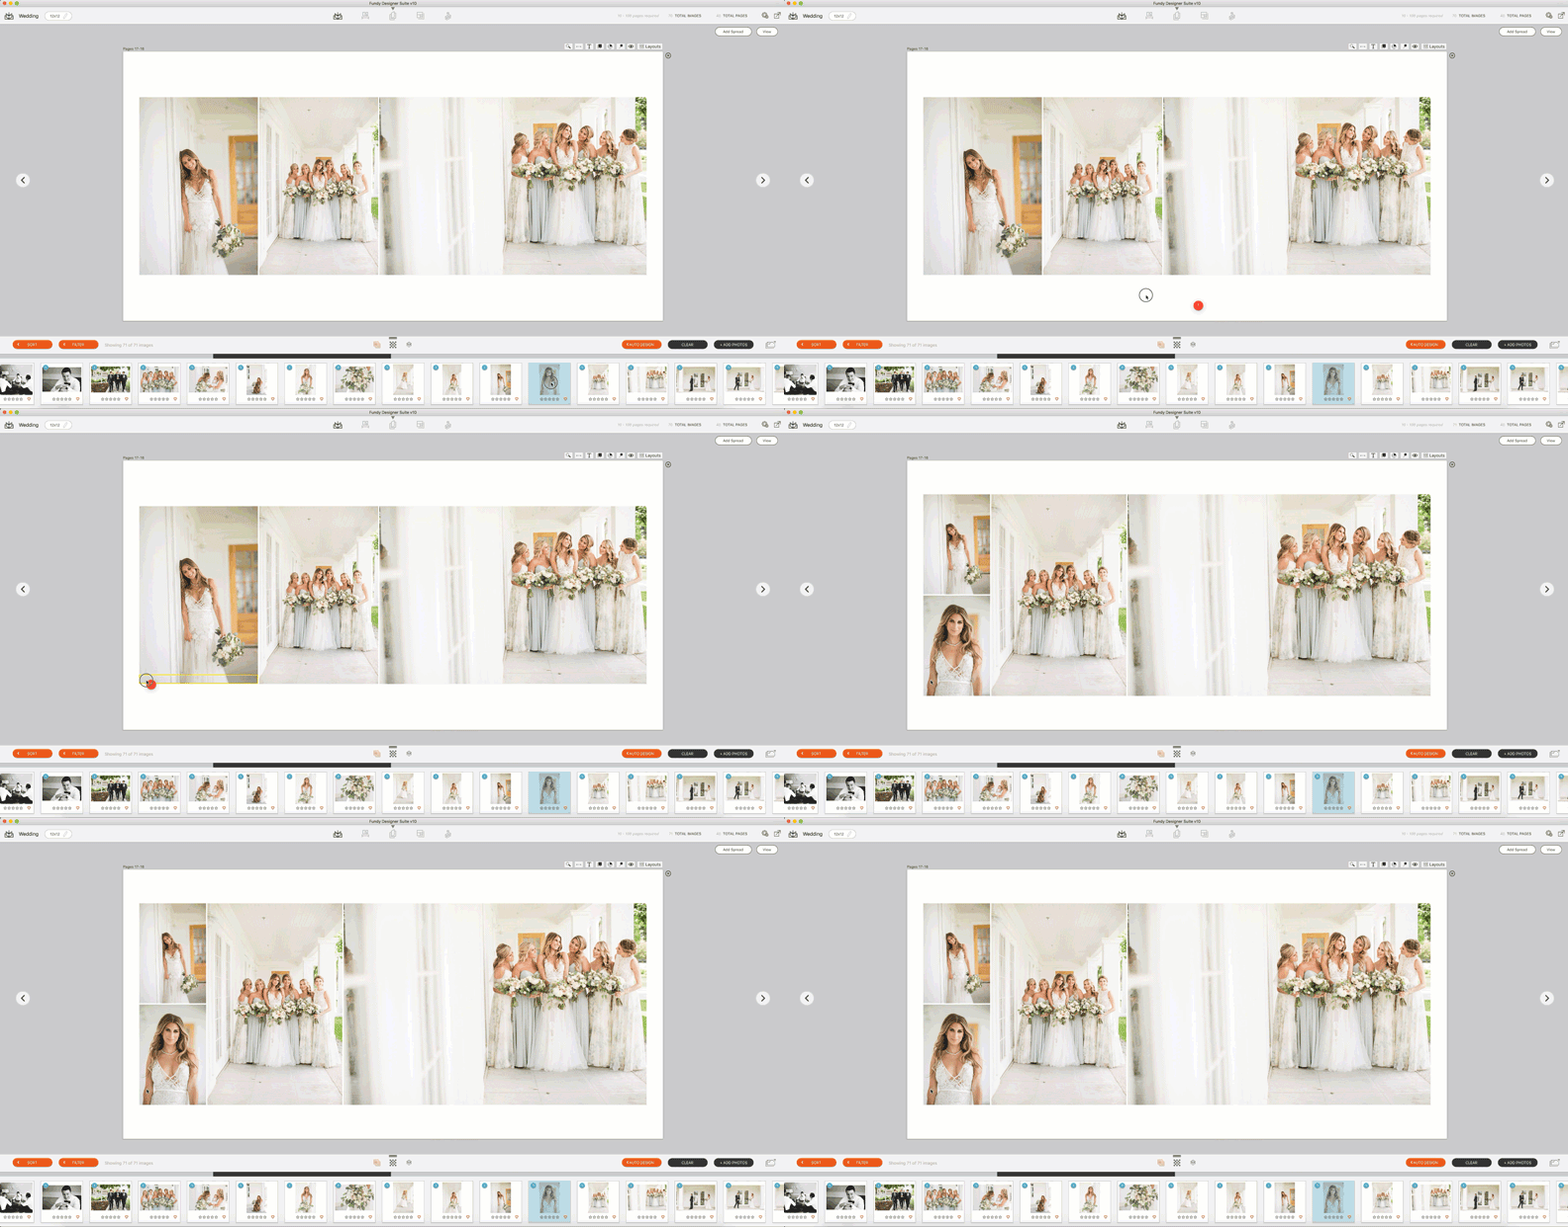
To watch Ben Hartley give a full walkthrough of Drop Zones 3.0, click here.
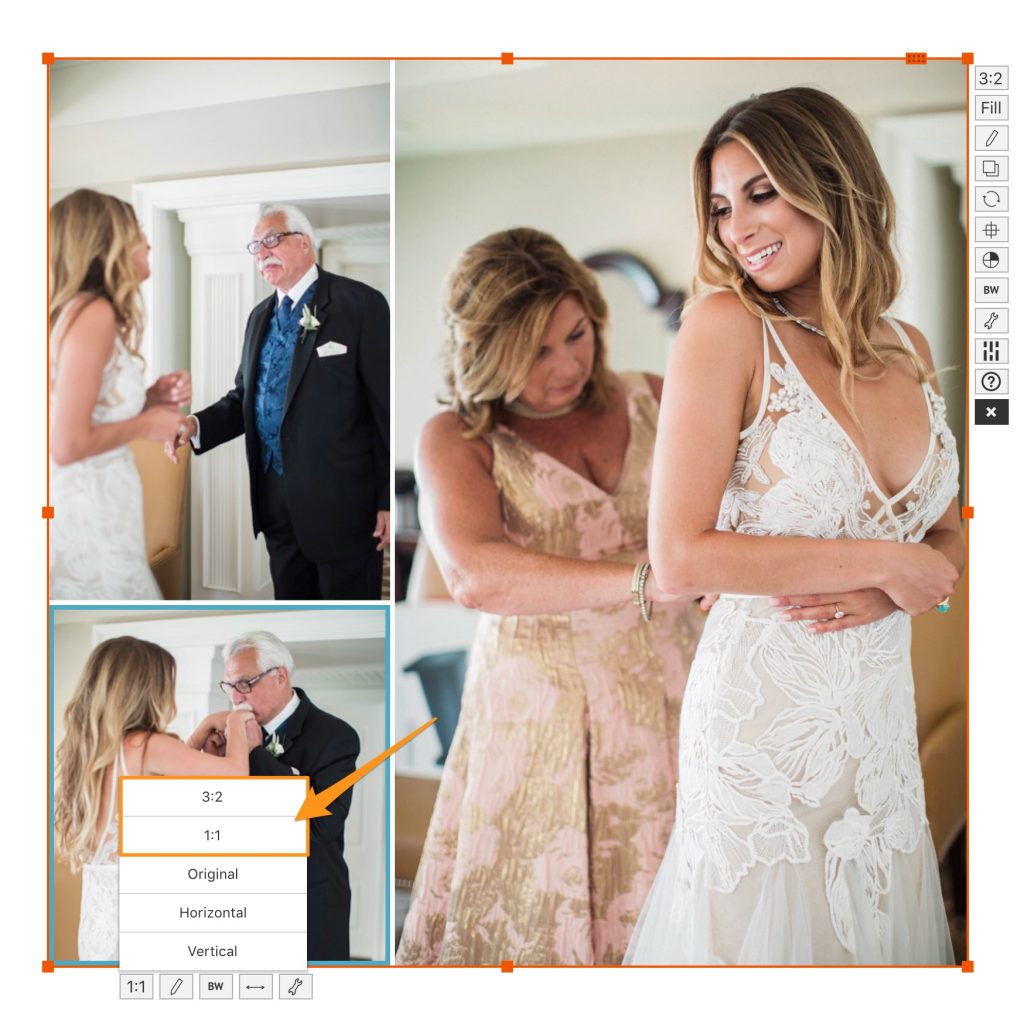
3. Easily Change Image Ratios
One click and you can change an image from 3:2 ratio to square, or even change a vertical image to a horizontal one. Or vice versa!
4. Add Color Easily with Color Blocks
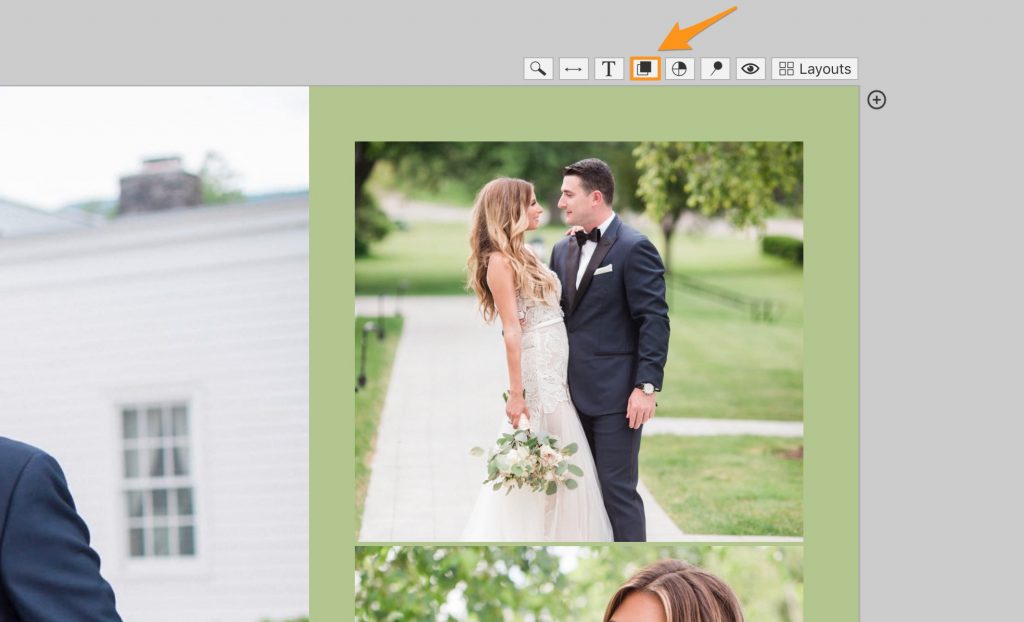
Whether designing a portrait album, wall art collection, studio magazine or card, Fundy Designer allows you to add color blocks to your designs with ease.
Simply click the color block icon, resize and change the color. Play with the rounded corners to create circles.
To learn more about using color in your Fundy Designer projects, click here.
5. Add PNGs and Your Logo
Want to add graphics to your design? Maybe even add your logo to the back of your albums and cards?
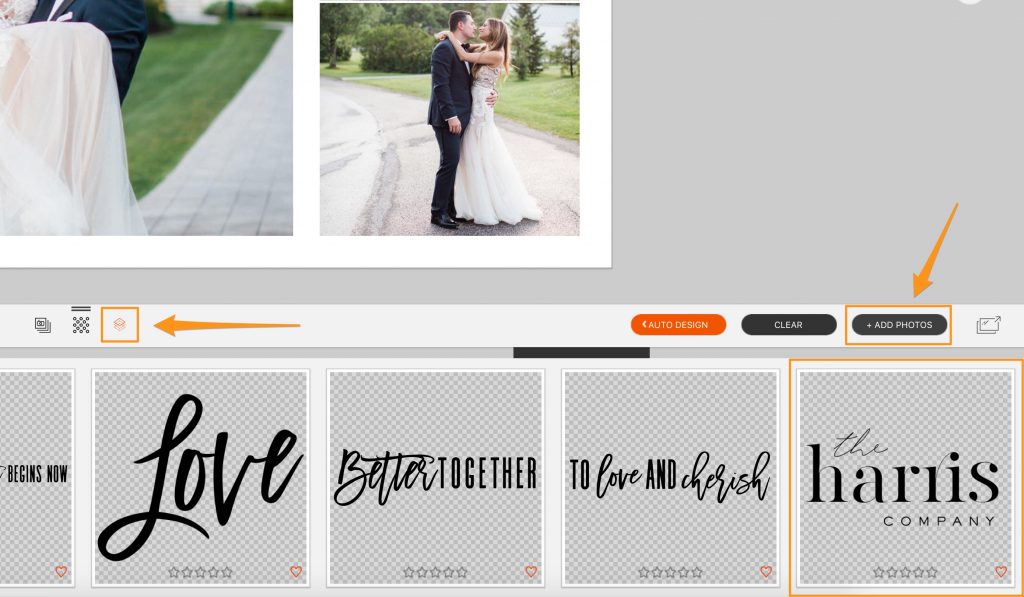
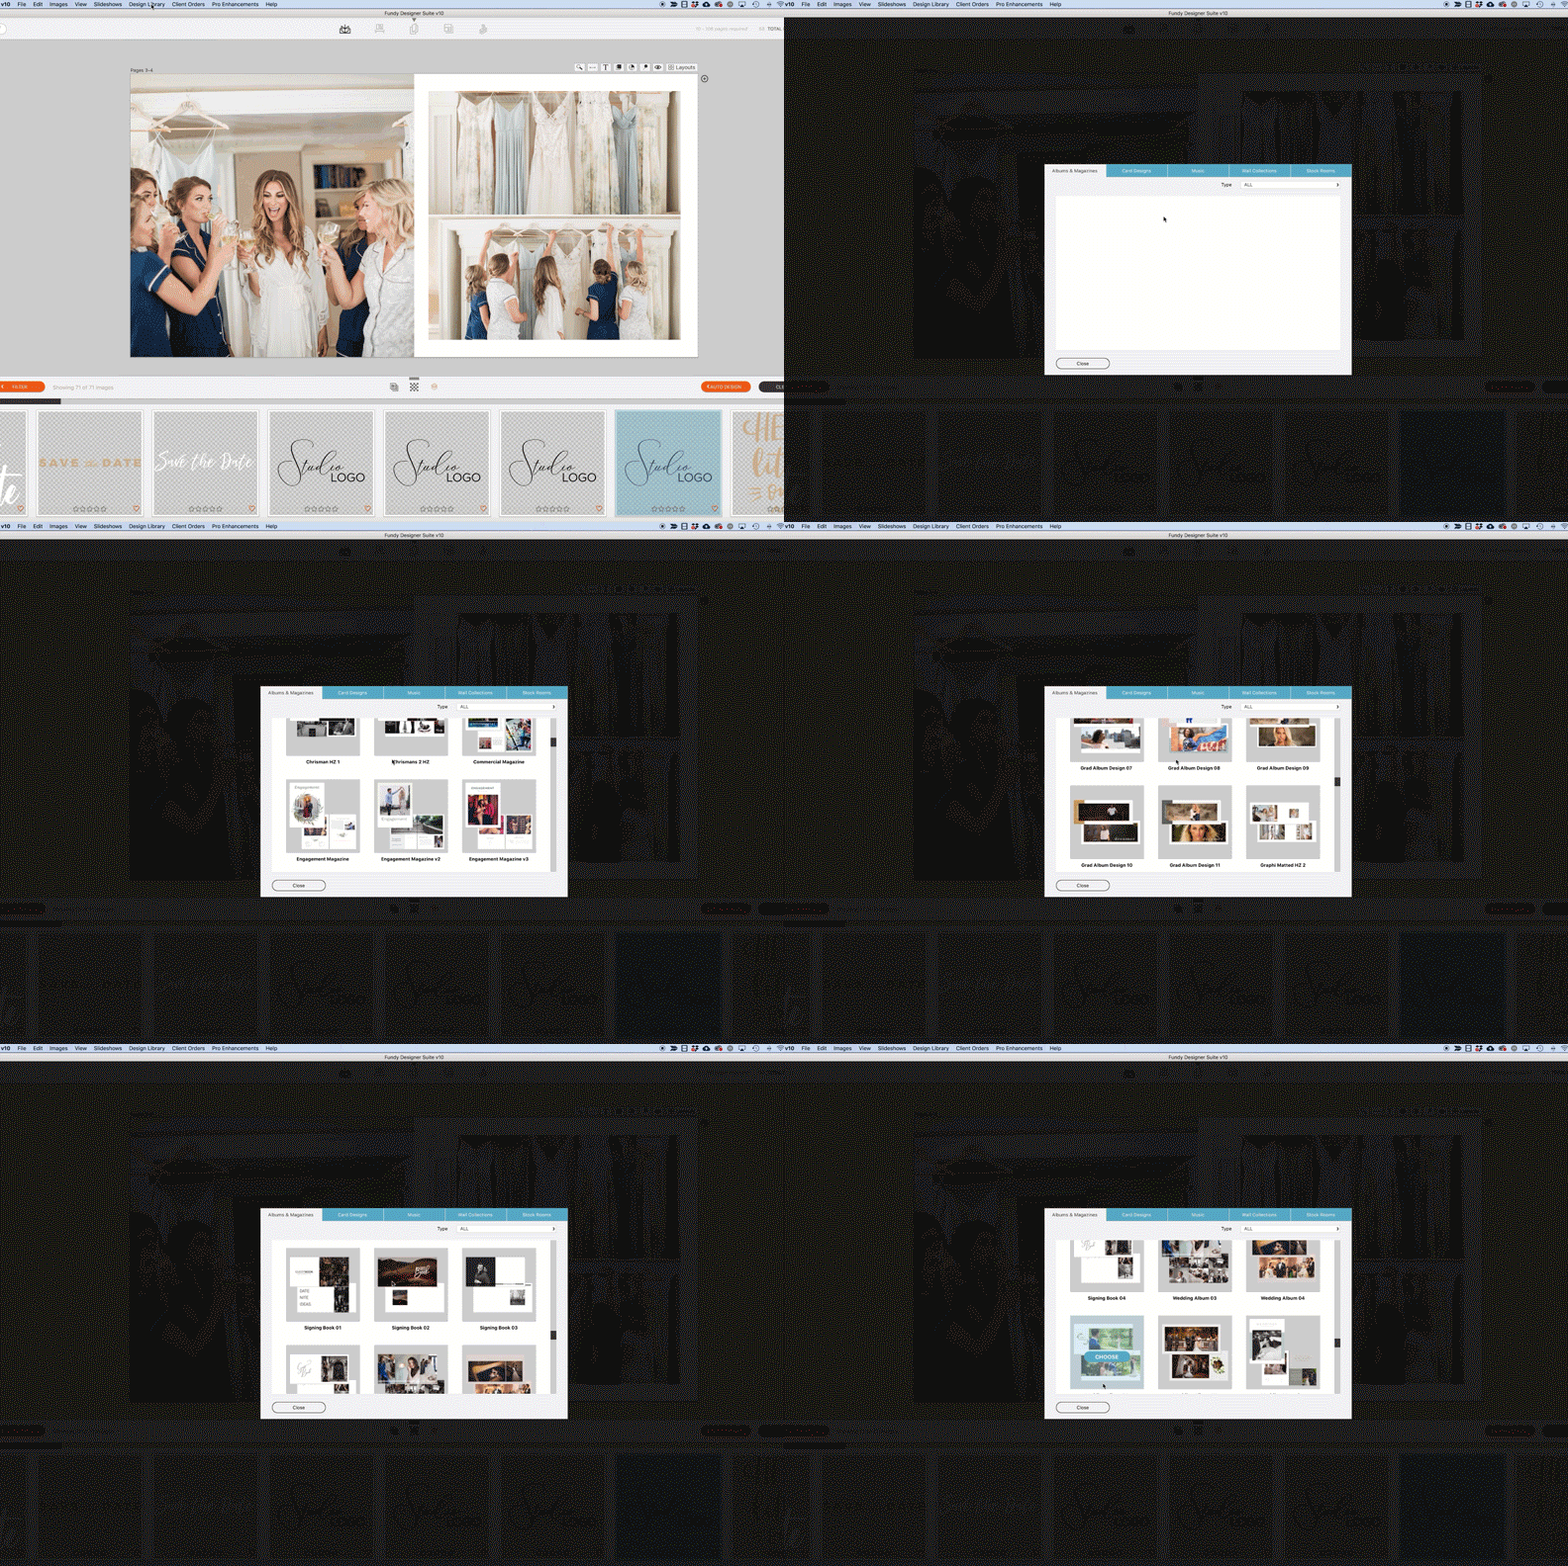
Just click on the PNG icon in the image well and drag in your PNG or click the add photos button to import your custom PNGs.
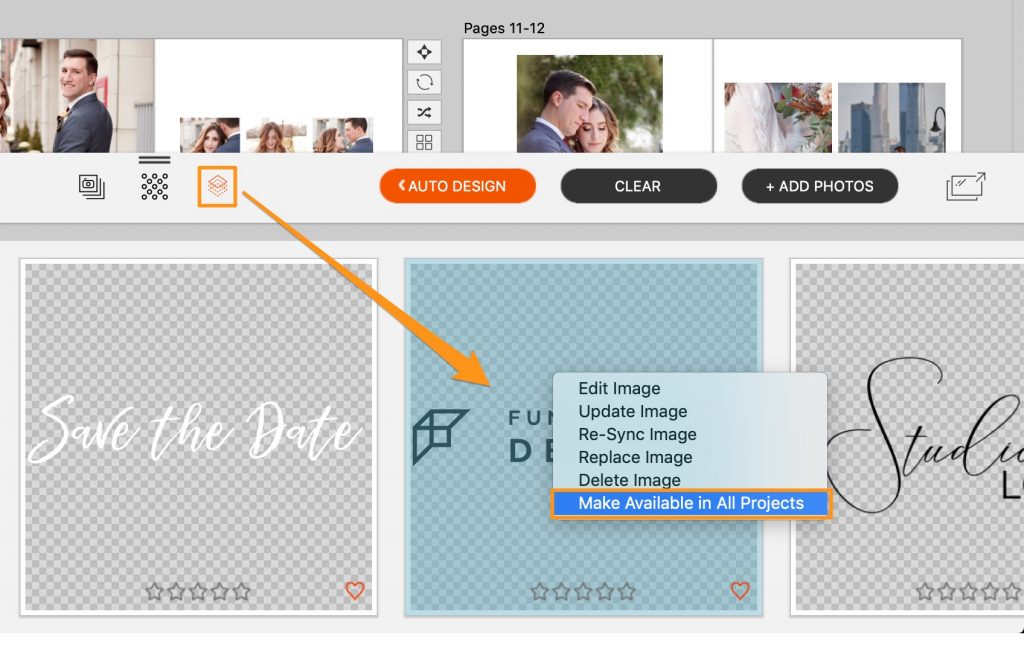
To make the PNG available in all of your projects, right click the image and hit the “Make Available in All Projects” option. So handy for logos or images that you use all the time.
In addition to any PNGs that you bring in, you’ll have access to any graphics that have been included in Design Sets from the Design Library.
To learn more about how to use PNGs, click here.
Do it all in Fundy Designer!
New to Fundy Designer? Get started with our free trial! Ready to try the latest version of Fundy Designer? Click here to purchase or upgrade to Fundy Designer v10!
