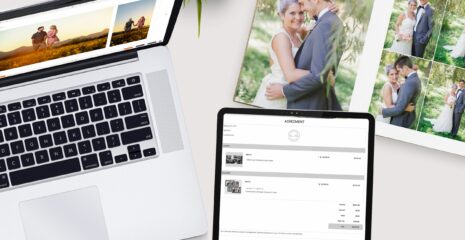
In-Person Sales session in Fundy Designer can be done in person or over video conferencing via Skype, Zoom or similar services. Before setting up an IPS session be sure that you have entered your pricing and saved out your collections. See this blog post for more information.
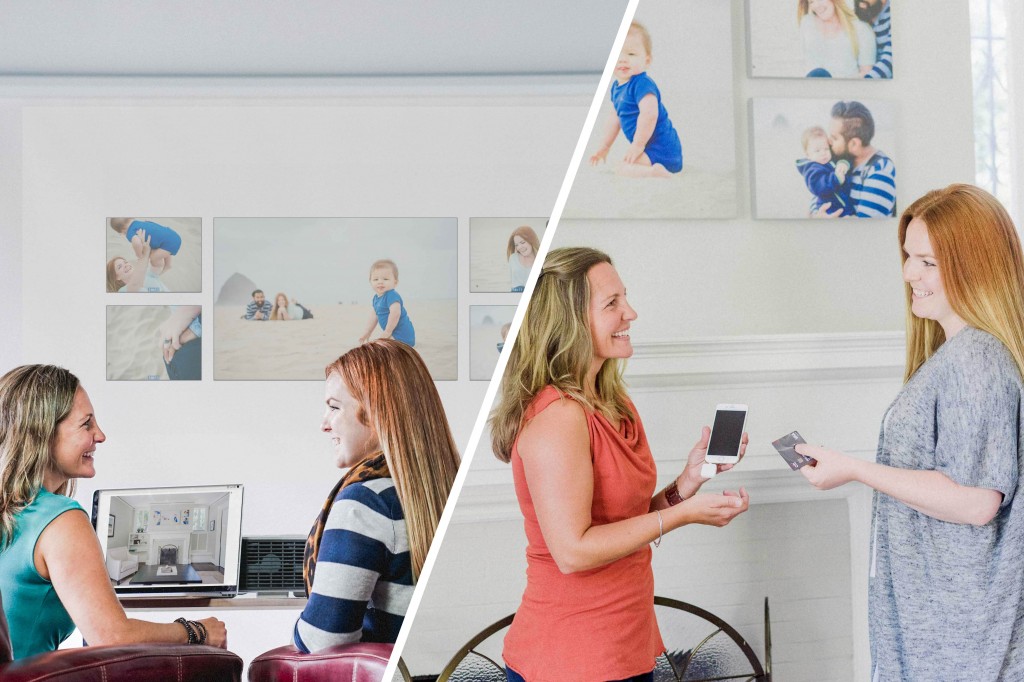
Pre-Design
The key to a successful IPS session is pre-designing. Among our most successful Fundy users all of them will pre-design albums, wall collages and cards to present to their clients. People are busier than ever and having a pre-designed album or wall collage to say yes to is what modern clients want.
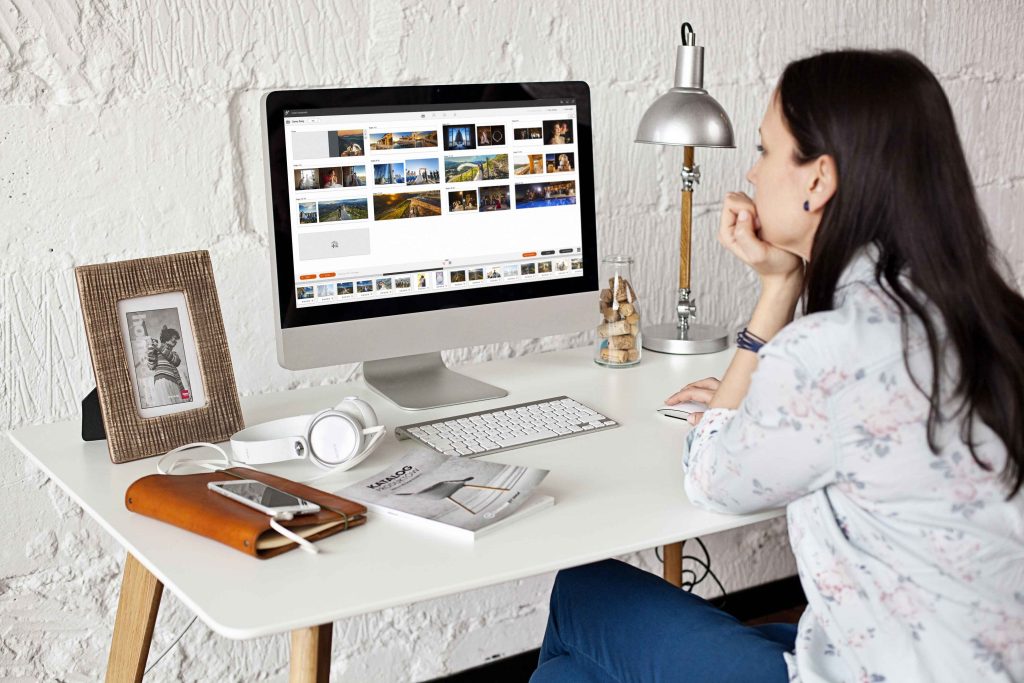
Choose Favorites
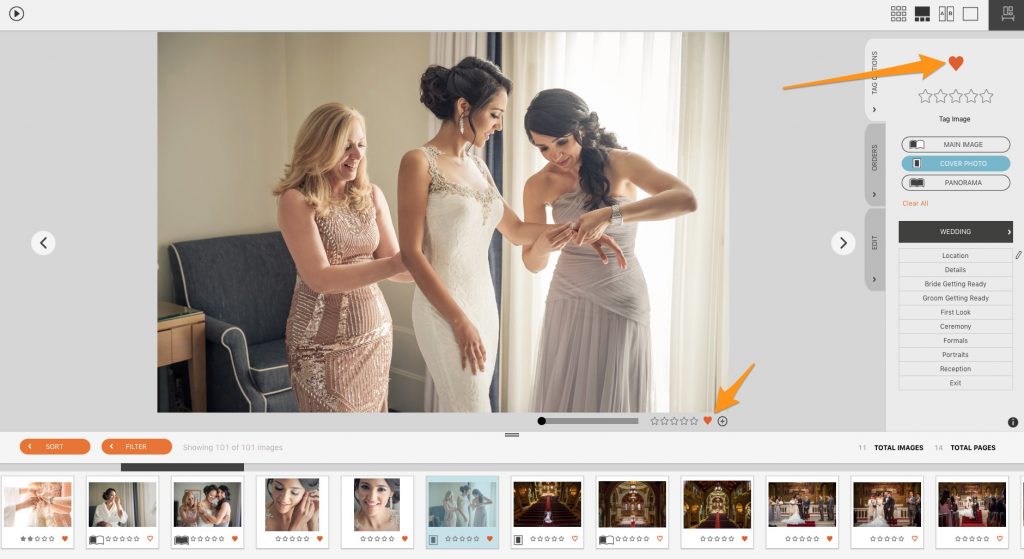
Usually we want to present clients with just the best of the best. Especially if the clients are wedding clients. They don’t want to sit through a slideshow of 750 photos. Choose just the top 35 or so and mark them with a heart (F key).
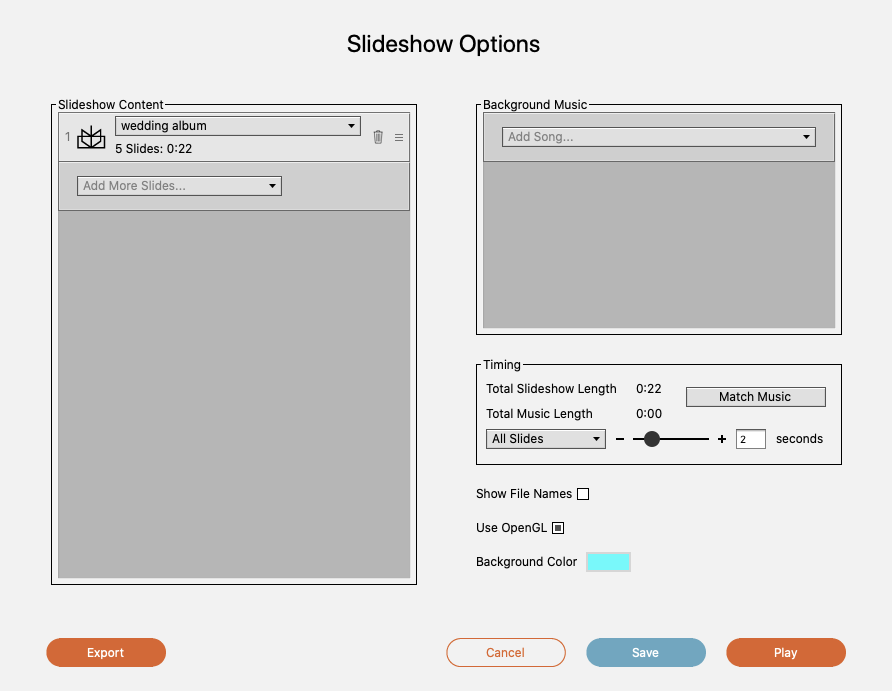
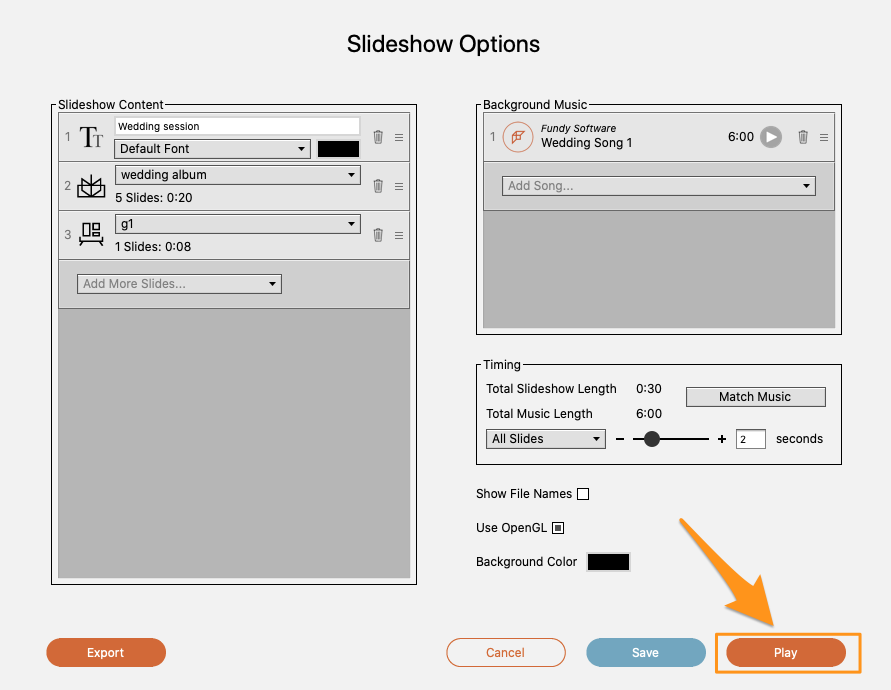
Prepare a Slideshow
Choose what songs you want to use, what images you want to show and most importantly what designs you want to show.
The key in the Fundy Designer slideshow is the ability to show off your designs along with images. For more information on the slideshow – click here.
Learn About the Client Window
In Fundy Designer we have two windows, the main design window and the client view or image browser window. Play around with this second window. You can access it by clicking on this icon.
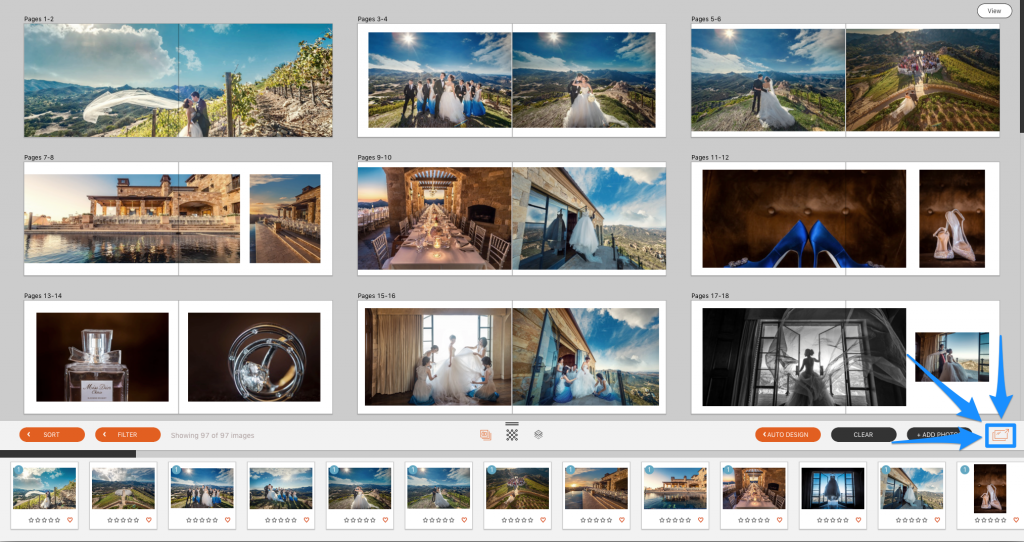
Some photographers choose to move the client window to a second monitor and only show images and designs in this window.
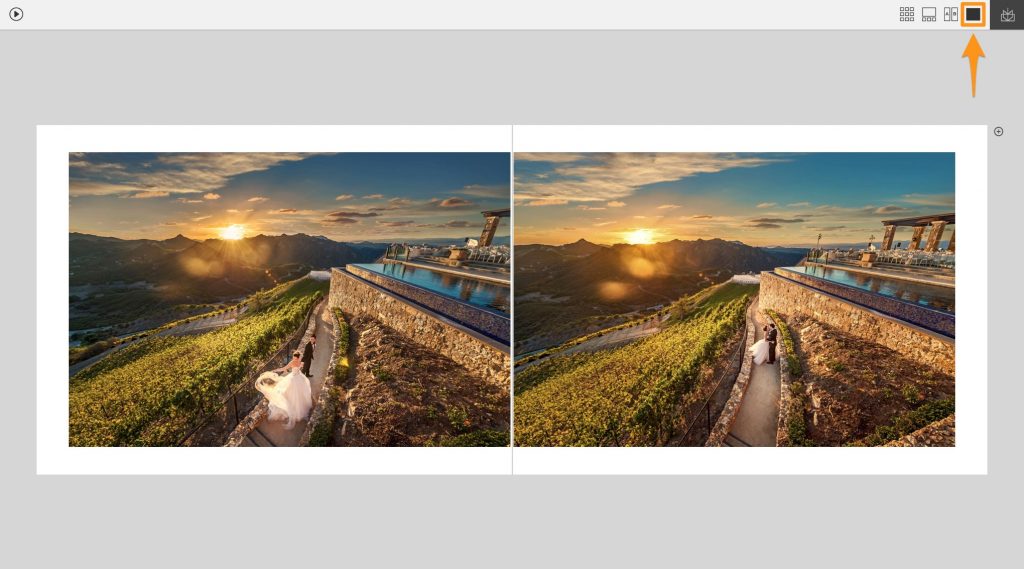
Some photographers choose to just mirror their computer and show both windows. There is no right or wrong answer, choose what works best for you.
Start the Slideshow
Before your clients arrive, start up the slideshow. It won’t begin until you hit the play button, so you can have it ready to go.
Play the Slideshow
Next, hit the spacebar to start your slideshow and let it play all of the way through.
Choose Images or Designs
You can now work with the clients to finalize their designs. Some photographers like to go through each photo, one by one tagging selects with a heart (f key) to designate favorites. You can show your clients single images at a time or have them compare multiple images so they can choose their favorite. To select multiple images, hold down the shift key or the command/ctrl key, just as you would in Lightroom or Photomechanic.
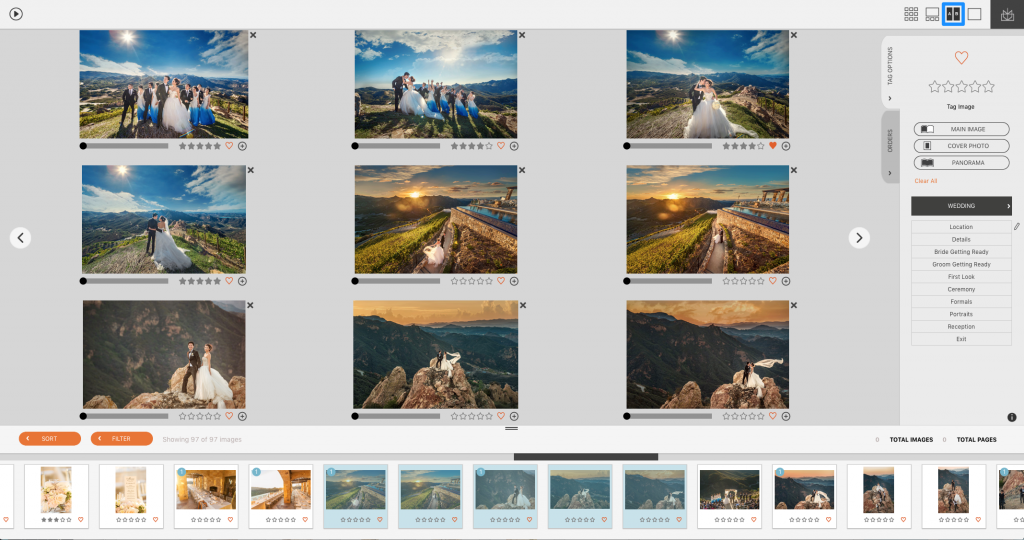
Some photographers like to go through the designs one by one and just make changes to those designs.
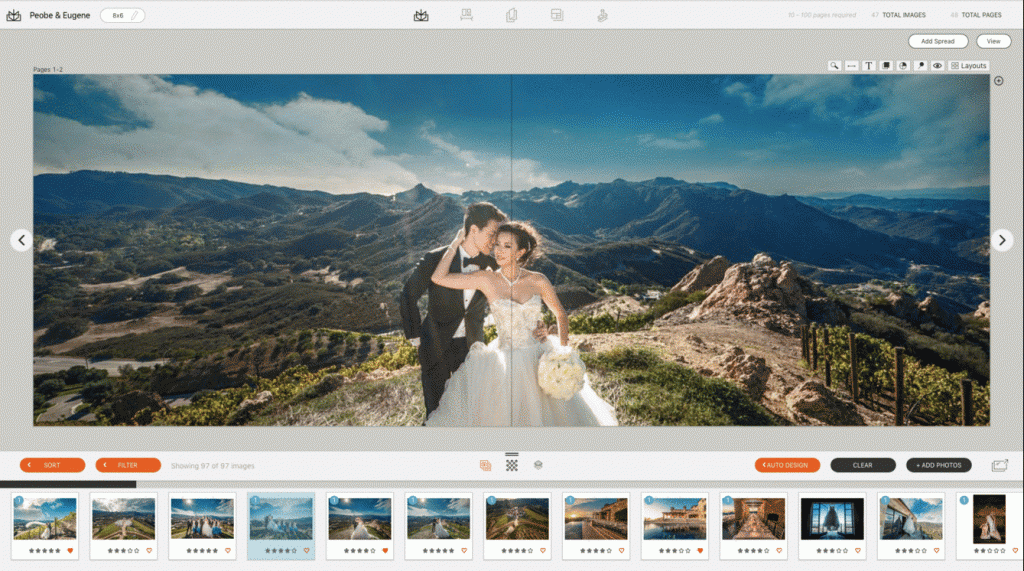
However you like to work, Fundy Designer has a flexible workflow to meet your needs. The only goal to keep in mind at this point is to finalize any designs the clients want.
Create an Order
When clients decide what they want, it’s time to add that item to an order. There are three different places where you can add an item to an order.
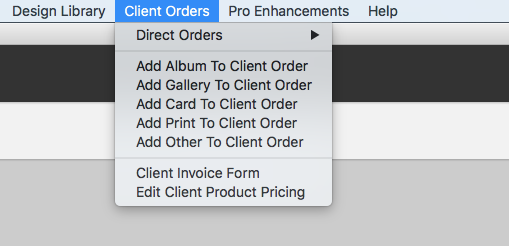
You can add an album, wall collection, card, print or other item to an order by using the top menu.
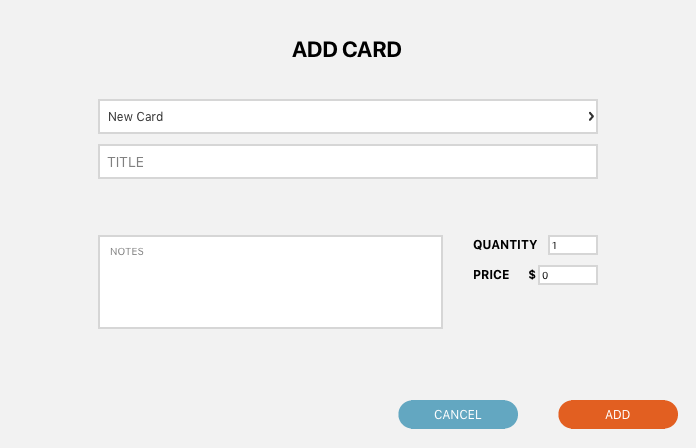
For example, if you wanted to add a card to your clients order you select “Add Card to Client Order” and fill out the necessary information below:
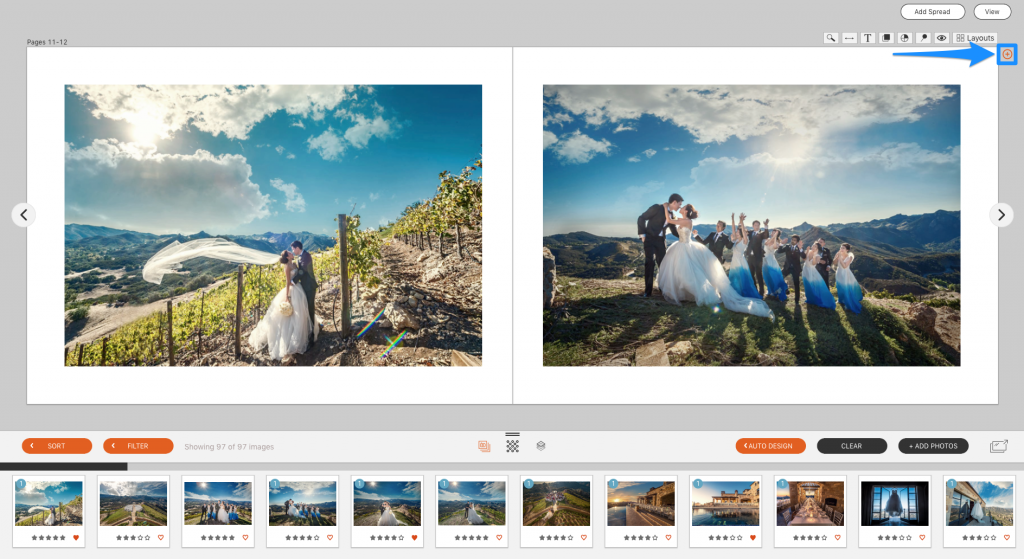
Secondly, you can add designed products by clicking the plus icon with a circle.
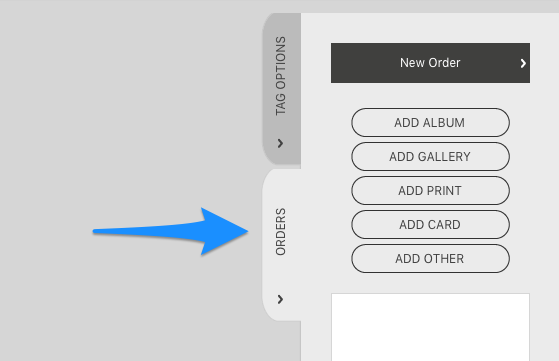
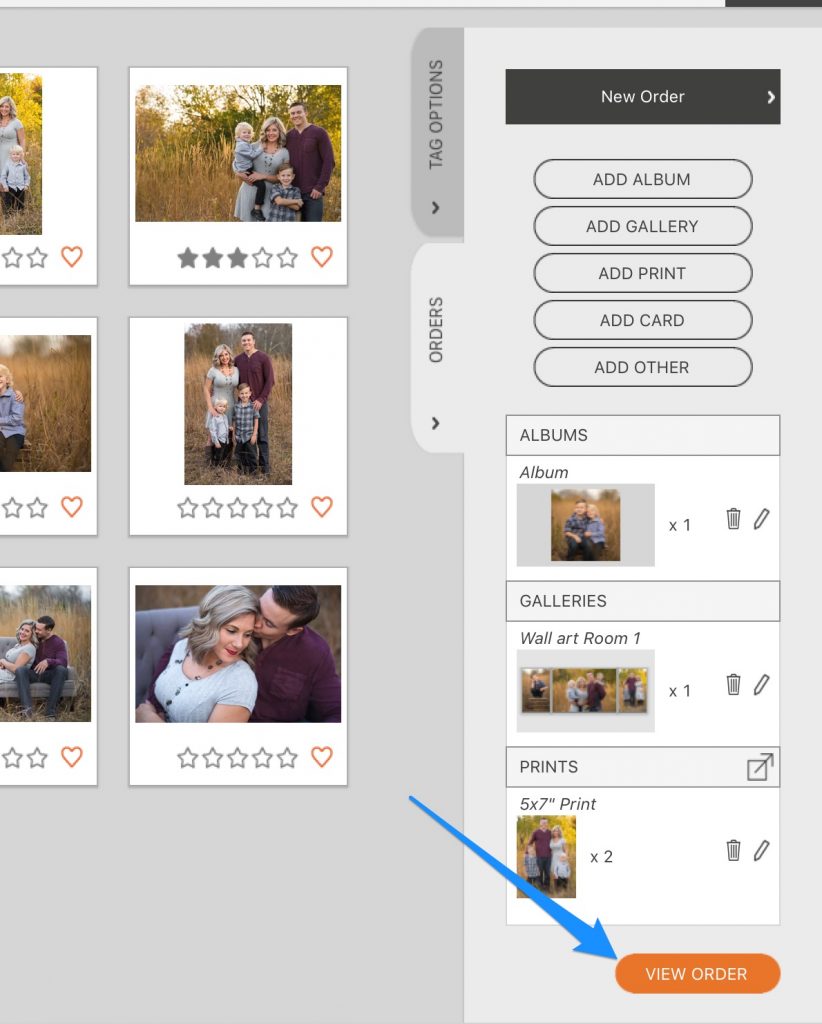
Finally, you can add items to an order by using the orders tab and the corresponding buttons.
Viewing, Exporting and Printing Your Order
To preview the order and make notes, click the View Order button in the Orders Tab.
Finally, you can export your order as a PDF to have your clients sign off on it before sending to print.
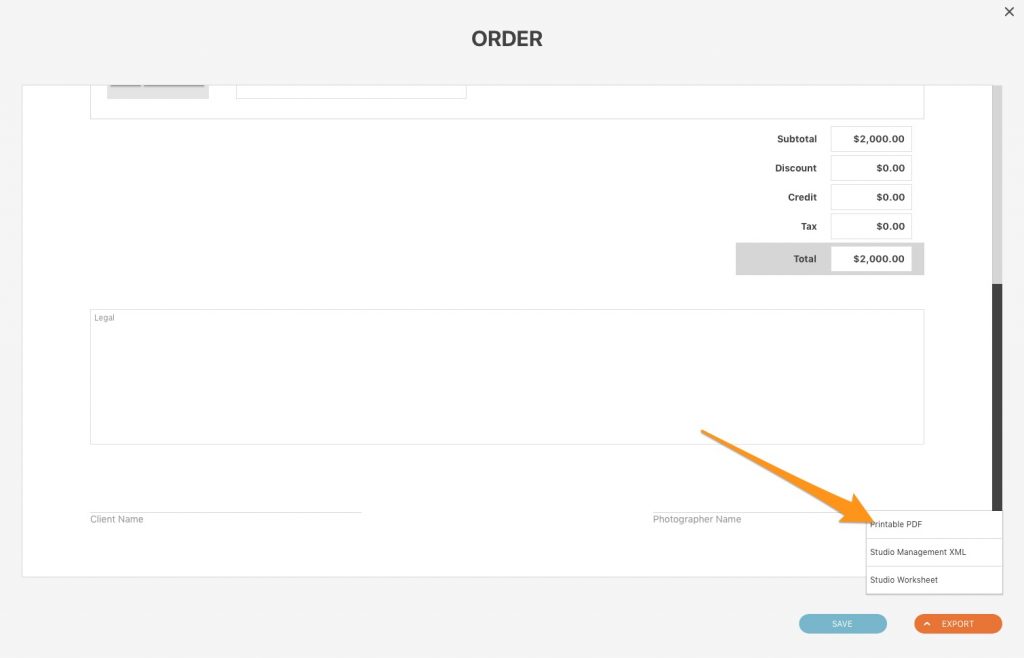
Additionally, you can export a studio information file, so your studio workers know which files to collect, retouch and order.
Finally, you can export a studio management XML file, that can be imported into popular studio management systems like Tave, Iris Works, Studio Ninja, Pixify, etc.
This blog post is an overview of some of the IPS tools in Fundy Designer. This flow will help you make the most from your photography. For more details be sure to watch our video tutorials and see our manuals.
