New Drop Zones 2.0
February 2015, we’ll be introducing new Drop Zones 2.0 with features never before available in any photo design program. In order to give you the most creative freedom possible, we’ve given you total control over the placement of the images within a Drop Zone, whether it’s adding new images to a Drop Zone, or moving images around within a Drop Zone.
Moving Images Around
Moving images around is extremely simple and intuitive. When you start dragging an image, yellow highlight boxes show you where the image will be placed.
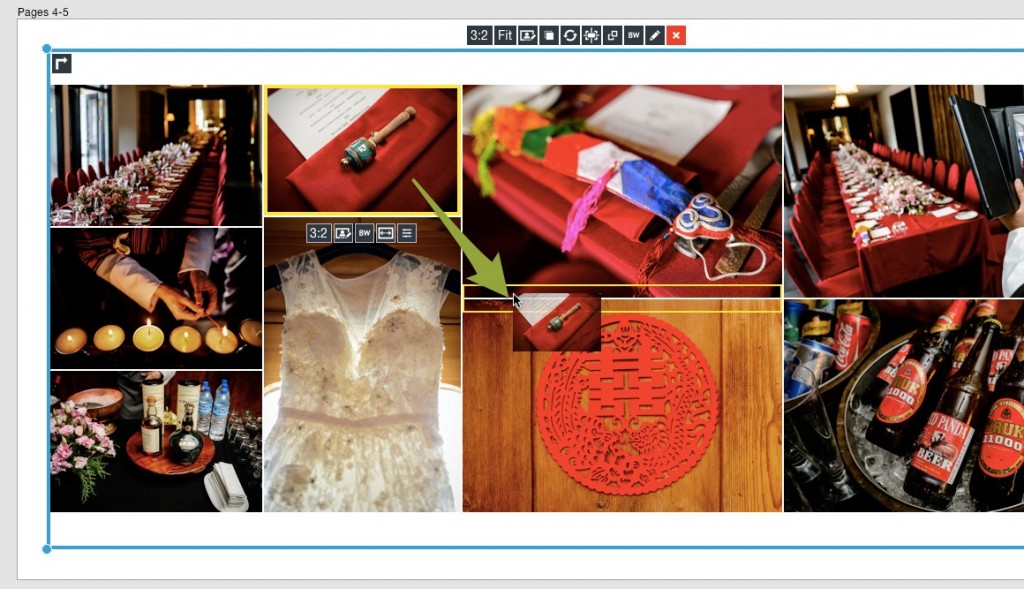
As you can see, we are moving the selected image between the two images next to it. This will allow the dress to be larger on the page and stand out more.

Here you can see the result of that move.
Adding New Rows & Columns
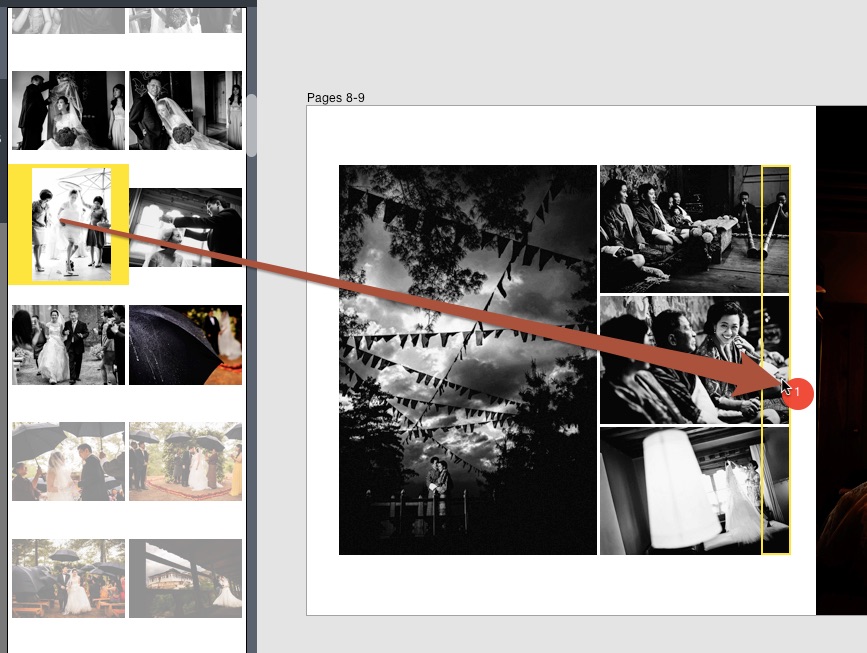
Adding new rows or columns of images is extremely easy too. Drag an image onto the edge of a Drop Zone or between two rows or columns.
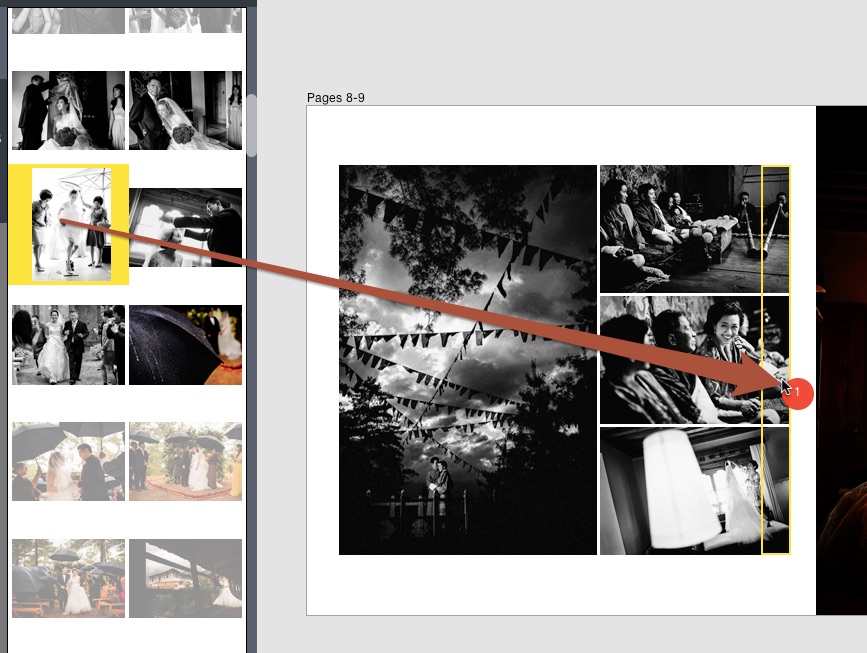
Here you can see that I am dragging an image to the edge of a column, which will create a new one.
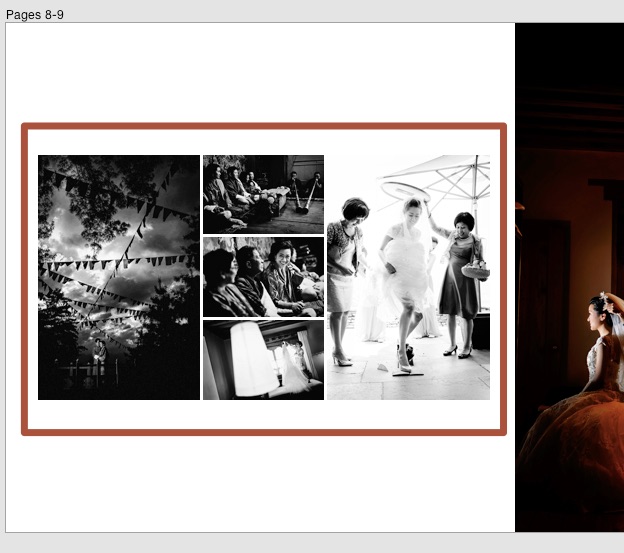
Here is the result.
Extreme Image Ratio Control
In the past, we were only able to control image ratios on the Drop Zone level. Now we can control image ratio on the image or column level. We’ve also added two new image ratio controls – Vertical and Horizontal. What does this mean? It means you can override an image ratio. If you have a horizontal image, you can make it a vertical and vice versa. We can apply this to one image, or if we hold down the shift key, we can apply it to all images in that row or column.
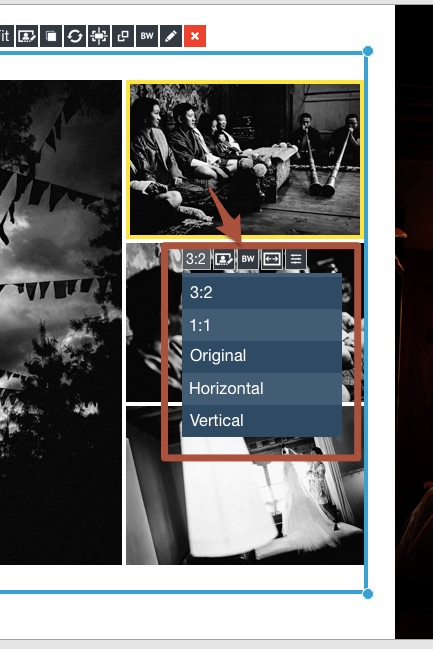
Here I am going to hold down the shift key and select the 1:1 ratio.
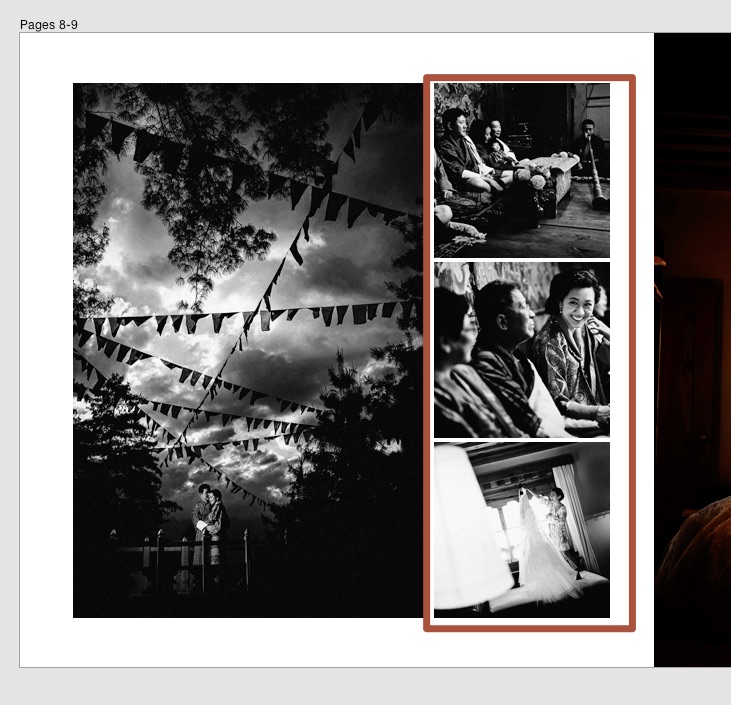
You can see that all of the images in that column of images changed to square and the design adjusted. We really think this is going to be a popular feature.
Flip The Drop Zone
Sometimes you want the images to go up and down, sometimes you want them to go across. We’ve made that easy with a brand new toggle.
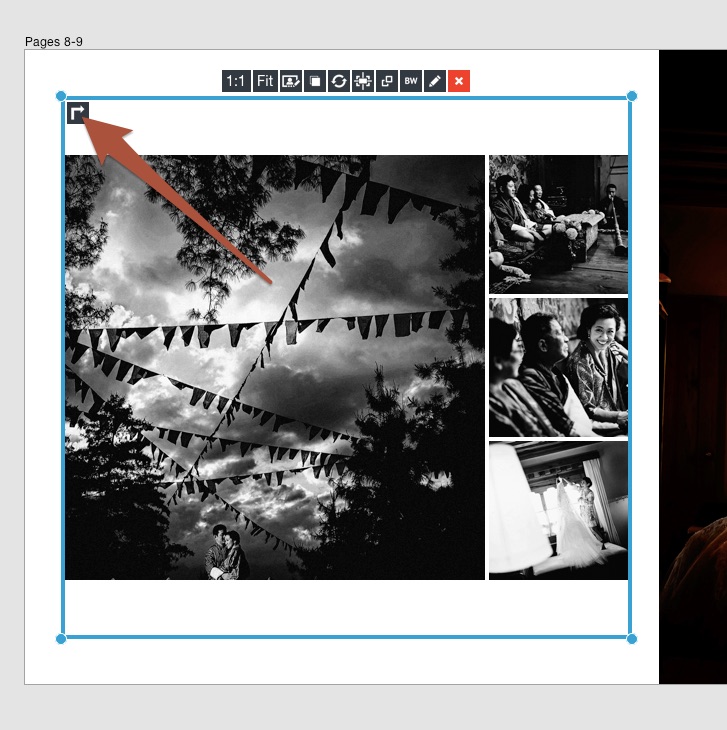
Before flip.
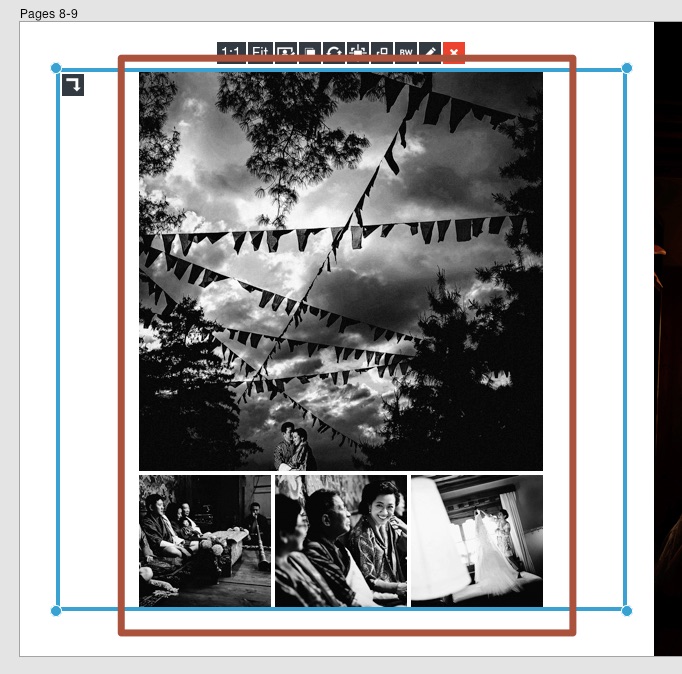
After flip.
